



Executive Summary
A field-proven hospital acceptance checklist for operating room equipment installation and commissioning: structural, mechanical, IEC 60601 electrical safety, and medical gas verification tests.
The most expensive operating room equipment failure I have ever witnessed didn’t happen during surgery. It happened on day 43 after handover, when a newly installed ceiling pendant began drifting under load and the anesthesia team quietly stopped trusting the gas outlets at position two. The equipment wasn’t defective. The installation was never properly commissioned — nobody had done a loaded drift test, and nobody had verified the gas terminal units against the room’s pressure schedule. The hospital ended up paying for a second site visit, a partial re-install, and two weeks of lost OR sessions. All of it was preventable with a disciplined operating room equipment installation commissioning checklist.
If you are planning a new build or a renovation, commissioning is the phase where a turnkey operating room solution either proves its value or exposes its weak links. Over 60+ OR projects across 15 countries, my team has distilled acceptance into a repeatable sequence that any hospital engineering or procurement team can follow — whether you buy from us or not. This article gives you that checklist, phase by phase, with the standards references, test points, and sign-off logic we actually use on site.
A note on scope before we start: this checklist covers fixed and major movable OR equipment — surgical lights, operating tables, ceiling pendants and supply units, plus the room-level interfaces they depend on (medical gases, power, IT, HVAC). Modular wall systems and full MEP commissioning deserve their own documents, but the acceptance philosophy below applies to them too.
Why “It Powers On” Is Not Acceptance
Most disputes I see in OR handovers come down to a definitional problem. The contractor considers the job done when the equipment is unpacked, positioned, and switched on. The hospital’s biomedical engineering team considers the job done when the equipment is safe, verified against its specification, documented, and ready for clinical use. Those are two completely different finish lines, and the gap between them is where warranty arguments, delayed openings, and — worst case — patient-safety incidents live.
Regulatory frameworks have long recognized this gap. In the United States, FDA 21 CFR 820.80 requires documented acceptance activities for incoming devices before they are placed into service. In the UK, the HTM guidance family (HTM 06-01 for electrical services, HTM 02-01 for medical gas pipeline systems) prescribes formal verification and witnessing before handover. IEC 60601-1 defines the electrical safety baseline that every piece of ME equipment must meet in its installed state, not just in the factory test lab. The practical translation: acceptance is a process with named tests, named witnesses, and signed records — not a walkthrough with a handshake.
Rule of thumb from the field: if a test result isn’t written down, dated, and signed by both parties, it didn’t happen. Verbal confirmation of “we tested the outlets” has zero value in a warranty claim eleven months later.
Step 1: Pre-Installation Verification — The Checks That Happen Before Unboxing
Roughly a third of the commissioning failures we get called in to fix were baked in before the crates were opened. The room wasn’t ready, the slab wasn’t ready, or the services rough-in didn’t match the equipment drawings. Do these checks two to four weeks before the equipment ship date, not the day the truck arrives.
- Structural verification for ceiling-mounted equipment. Confirm the ceiling support structure (slab, steel frame, or Unistrut grid) has been load-tested or certified to carry the pendant and light system with the safety factor stated in the manufacturer’s installation manual. For most surgical pendants this means a structural engineer’s sign-off against the anchor load schedule — not the main contractor’s verbal assurance.
- Services rough-in audit. Walk the room with the latest approved shop drawings and physically verify every rough-in point: medical gas terminal locations and pipe sizes, electrical outlet positions and circuit labels, isolated power panels, data points, and pendant drop heights. A pendant arm that arrives to find its ceiling plate 400 mm off the drawing is a two-week delay.
- Environmental readiness. HVAC balanced and running, room at operating temperature and humidity, dust-controlled finishes complete. Installing precision equipment into an active construction environment voids most warranties and contaminates gas lines and optics.
- Documentation package received. Installation manuals, wiring diagrams, gas schematics, and test protocols should be in the hospital’s hands before installation day, in the working language of the local engineering team.
This is also the right moment to re-confirm the overall program against the typical turnkey operating room project timeline — commissioning compressed into the final 72 hours of a project almost always means something gets skipped.
Step 2: Delivery, Unpacking, and Incoming Inspection
Incoming inspection is your one chance to attribute damage correctly. Once a crate is signed as “received in good condition,” every scratch becomes a negotiation. We run this as a formal documented step:
- Crate condition and shock/tilt indicators. Photograph every indicator before opening. A triggered tilt indicator on an operating table column crate means the unit gets quarantined and inspected, not installed.
- Serial number reconciliation. Match every device serial number against the packing list, the purchase order, and — for regulated markets — the declaration of conformity. This list later becomes your asset register and the anchor for your maintenance records under ISO 13485-aligned quality systems.
- Accessories and consumables count. Table pads, light handles, pendant shelves and gas hoses, battery packs, remote controls. Missing accessories discovered at month three are nearly impossible to claim.
- Visual and functional smoke check. Look for transit damage on castings, arm covers, and pendant service heads before the installers leave the room.
Step 3: Mechanical Installation Checks — Anchors, Alignment, and Loaded Movement
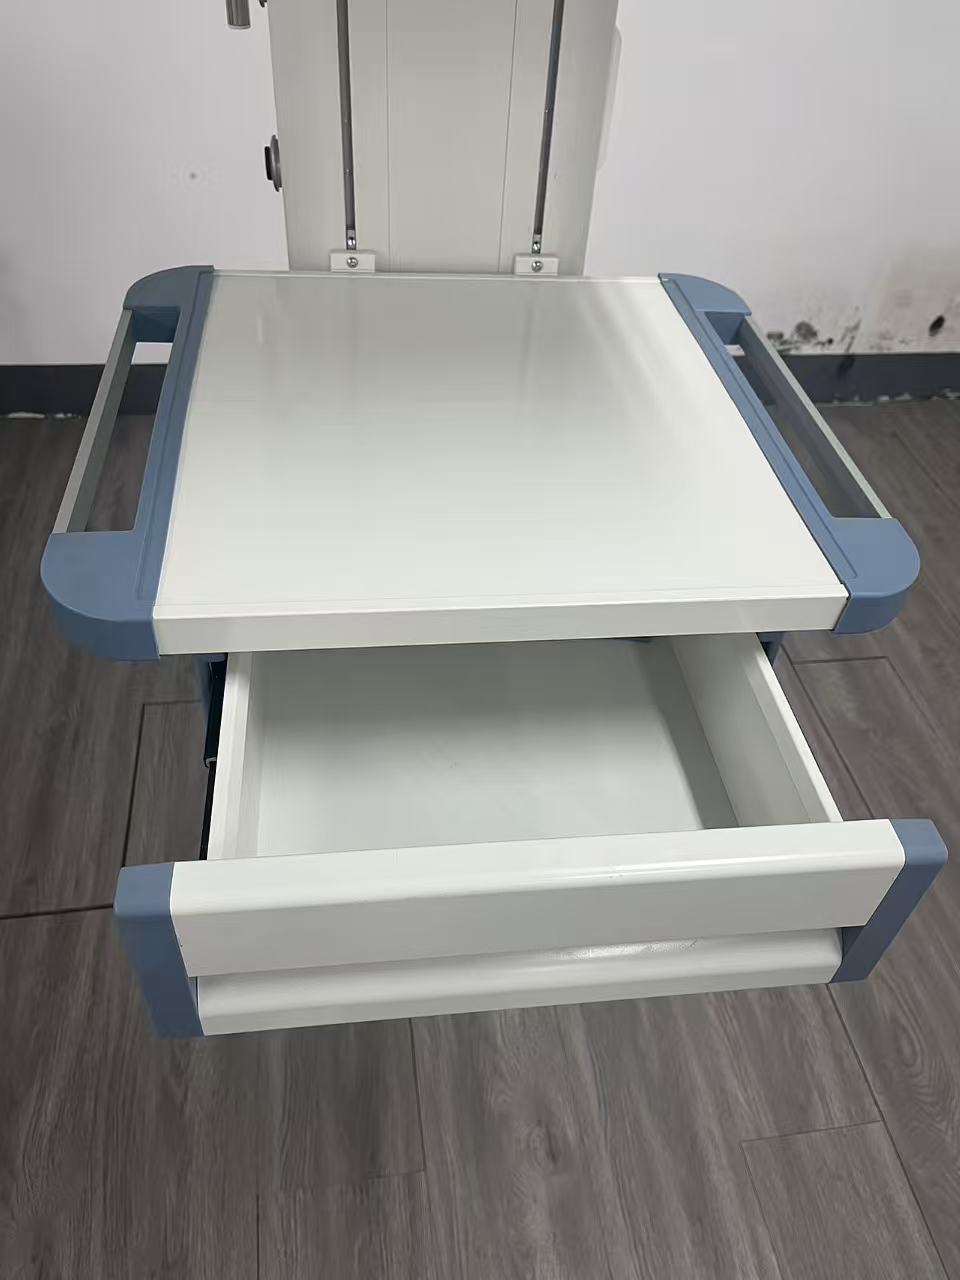
Ceiling-mounted systems carry the highest mechanical risk in the OR, so they get the deepest checks. For medical pendant systems, our on-site acceptance protocol covers three layers:
Anchoring and structure
Every anchor bolt is torqued to the value in the installation manual and the torque value is recorded per anchor point — we use a printed anchor schedule the installer signs bolt by bolt. Where the structure is steel rather than slab, we verify weld certificates or clamp ratings match the engineer’s specification. This is the step most often skipped by general contractors, and it is the step that matters most in a seismic event or a ceiling collision.
Movement and drift testing under load
Load each pendant arm and shelf to its rated working load — actual anesthesia machines, monitors, and infusion stacks, or calibrated test weights — then run the full articulation range. Acceptance criteria: the arm holds position at every point of the envelope with no visible drift over a 10-minute hold, brakes engage positively, and there is no binding or cable snag through the full rotation. Repeat after 24 hours; slow gas-line or cable-settling drift often only shows on the second pass.
Operating tables and mobile equipment
For operating tables, run every powered articulation through its full range with a test load (we use sandbags or staff volunteers at the table’s rated capacity), verify floor-lock stability under lateral push at maximum height, and cycle the backup battery. Caster and brake checks on beds and trolleys sound trivial — until a fully stocked anesthesia cart drifts during a case because nobody verified the brake engagement on a sloped floor.
Step 4: Electrical Safety and Functional Testing (IEC 60601 in the Field)
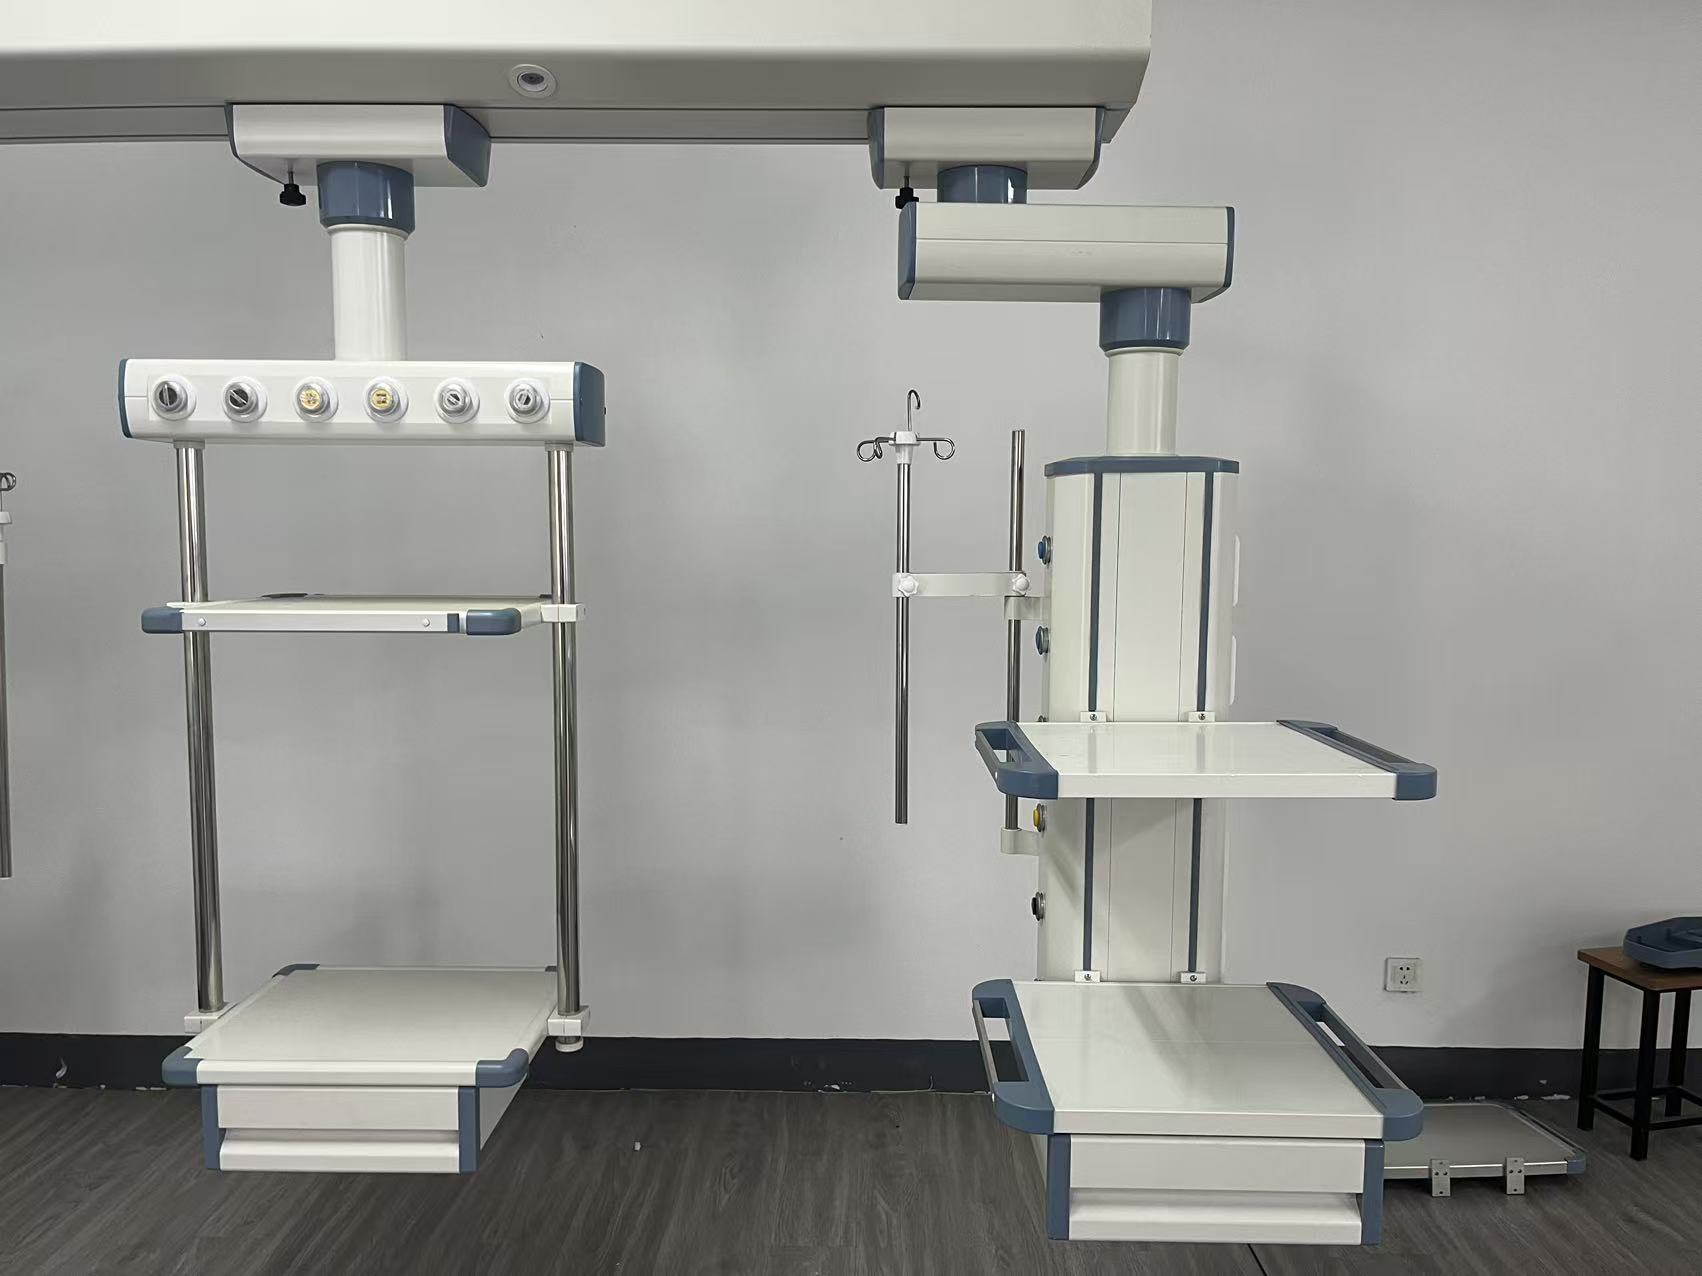
Electrical acceptance testing is where IEC 60601-1 moves from a certificate on paper to measurements on your actual circuits. Factory test reports are necessary but not sufficient — shipping, installation, and your building’s wiring all change the safety picture. The minimum field test set we require before clinical use:
- Protective earth continuity from every accessible conductive part to the room’s earth terminal, measured with a calibrated safety analyzer — values recorded per device, per point.
- Earth leakage and touch current measurements in normal and single-fault condition, against the limits of the device’s applied-part classification (B, BF, or CF). CF-class equipment near the patient, such as table-mounted devices, gets the strictest scrutiny.
- Insulation resistance where the manual specifies it, especially after any field wiring modification.
- Functional verification of every user control, safety stop, battery backup changeover, and alarm. On surgical lights: full intensity range, color temperature and CRI spot-check against the specification, endoscopy mode, and automatic switchover to the backup bulb or battery. Our LED surgical lights ship with a per-unit photometric report — acceptance means the installed readings match it.
- UPS and isolated power behavior. Pull the mains: critical equipment must transfer without reboot, alarm correctly, and run for the specified autonomy time.
Field lesson: the most common electrical failure at acceptance isn’t the equipment — it’s the building. Reversed polarity on a dedicated OR circuit, a missing equipotential bonding point, or an unlabeled breaker will fail an otherwise perfect device. Test the circuit, then the device.

Step 5: Medical Gas and Terminal Unit Verification
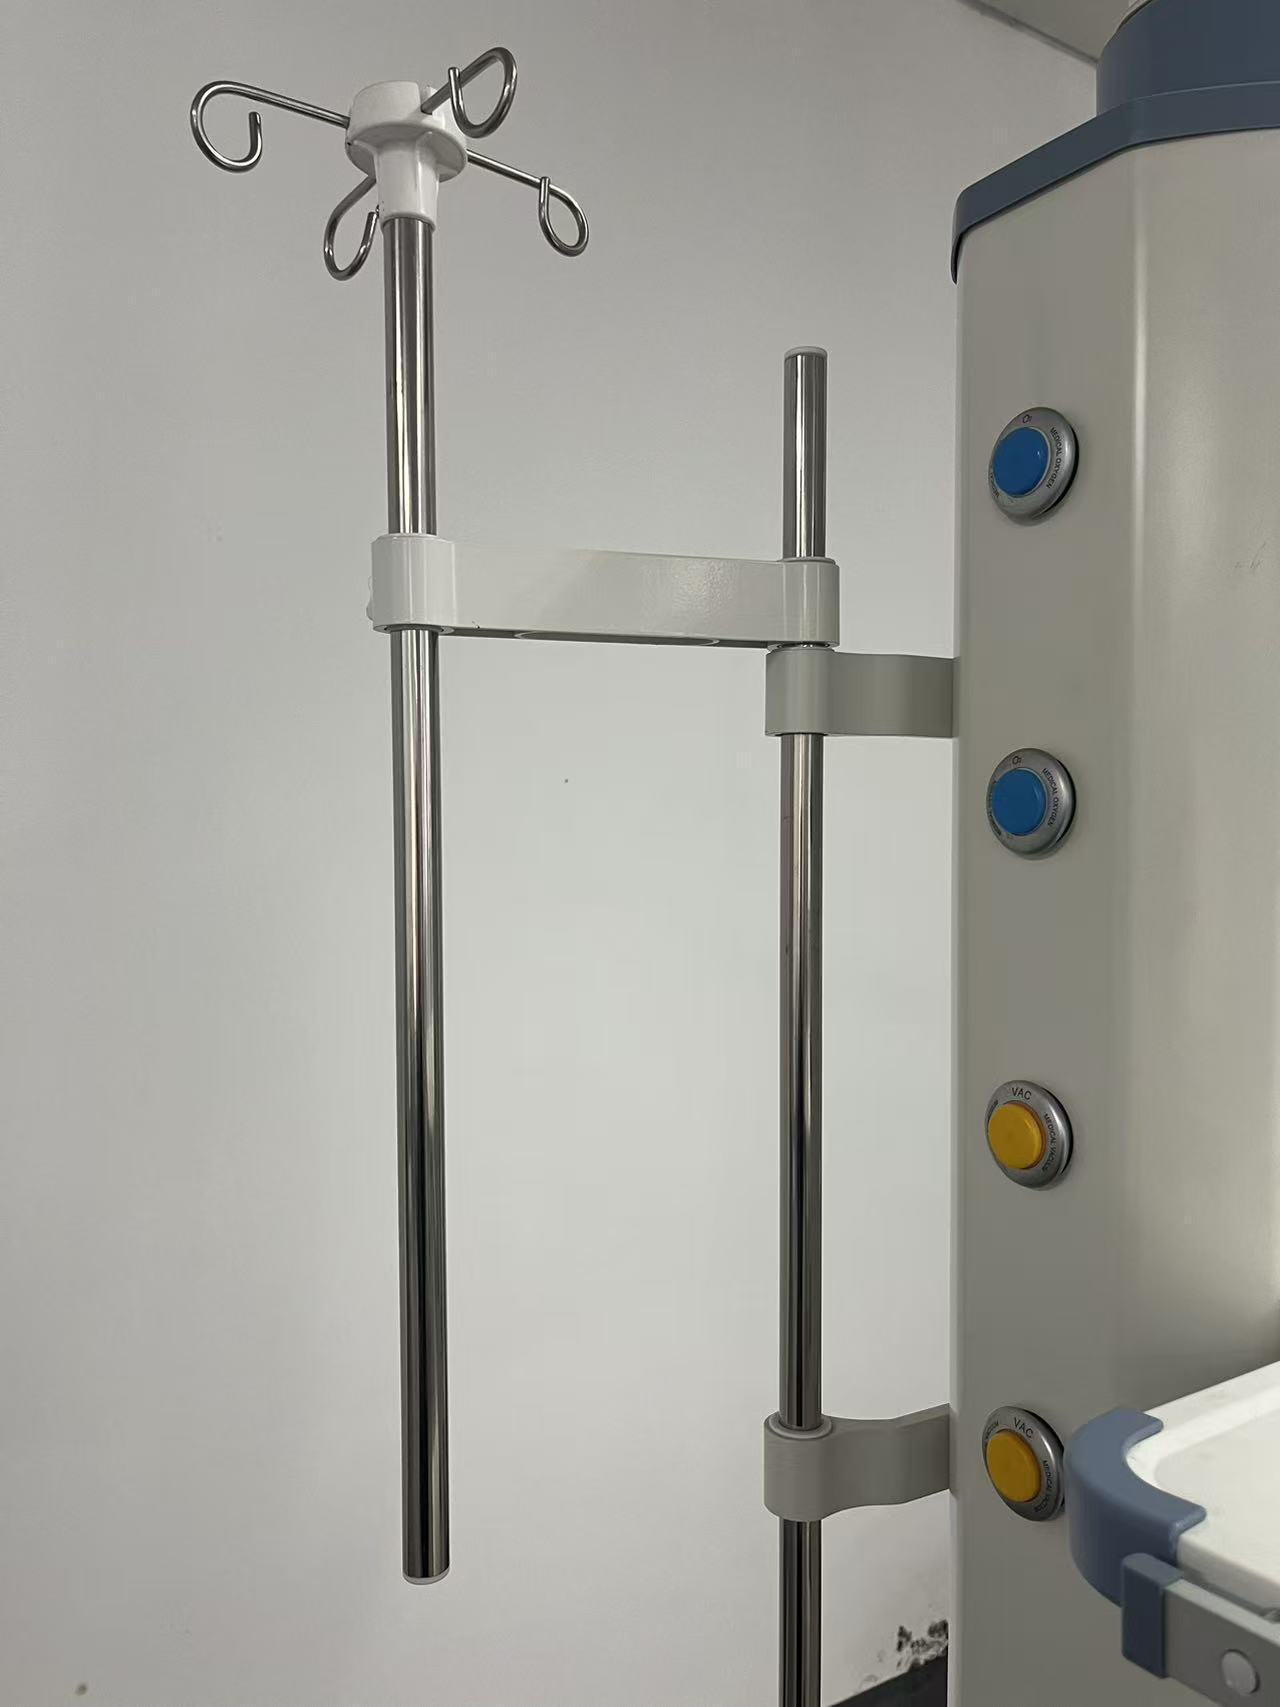
Gas services are the highest-consequence part of pendant commissioning, and the only part where a wrong connection can be immediately lethal. Whether your project follows NFPA 99, HTM 02-01, or ISO 7396-1 as its pipeline standard, the acceptance logic is the same:
- Cross-connection (anti-confusion) test. Every terminal unit on every pendant must deliver only the gas labeled. This is witnessed by both the installer and the hospital’s engineering lead, outlet by outlet, with calibrated analyzers — oxygen concentration verified at every O2 point, and vacuum verified to hold at every suction point.
- Pressure and flow verification. Static and dynamic pressure at each terminal under simultaneous load — the realistic scenario is all outlets in the room in use at once, not one at a time.
- Leak test on pendant-side connections. Flexible hoses and internal pendant piping are the most common leak points after installation (we’ve written about diagnosing these in our guide to medical pendant gas outlet leaks). A pressure-hold test over a defined period, recorded, is the acceptance evidence.
- Alarm and area valve service unit check. Verify the pipeline alarms trigger at the correct thresholds and that zone valves isolate only the zones they should — with the valve position labels matching the as-built drawings.
Step 6: The Master Acceptance Checklist
Pull everything above into a single room-by-room sign-off matrix. This is the format we hand to hospital project managers — every row needs initials, a date, and a document reference. Nothing is “assumed done.”
| Commissioning Phase | Key Acceptance Tests | Reference Standard | Sign-off Required From |
|---|---|---|---|
| Pre-installation | Structural load certificate; services rough-in vs. shop drawings; HVAC/dust readiness | Manufacturer installation manual; structural engineer’s spec | Project manager + hospital facilities |
| Incoming inspection | Shock/tilt indicators; serial number reconciliation; accessory count; transit damage | FDA 21 CFR 820.80 (acceptance activities); ISO 13485 records | Biomedical engineering + storekeeper |
| Mechanical installation | Anchor torque log; loaded drift test (10-min hold, repeat at 24 h); table articulation under load; brake checks | Manufacturer load schedule; IEC 60601-1 mechanical hazards | Installer + biomedical engineering |
| Electrical safety | Earth continuity; leakage/touch current; insulation; UPS changeover; light photometrics vs. spec | IEC 60601-1; HTM 06-01 / NFPA 99 as applicable | Clinical engineering (calibrated analyzer) |
| Medical gases | Cross-connection test; static/dynamic pressure; leak hold test; alarm thresholds; valve zoning | ISO 7396-1; HTM 02-01 / NFPA 99 as applicable | Gas verifier + hospital engineering lead |
| Documentation & training | As-built drawings; test reports; asset register; user and technician training sign-off | ISO 13485 / local MoH requirements; MDR 2017/745 technical docs | OR nursing lead + biomedical engineering |
Step 7: Documentation, Training, and the Handover Pack
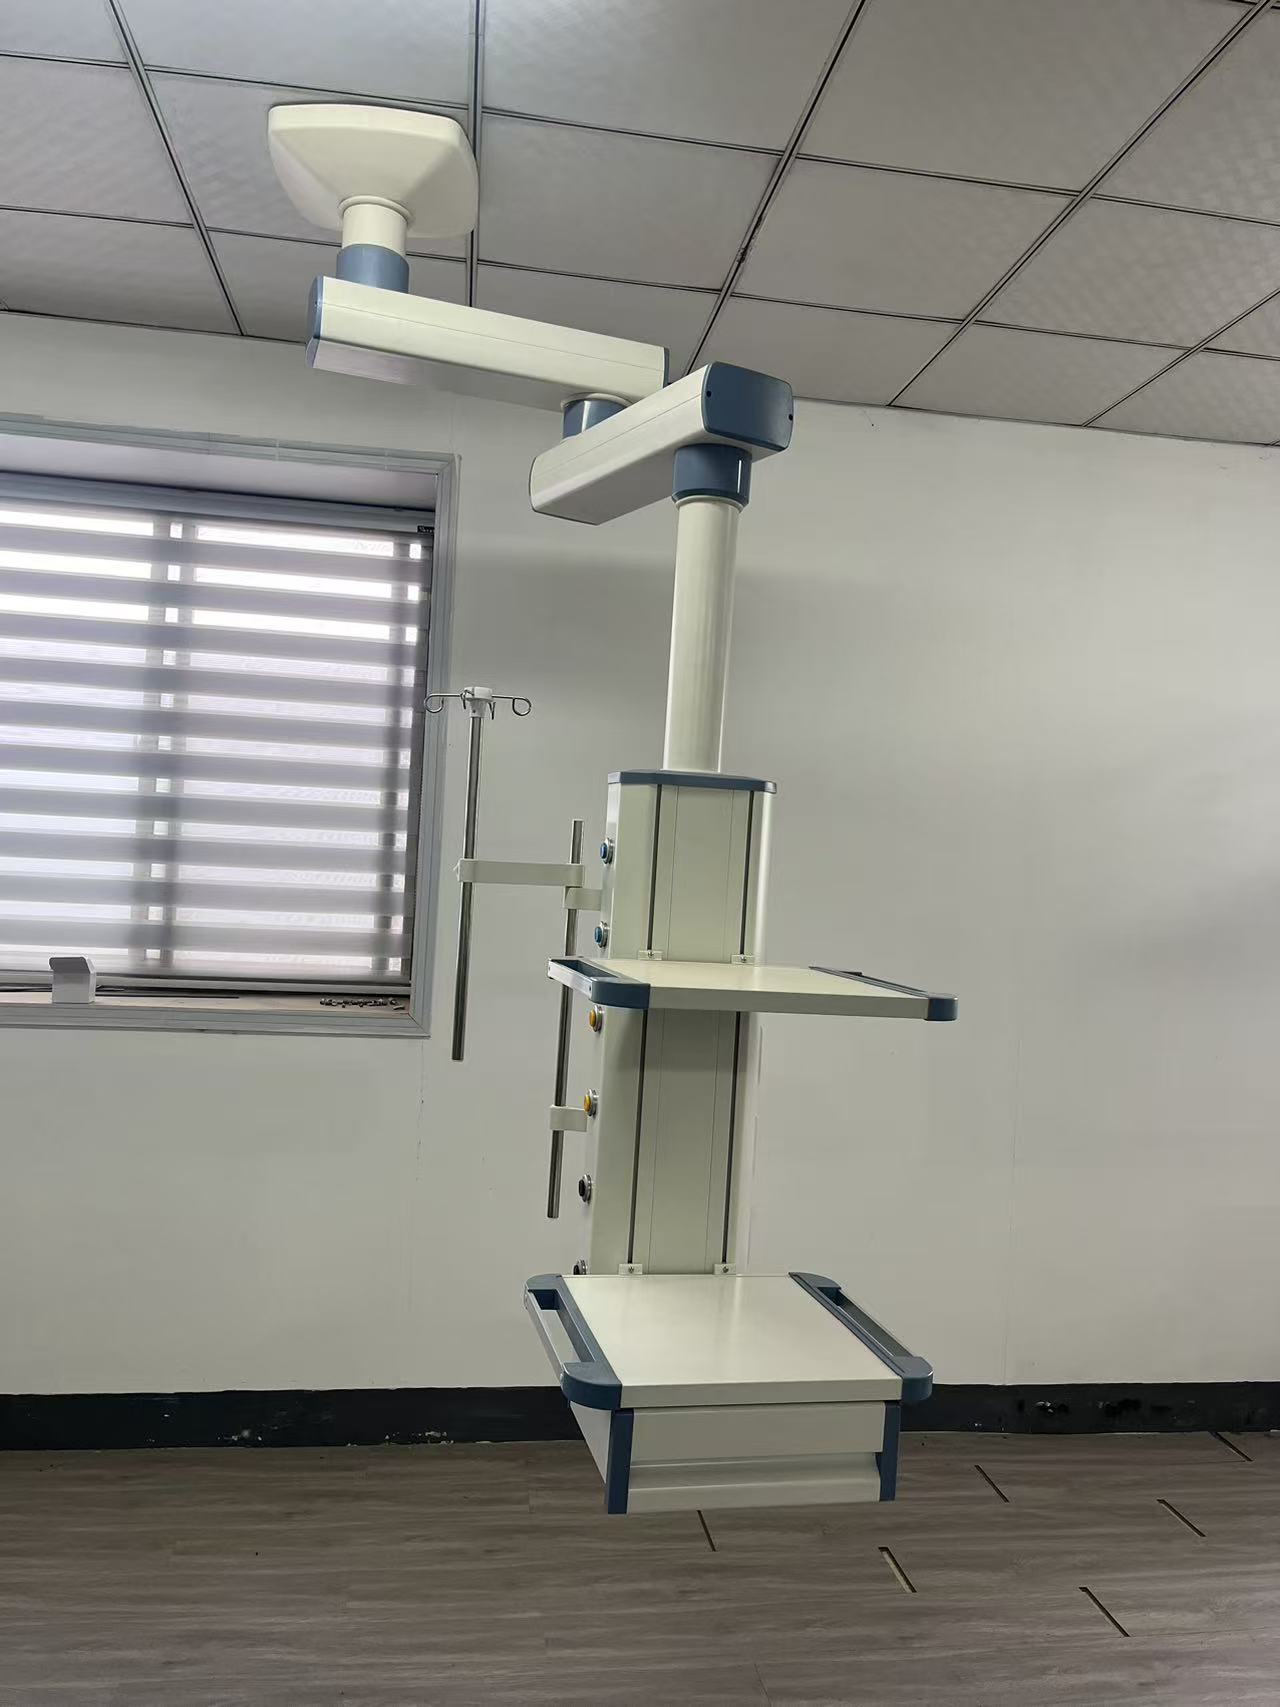
Commissioning isn’t complete when the tests pass — it’s complete when the hospital can prove the tests passed and can operate without the installer in the building. The handover pack we insist on includes:
- As-built drawings for gas, power, and data, red-lined to match reality — not the tender drawings.
- All test records from the matrix above: torque logs, safety analyzer printouts, gas verification sheets, photometric reports.
- Asset register with PM schedule. Every serial number, warranty start date, and the preventive maintenance interval the warranty actually requires. This feeds directly into your long-term spare parts and service planning.
- Training evidence. Two levels: user training for nursing and anesthesia staff (daily operation, cleaning limits, what NOT to hang on a pendant), and technical training for the biomedical team (first-line fault finding, PM procedures, parts identification). Both signed, both dated.
One more thing we do on every project: a 30-day post-commissioning revisit. Equipment behaves differently after a month of real clinical use — brakes bed in, cables settle, gas connections relax. A scheduled short revisit catches the small drift before it becomes the call I described at the top of this article.
Conclusion
Operating room equipment installation commissioning is not a ceremony — it’s an engineering process with named tests, standards references, and signed evidence. The checklist in this article reflects what we’ve refined across 60+ OR projects: verify the room before the equipment arrives, inspect at the crate, test mechanical integrity under real load, prove electrical safety against IEC 60601 in your building, witness every gas outlet, and don’t call it done until the documentation and training are filed. Whether you execute this with your own team or through a turnkey partner, the discipline is the same — and so is the payoff: an OR that opens on time and stays trustworthy for years. If you’re scoping a project now and want our full commissioning protocol template, contact our project team — we share it with every customer, and with anyone who asks.
Frequently Asked Questions
How long does OR equipment commissioning typically take?
For a single standard operating room with a pendant, light, and table, allow three to five working days for installation plus one to two days for testing and sign-off — assuming the room passed pre-installation verification. Multi-room projects benefit from parallel crews, but never compress the gas cross-connection and electrical safety testing to save a day; those steps are witness-bound and sequential by nature.
Who should witness acceptance testing on the hospital side?
At minimum: a biomedical/clinical engineering representative for electrical and functional tests, the hospital’s engineering or facilities lead for gas and structural items, and an OR nursing representative for the final usability walkthrough. For turnkey projects, we also recommend the project owner’s procurement officer attends the final sign-off so the acceptance certificate aligns with payment milestones.
What is the difference between FAT and SAT for OR equipment?
Factory Acceptance Testing (FAT) happens at the manufacturer’s facility before shipment and proves the equipment meets its specification as built — electrical safety per IEC 60601, photometrics for lights, load tests for pendant arms. Site Acceptance Testing (SAT) happens after installation and proves the equipment still performs in your building, on your circuits, piped to your gases. Both are needed; a passed FAT never substitutes for SAT, because shipping and installation introduce their own failure modes.
Can commissioning be done by the equipment supplier, or does it need a third party?
Both models work. Supplier-led commissioning is faster and the installers know the equipment intimately — but the hospital must still witness and countersign every test. Third-party verification adds independence and is common in public tenders. Our recommendation: supplier executes, hospital witnesses, and for medical gas systems an authorized verifier (per HTM 02-01 or NFPA 99 practice, as applicable) signs the pipeline certificate.
What are the most common reasons an OR fails its first acceptance?
From our project records: building-side electrical issues (polarity, earthing, unlabeled circuits), ceiling anchor installations that don’t match the structural drawing, gas outlets delivering below dynamic pressure under simultaneous load, and missing documentation. Equipment-side failures are comparatively rare when the factory FAT was properly witnessed — which is why we encourage every buyer to attend or nominate an agent for FAT before shipment.
You May Also Like...

Medical Pendant Installation: 5 Mistakes That Cause Early Failure
medical pendant installation mistakes is the first checkpoint buyers should lock before they approve a...

Medical Pendant vs Tower Boom: How to Choose the Right Ceiling Supply Unit
Medical pendant vs tower boom explained: structural differences, coverage radius, load capacity, installation conditions, and...

Medical Pendant for an Endoscopy Suite: Configuration Guide vs. the OR
How to configure a medical pendant for an endoscopy suite: endoscopy vs anesthesia towers, monitor...
