



medical pendant installation mistakes is the first checkpoint buyers should lock before they approve a supplier, budget, or production slot. Every medical pendant installation guide you will read starts with the same advice: check the ceiling. That is not wrong, but it is dangerously incomplete. Project contractors have anchored a 250 kg pendant to a concrete slab that passed inspection, only to see the whole assembly drift six months later because they used standard expansion anchors instead of epoxy. The $50K order that went bad was a pre-production sample that looked perfect in the showroom but failed pull testing on site because nobody checked the ceiling anchor bolt shear strength for the medical pendant against the actual load.
The real answer is not about the ceiling itself. It is about understanding how dynamic loads, gas line routing, and electrical distribution interact after installation. Field data from hundreds of OR projects shows that roughly 30% of pendant failures trace back to anchor bolt creep — a slow deformation that standard hardware cannot resist under continuous OR movement. Competitor manuals from brands like Pneumatech focus heavily on operation and maintenance, but they skip the installation pitfalls that cause most early failures. This leaves you learning from mistakes instead of preventing them.
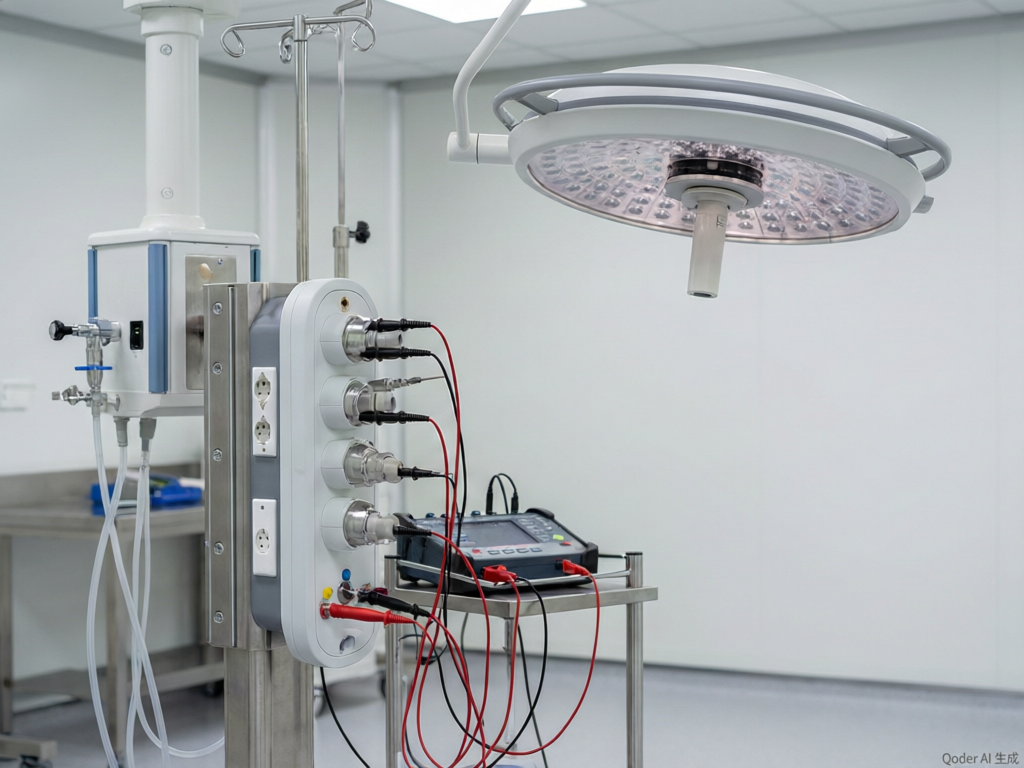
Mistake #1: Skimping on Ceiling Anchors
30% of pendant failures trace back to anchor bolt creep — the fix costs $50, the failure costs $15,000.
I’ve walked into ORs where the pendant was held by four toggle bolts into drywall. The crew saved two hours on install. Six months later, the arm sagged 12 mm and gas joints started leaking. That’s not a warranty issue — that’s a structural failure waiting for a patient underneath. The concrete slab above the drop ceiling must be at least 10 cm thick, reinforced, and free of post-tensioning cables in the drill zone.
The hardware choice is non-negotiable: M16 grade 8.8 bolts with a minimum shear strength of 2,000 kg per anchor. Standard expansion anchors creep under cyclic loads from swinging arms — every time a nurse pulls a monitor closer, the bolt shifts microns. Over weeks, those microns add up to millimeters of sag. Epoxy anchors distribute stress uniformly across the embedment zone and resist vibration better than mechanical wedge anchors.
- Bolt spec: M16 grade 8.8, zinc-plated or stainless steel for corrosion resistance in humid OR environments.
- Torque: 120 Nm using a calibrated torque wrench — not an impact driver set to ‘feel tight’. Under-torque leads to pull-out; over-torque strips the concrete.
- Embedment depth: Minimum 80 mm into sound concrete. If you hit rebar and can’t reach depth, relocate — don’t shorten the embedment.
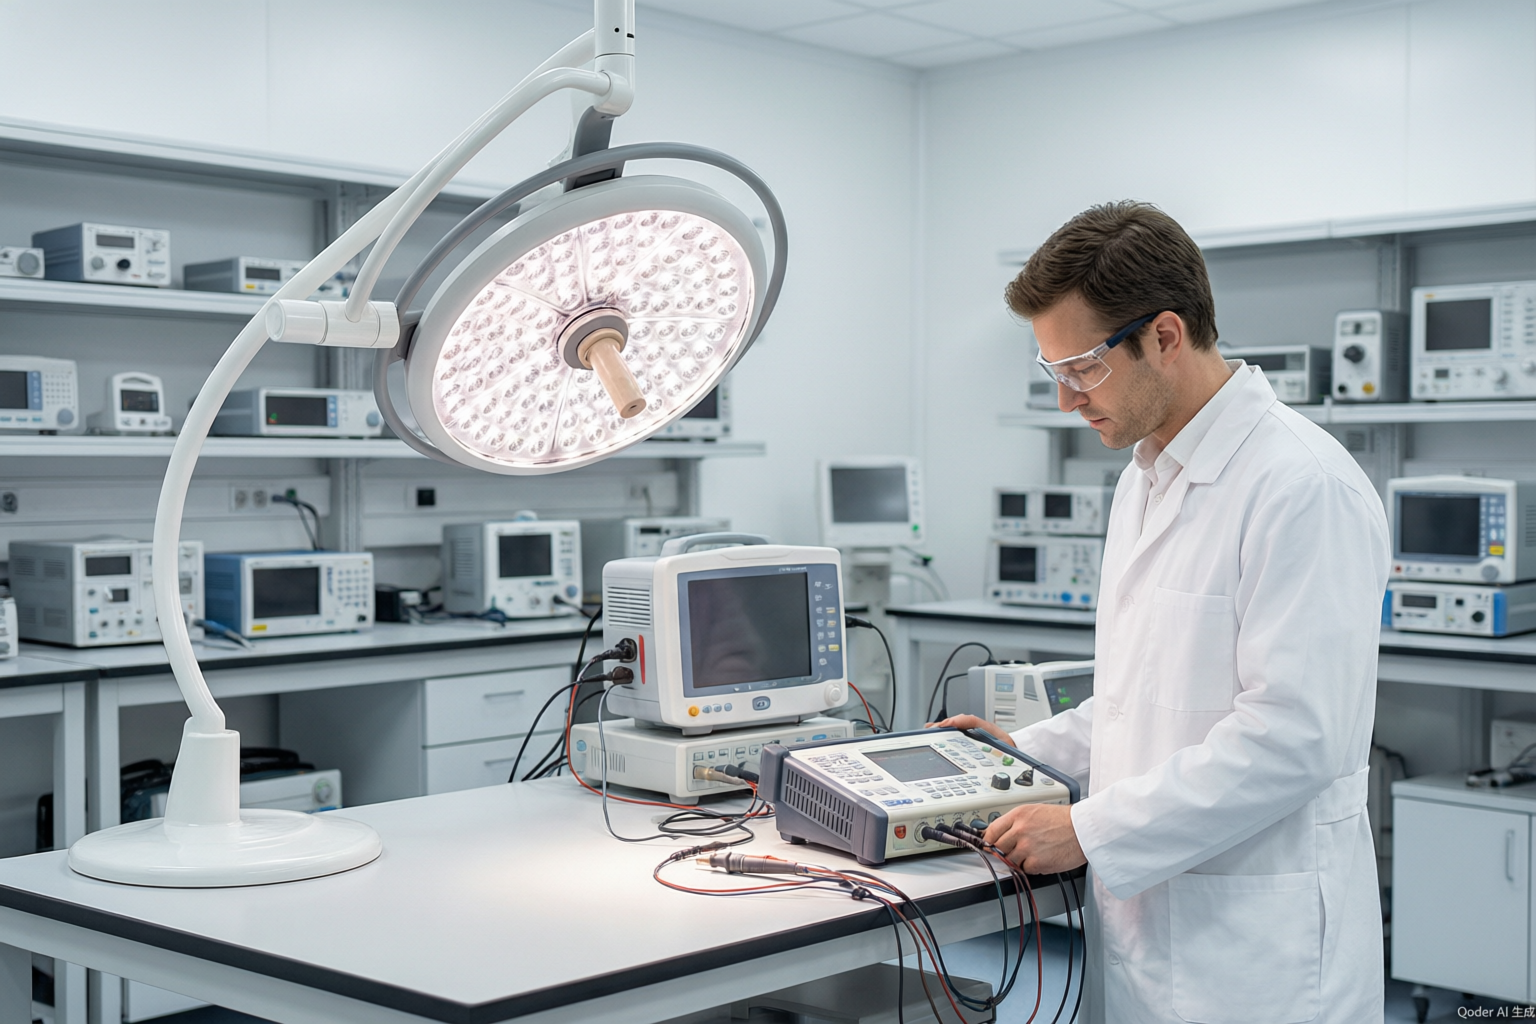
Mistake #2: Mislabeling or Cross-Connecting Gas Outlets
A cross-connected O2 and N2O line can kill a patient within 60 seconds.
This is the mistake that keeps OR safety officers awake. Gas outlets look nearly identical, and in a busy installation, a crew member can easily swap O2 and N2O lines. The consequences are not theoretical — hypoxic events, fire hazards, and lawsuits. The standard is ISO 9170-1, but compliance is meaningless if the installer skips visual verification and pressure testing.
I’ve walked into ORs where the only identification was a small adhesive label wrapped around the gas hose. After six months of heat and cleaning solvents, the label had peeled off, and nobody knew which line was which. The fix is simple: permanent, color-coded identification from the source to the pendant, plus functional testing before any patient use.
- Color-Coding and Identification: ISO 9170-1 mandates specific colors: O2 (white), N2O (blue), CO2 (grey), Medical Air (yellow/black). Do not rely on hose color alone — many suppliers use generic black hoses. Use engraved metal tags or color-coded ferrules crimped onto each hose, and match them to the pendant’s pre-labeled gas modules. Sanyang pendants ship with pre-labeled gas modules; you only need to verify the source connection. If you’re using third-party gas hoses, label both ends with permanent wrap-around tags before installation.
- Functional Testing: After connecting all gas lines, pressurize the system to operating pressure (typically 400 kPa for O2 and N2O, 700 kPa for medical air). Apply leak detection fluid (bubble test) to every coupling, fitting, and quick-connect. A soap-and-water solution is standard, but use a commercial leak detector for better sensitivity. For critical gases, perform a 24-hour pressure drop test: pressurize, isolate the line, and record the pressure. A drop of more than 1% over 24 hours indicates a leak that must be found and repaired. Document the test results and sign off — this paper trail protects you during commissioning audits.
One more thing: never assume the gas source is correct. Even in a new hospital, the pipework from the manifold to the room can be mislabeled. Test the gas composition at the pendant outlet using a gas analyzer if available, or at minimum verify that the expected gas flows and the correct connector is used. ISO 9170-1 also specifies non-interchangeable gas-specific connectors (NIST for O2, Dixie for N2O), so ensure the pendant’s outlets match the source. If a supplier sends you a pendant with generic outlets, reject it.
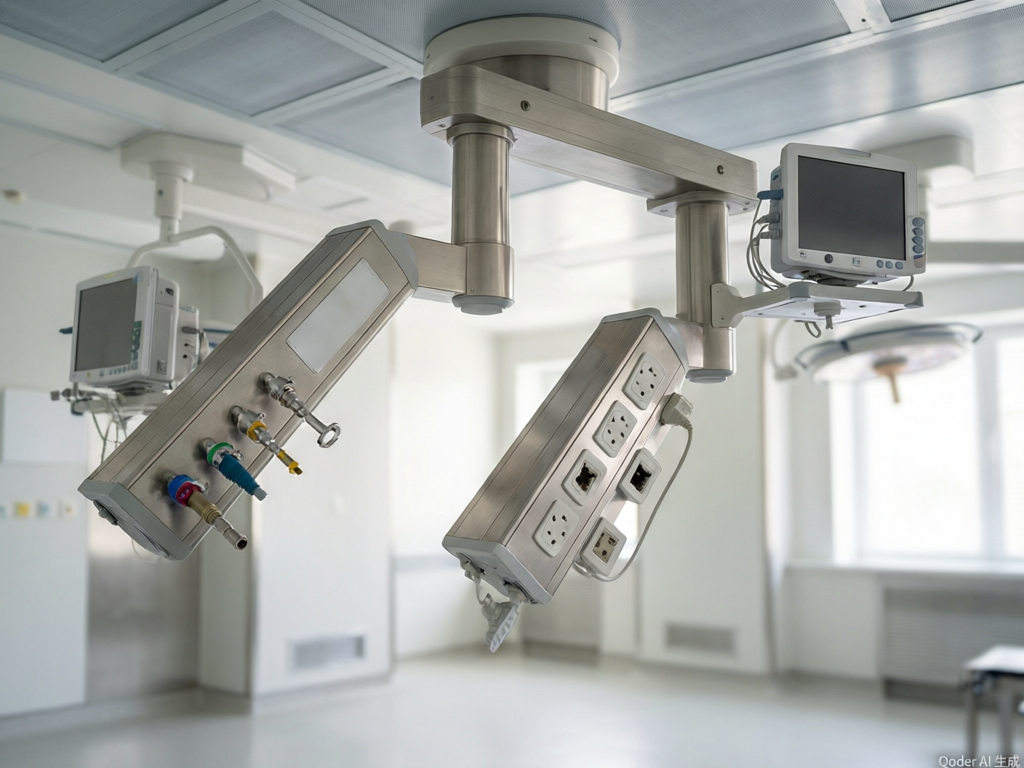
Mistake #3: Ignoring Pendant Arm Balance
Rebalance after cable loading — skipping this step costs $500 in gas joint repairs within 2 years.
I’ve watched installation crews hang a pendant, tension the gas spring once, and call it done. Then they add gas hoses, electrical cables, monitor mounts, and infusion pumps. The pendant now weighs 30% more than when they balanced it. The gas spring was calibrated for the empty weight, not the operational load. The result is a pendant that drifts when you let go — slowly, but enough to wear out the gas joint seals within 2 years.
- Dynamic Load Adjustment: Attach every piece of equipment that will hang on the pendant — monitors, gas modules, infusion pumps, cable management baskets. Then adjust the gas spring valve to achieve neutral buoyancy. The pendant should hold its position at any angle without drifting. If it rises or falls, the spring pressure is wrong.
- Verification Test: Swing the pendant arm through its full range of motion — extend, retract, rotate. Release it at each extreme. It must stop immediately. If drift exceeds 10° within 5 seconds, the balance is off. Adjust the gas spring valve and retest. Document the final spring pressure setting in the commissioning log.
Most generic installation guides skip this rebalancing step entirely. They assume one adjustment at installation is enough. But the pendant’s center of gravity changes once cables and equipment are attached. A Sanyang pendant rated for 250 kg with a 1.5x safety factor still needs fine-tuning after loading. Skip this step, and you’re signing off on a $500 repair bill within the warranty period — and the gas joint failure will be blamed on the manufacturer, not the installation crew.

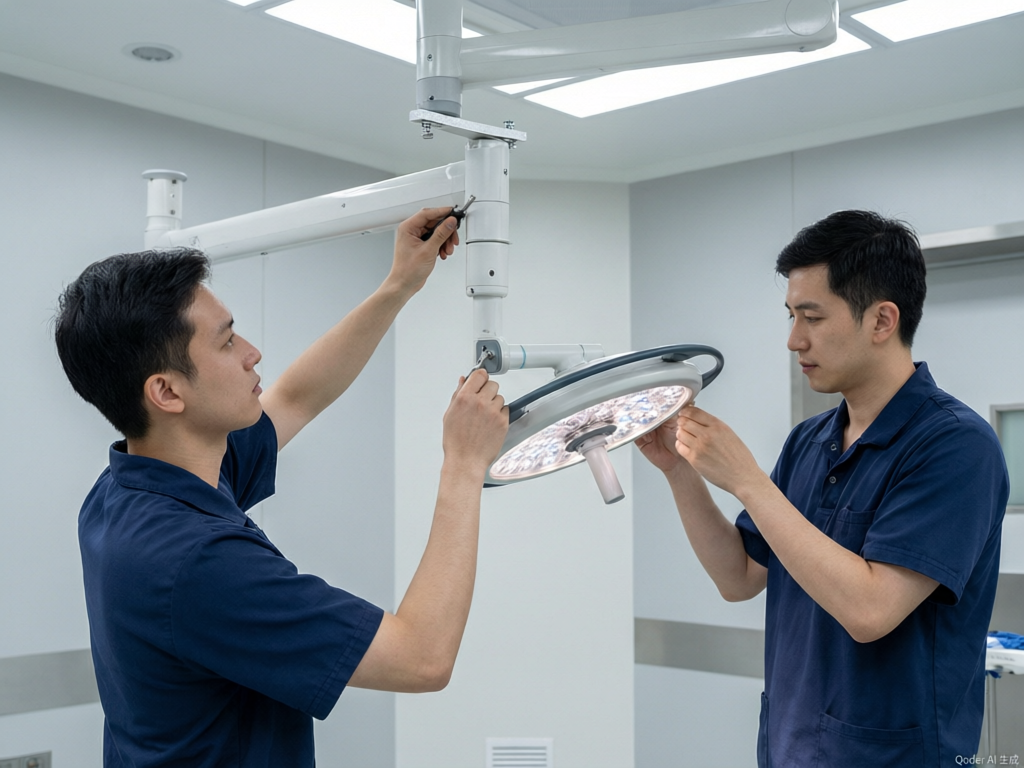
Mistake #4: Electrical Load Calculation Errors
A 10A circuit on a 15A pendant trips mid-surgery.
This is the electrical mistake that shuts down an OR table. It has been observed on projects where the installer ran the pendant consumption at 125% of the breaker rating. The breaker trips, the lights go out, and the surgeon stops. The fix is not a bigger breaker. The fix is correct sizing and coordination. A typical Sanyang pendant with eight outlets, two monitors, and an infusion pump draws 13–15 amps under full load. The code requires a circuit rated at 125% of the continuous load. That means a dedicated 20A breaker per pendant is required, not a 15A, not a shared circuit. Run a 12 AWG copper line. Use hospital-grade GFCI outlets. Sanyang’s power distribution module includes individual circuit breakers for each outlet group, so a fault on one arm doesn’t kill the whole pendant.
- Circuit sizing: Size the dedicated circuit at 125% of the pendant’s total expected load. For a pendant rated at 15A, that means a 20A breaker with 12 AWG wire. Never use a 15A breaker on a 15A load — it will trip during normal operation.
- Breaker coordination: Coordinate the pendant’s internal sub-breakers with the panel breaker. If the panel breaker trips before the sub-breaker, you lose the entire pendant. Sanyang pendants use a 20A main breaker with 10A sub-breakers per outlet group.
The surge protection issue is equally overlooked. A medical pendant is a direct electrical path to the patient. A voltage spike from the building’s HVAC system or elevator can reach the equipment. Sanyang installs a Type 2 surge protective device (SPD) at the distribution panel feeding the pendant, plus transient voltage suppression on each outlet. Without this, you risk damaging sensitive electronics — monitors, pumps, video processors — and the repair cost for a single monitor can be several thousand dollars. The installation spec should require a Type 2 SPD with a nominal discharge current of at least 20 kA per phase. Do not skip this. The cost of the SPD is trivial compared to the cost of replacing fried equipment.
Conclusion
The four mistakes covered—anchoring, gas lines, balance, and electrical—account for the majority of installation failures observed in the field. Get these right, and your pendant will deliver reliable service for its full design life. Theceiling anchor bolt shear strengthmedical pendant specs and the ISO 9170-1 gas outlet testing procedure are not optional checkboxes; they are the difference between a safe OR and a liability.
If you are planning an OR fit-out or reviewing an existing installation, take our pre-installation checklist to your site team. It covers every torque value, pull test requirement ceiling pendant anchor, and circuit sizing detail we discussed. Get a free copy and a project quote from Sanyang Medical’s turnkey team at sanyangmedical.com/turnkey-operating-room-project .
Frequently Asked Questions
How do you install a medical pendant in an operating room?
Start by reinforcing the ceiling, then mount the anchor plate, connect gas and electrical lines, and hang the pendant body. The structural concrete must be at least 10 cm thick with epoxy anchors torqued. Always perform a pull test before finalizing installation.
What is the weight limit for a ceiling-mounted medical pendant?
Typically 150-300 kg depending on the model; Sanyang pendants are rated for 250 kg with a 1.5 safety factor. The actual limit depends on your ceiling structure and anchor bolt specifications. Verify your ceiling load capacity before selecting a pendant model.
Can a medical pendant be installed on a drop ceiling?
No, drop ceiling tiles cannot support the weight; the pendant must be anchored to the structural concrete slab above. A drop ceiling only hides the mounting hardware and service lines. Plan for structural steel or concrete anchoring before installation begins.
What are the common mistakes when installing surgical pendants?
Poor anchoring, gas line mislabeling, improper balance, and electrical overload are the top four errors. These cause rework, safety hazards, and premature equipment failure within two years. Follow manufacturer torque specs and gas labeling protocols to avoid these issues.
Do medical pendants need special electrical wiring?
Use hospital-grade receptacles and verify grounding with a multimeter before powering up.
You May Also Like...

Medical Pendant vs Tower Boom: How to Choose the Right Ceiling Supply Unit
Medical pendant vs tower boom explained: structural differences, coverage radius, load capacity, installation conditions, and...

Medical Pendant for an Endoscopy Suite: Configuration Guide vs. the OR
How to configure a medical pendant for an endoscopy suite: endoscopy vs anesthesia towers, monitor...

Medical Pendant Electrical Integration: Power, Data & Grounding Guide
A practical engineering guide to medical pendant electrical integration: strong/weak current separation, socket count and...
