



Executive Summary
A field-tested playbook for hospital equipment installation management: master scheduling, multi-party coordination, SAT acceptance testing, operator training handover, and documentation.
Most hospital equipment installation projects do not fail because the devices were defective. They fail because nobody owned the schedule between the moment the crates arrived and the moment the clinicians signed off. I have walked into operating suites where a brand-new LED surgical light sat unpowered for three weeks because the ceiling pendant rough-in was not coordinated with the electrical contractor. The hardware was perfect. The installation and commissioning plan was the missing piece. That gap is exactly what disciplined hospital equipment installation management is designed to close.
For teams working through the same decision, see our buyer guide to AI in the OR.
A hospital fit-out is a multi-vendor relay race. The civil contractor hands over a room, the medical gas installer pressures the lines, the OEM flies in an engineer, the biomedical team verifies safety, and the clinical staff must be trained before the first patient is scheduled. If any one of those baton passes drops, the entire go-live date slips. In my experience across turnkey operating-room projects, the equipment itself is rarely the critical path. The coordination around it is. This article walks through the field-tested framework we use to manage schedule, acceptance, training, documentation, and closeout for hospital equipment installations, written as a working playbook rather than a textbook summary.
Whether you are a hospital project director, a biomedical engineer, or a contractor integrating a full OR suite, the same five disciplines apply: a realistic master schedule, structured multi-party coordination, a rigorous site acceptance test, a documented training handover, and an archived project data room. Get those right and the equipment performs from day one. Skip one and you inherit a punch list that bleeds into the warranty period.
Building the Installation Master Schedule
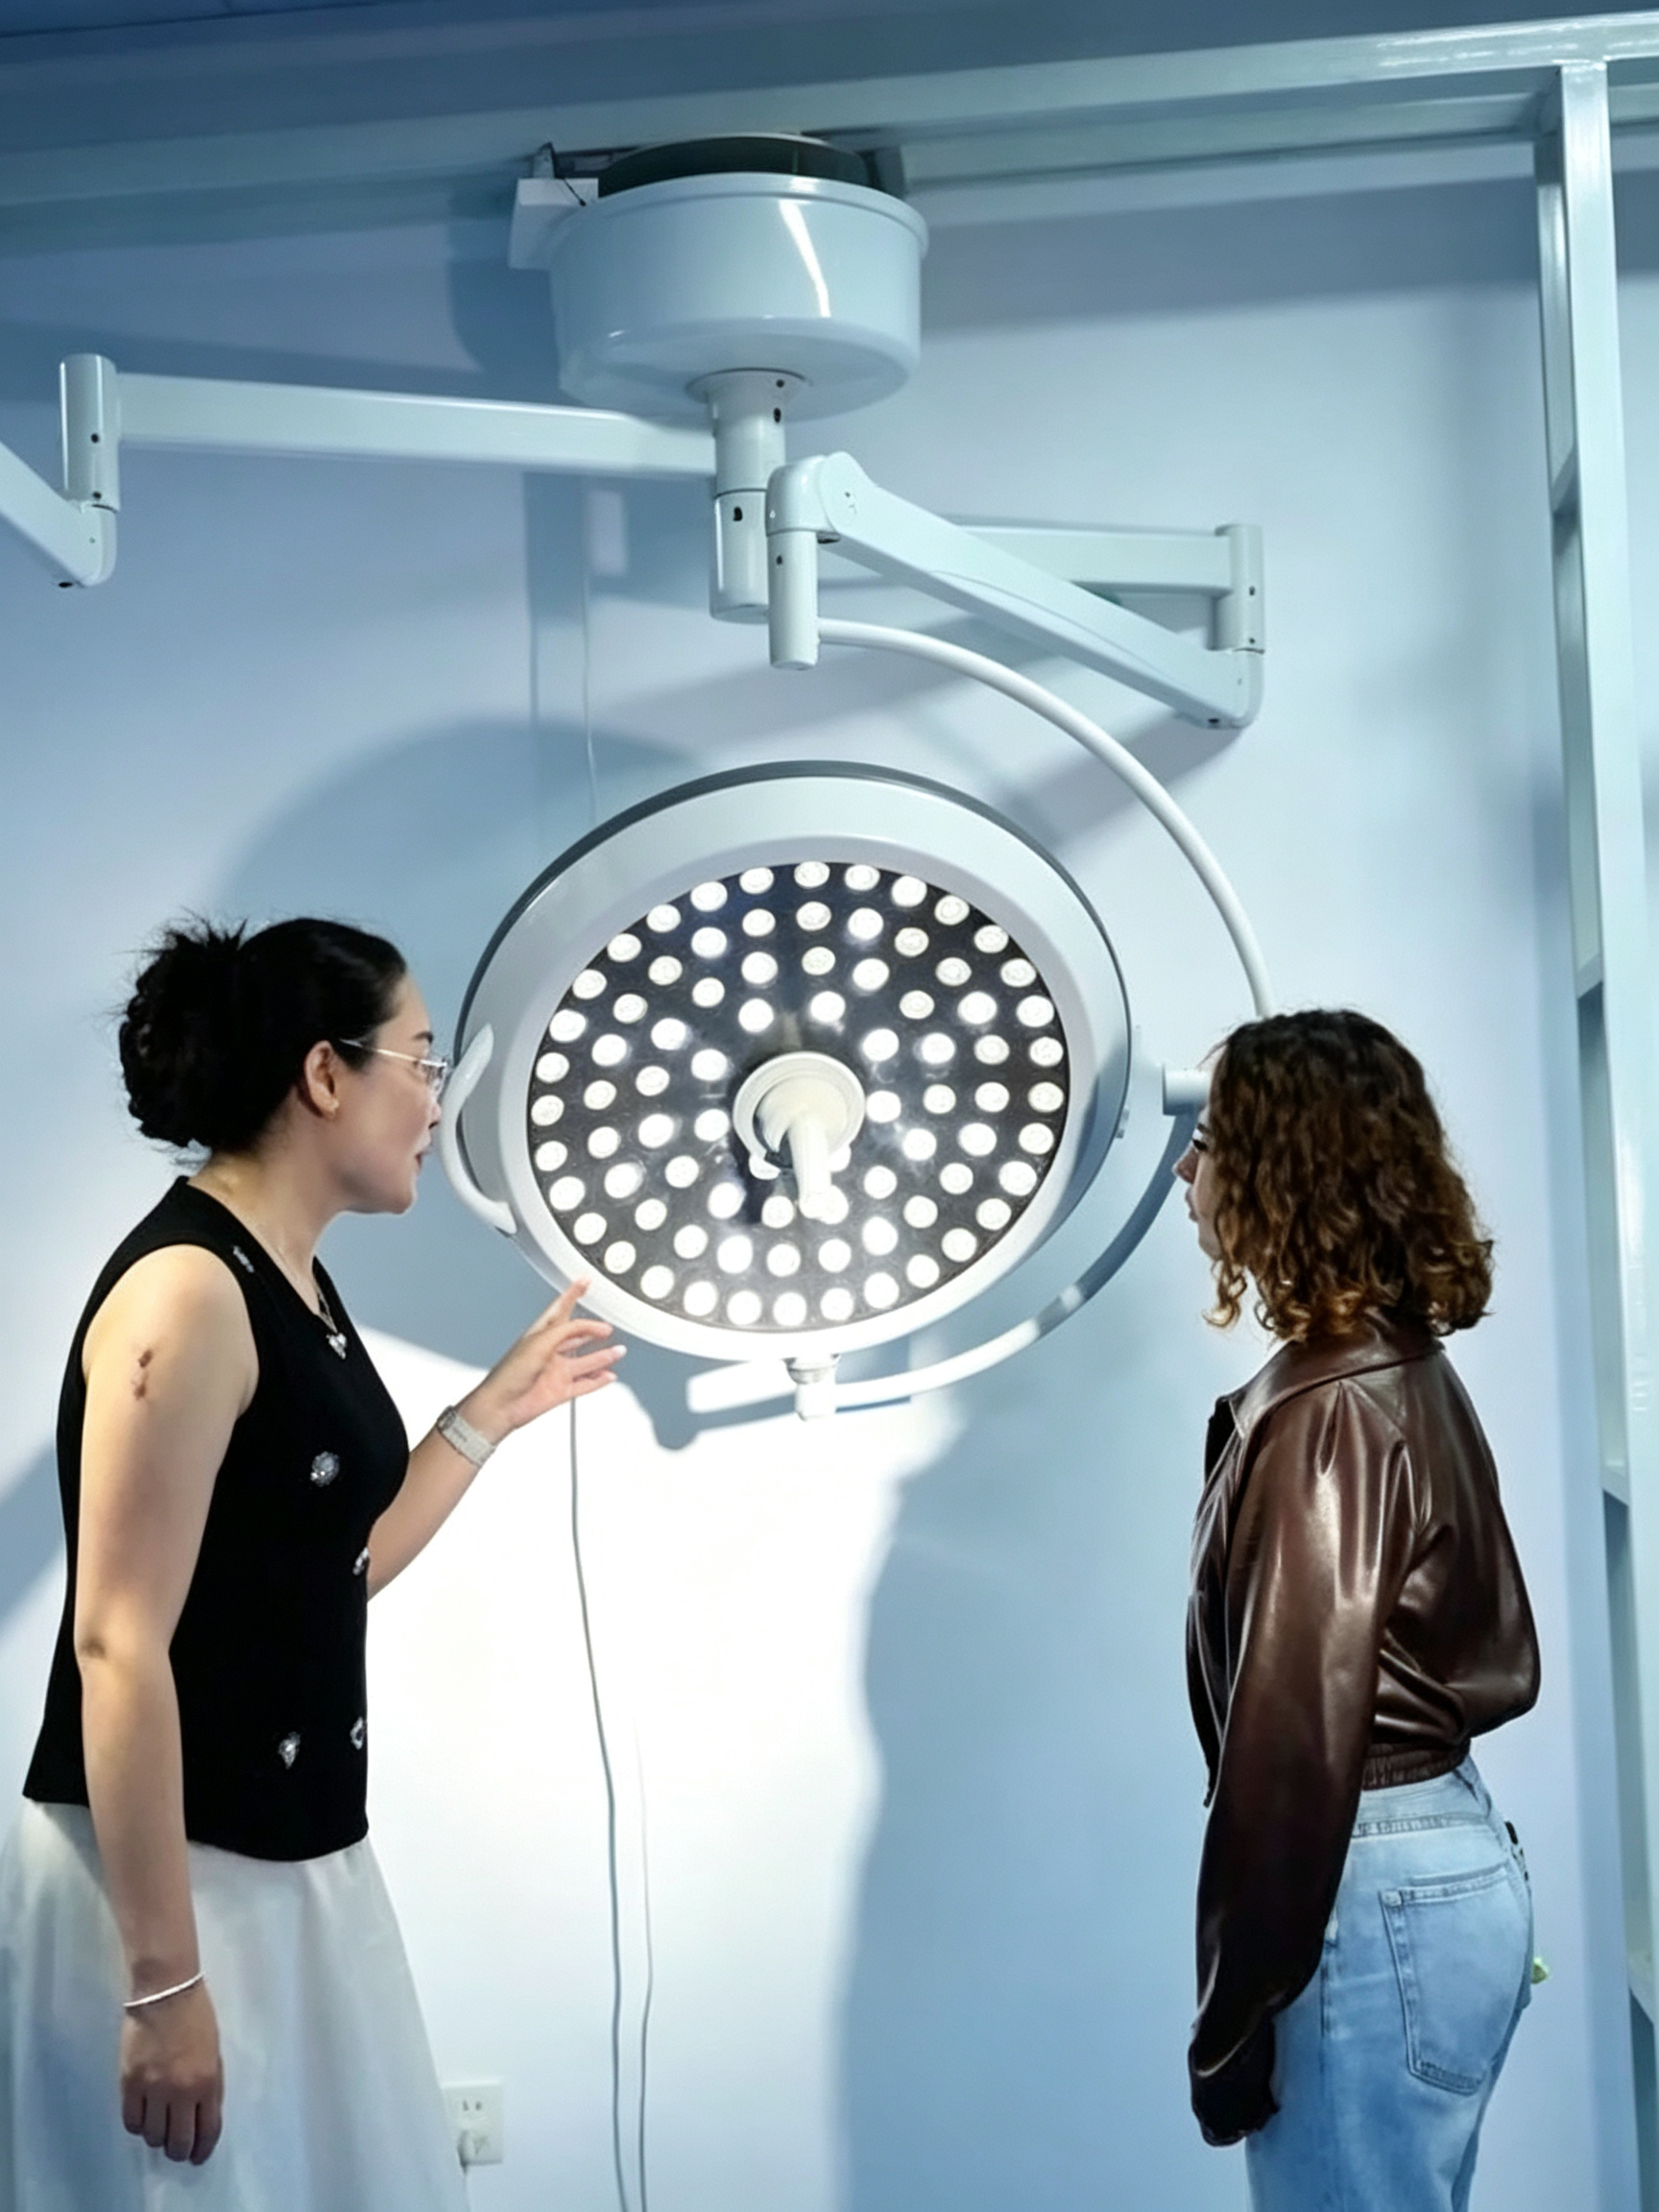
The master schedule is the single source of truth for the whole installation phase. The most common mistake is to build it backwards from the equipment delivery date instead of forwards from the room-ready date. Delivery means nothing if the room is not ready to receive the device. We anchor every schedule on a “room handover” milestone per space, then work backward to define what must be complete before each piece of equipment can be positioned, connected, and powered.
A practical schedule breaks the installation into clearly bounded phases with named owners. For a typical operating-room package, the sequence runs: civil and MEP (mechanical, electrical, plumbing) completion, medical gas pipeline verification, equipment delivery and staging, mechanical installation, electrical and data connection, functional testing, site acceptance testing, training, and clinical handover. Each phase has an entry criterion and an exit criterion. The exit criterion of one phase is the entry criterion of the next. That simple rule prevents the classic chaos of installing a surgical table on a floor that is still being sealed.
- Anchor on room readiness, not delivery. Define a per-room handover date and build the equipment installation backwards from it. Crates arriving early is not progress if the space is not ready.
- Float belongs to the project, not the vendor. Keep a shared contingency buffer at the end of the critical path rather than letting every vendor pad their own task. Hidden individual padding compounds into a misleading schedule.
- Sequence by trade dependency. Medical gas and electrical rough-in must precede equipment energization. Pendant-mounted devices depend on ceiling structure certification. Map these dependencies explicitly.
- Track milestones, not just tasks. Report weekly against named milestones (room handed over, device powered, SAT passed, training complete) so leadership sees real status instead of percent-complete guesses.
A schedule that lists deliveries but ignores room readiness is a shipping manifest, not a project plan. The installation phase lives or dies on the handover milestones between trades.
For larger programs we tie the installation schedule to the broader project timeline so that equipment go-live aligns with the hospital’s overall commissioning and licensing milestones. If you are running a full facility build, it helps to integrate the equipment plan into the master construction program rather than running it as a parallel track. We cover that integration in detail in our turnkey operating room project timeline guide, which maps each phase from design freeze to clinical handover.
Multi-Party Coordination: Owner, Contractor, OEM, and Biomedical
No single organization installs a modern hospital. The owner sets the clinical requirements and budget, the main contractor controls the building and site access, the OEM or supplier installs and commissions the devices, and the hospital’s biomedical engineering team verifies safety and takes ownership of maintenance. Add medical gas subcontractors, IT and networking for imaging devices, and the infection-control team, and you easily have six or seven parties whose work must interlock. The number-one coordination failure I see is the absence of a single accountable integration lead.
Effective hospital equipment installation management assigns one integration manager who owns the interface matrix. The interface matrix is a simple document that lists every handoff between parties, who is responsible, what is delivered, and the acceptance criterion. When the ceiling pendant supplier finishes, the matrix records that the biomedical engineer verifies anchoring load before the surgical light is hung. When the gas installer finishes, the matrix records that pressure and purity test results are handed to the OEM before the anesthesia workstation is connected. Nothing is assumed; everything is signed.
- Hold a weekly coordination meeting with a fixed agenda. Review the next two weeks of handoffs, confirm room access, and close out open interfaces. Keep minutes with named action owners and due dates.
- Maintain a shared interface and risk register. Every party logs risks that affect another party. A risk that crosses an interface is escalated immediately, not at the next monthly report.
- Control site access centrally. Equipment installation often overlaps with finishing trades. A single access calendar prevents a dust-generating activity from contaminating a room where a sterile device is being commissioned.
- Define a single escalation path. When two vendors disagree on responsibility, the integration manager decides within 24 hours. Ambiguity left unresolved is the most expensive line item on any project.
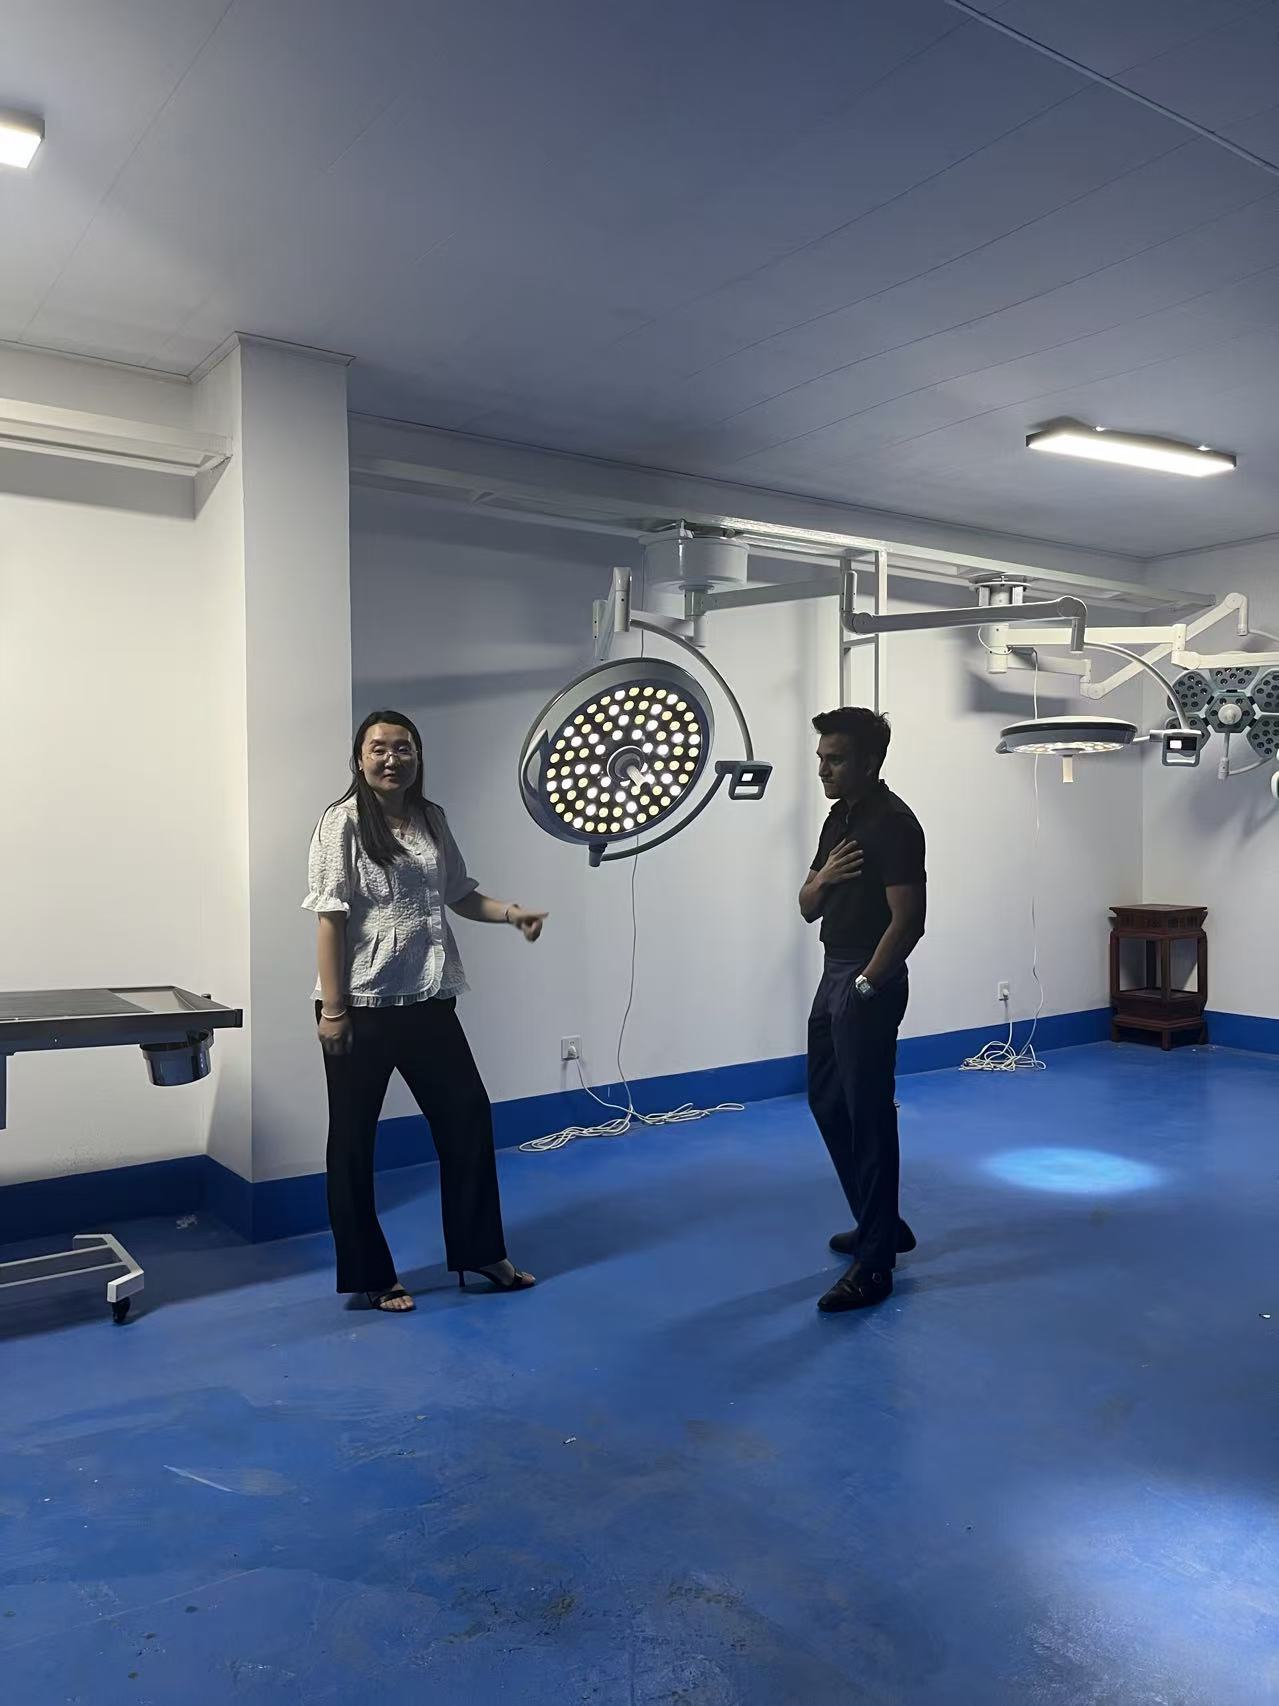
For equipment that integrates into a complete operating room, the supplier’s role expands beyond delivery. A turnkey partner coordinates the surgical lights, operating tables, medical pendants, and room systems as one package rather than as isolated devices, which dramatically reduces interface risk. Our turnkey operating room solution is structured around exactly this kind of single-point coordination, so the hospital deals with one accountable integrator instead of chasing several vendors.
Site Acceptance Testing (SAT): The Verification Gate
Site Acceptance Testing is the formal gate that converts “installed” into “accepted.” It is the point at which the hospital confirms, on its own premises and under its own conditions, that each device meets the agreed specification and applicable safety standards. This is distinct from the Factory Acceptance Test (FAT) performed before shipment. FAT proves the device left the factory correctly; SAT proves it works in the actual room, connected to the actual utilities, operated by the actual staff.
A rigorous SAT protocol borrows the qualification logic used across the medical device industry: Installation Qualification (IQ) confirms the device is installed per the manufacturer’s instructions and that utilities, anchoring, and environment are correct; Operational Qualification (OQ) confirms every function operates within specified limits; Performance Qualification (PQ) confirms the device performs its intended clinical function reliably. For medical electrical equipment, the electrical safety verification references the IEC 60601 series, including protective earth continuity, leakage current, and insulation checks. The supplier’s quality system should itself be built on ISO 13485 so that the documentation behind the test is traceable.
| SAT Stage | What Is Verified | Reference Standard | Who Signs Off |
|---|---|---|---|
| Installation Qualification (IQ) | Correct placement, anchoring, utility connections, environment, labeling, and documentation present on site | Manufacturer installation manual; ISO 13485 records | OEM engineer + biomedical engineer |
| Operational Qualification (OQ) | All functions and movements operate within specified limits; alarms and interlocks respond correctly | IEC 60601 series (electrical safety); device specification | OEM engineer + biomedical engineer |
| Performance Qualification (PQ) | Device delivers intended clinical performance under realistic load and workflow conditions | Clinical specification; essential performance criteria | Biomedical + clinical user representative |
| Electrical Safety Verification | Protective earth continuity, earth and enclosure leakage current, insulation resistance | IEC 60601-1 | Biomedical engineer (calibrated tester) |
| Punch-List Closure & Acceptance | All open items resolved; as-built documents handed over; acceptance certificate issued | Contract and acceptance protocol | Owner project director + supplier |
The SAT must be documented with a signed protocol per device, including measured values, not just pass/fail checkboxes. Measured earth resistance, recorded leakage current, verified load capacity, and observed function cycles all go into the record. This record becomes the baseline for the device’s entire maintenance life. When a fault appears two years later, the biomedical engineer compares current measurements against the SAT baseline to diagnose drift. No baseline means no reference, and troubleshooting becomes guesswork.
Never accept a device on a verbal “it works.” If the SAT record does not capture measured values against IEC 60601 limits, you have not accepted the equipment, you have merely unpacked it.
One nuance that catches teams off guard: SAT for imaging or networked devices must include IT integration verification, not just the standalone device. Confirm that the device communicates with the hospital information system or PACS, that user accounts and permissions are provisioned, and that cybersecurity baselines are met before clinical use. Treating IT sign-off as a separate, later activity is a frequent cause of delayed go-live.
Operator Training and Clinical Handover
A perfectly installed device is still a risk in untrained hands. Training is not a courtesy add-on; it is a contractual and safety deliverable. The handover should be structured in tiers. The first tier trains the clinical super-users who will operate the device daily. The second tier trains the biomedical technicians who will perform preventive maintenance and first-line troubleshooting. The third tier covers application specialists who will train future staff. Without the third tier, knowledge walks out the door when the first super-user transfers.
Effective training is competency-based, not attendance-based. Staff do not complete training by sitting in a room; they complete it by demonstrating defined tasks under observation. For an operating table, that means the nurse can safely lock and unlock the transport mechanism, achieve the required Trendelenburg range, and respond to a power failure using the backup. For a surgical light, it means the surgeon can adjust intensity and color temperature and the technician can replace a module. Each competency is recorded with the trainee’s name, the date, and the trainer’s sign-off.
- Train in the actual room on the actual device. Classroom training on a different unit does not transfer well. Schedule training after SAT passes so staff learn on the exact configuration they will use.
- Provide operations and maintenance manuals in the local language. Translated O&M manuals, quick-reference guides, and troubleshooting flowcharts dramatically reduce early misuse and support calls.
- Record competencies, not attendance. Maintain a training matrix mapping each user to each certified task. This matrix is also evidence for accreditation and audits.
- Agree a warranty and support handover. At clinical handover, confirm the warranty start date, the service-level response times, the spare-parts arrangement, and the support contact. Our operating tables and surgical lights ship with documented service plans for exactly this transition.
The clinical handover itself is a formal milestone, not the moment the last trainer leaves. It is the signed transfer of responsibility from the project team to the hospital’s operational team. At that point the device enters the hospital’s asset register and preventive-maintenance schedule. We recommend a short supervised “hypercare” window after handover, during which the supplier’s engineer remains reachable while staff run real cases. Hypercare converts the first anxious weeks into a supported ramp-up and surfaces minor issues before they become complaints.
Documentation and the Project Data Room
Documentation is the part of hospital equipment installation management that teams most often rush, and the part they most regret rushing. The project data room is the single archived repository that holds every record needed to operate, maintain, audit, and eventually replace the equipment. If a regulator, an accreditor, or an insurer asks for evidence five years from now, the answer must be retrievable in minutes, not reconstructed from old emails.
A complete data room is organized per device and per room. It captures the full evidence chain from specification through acceptance. The discipline is to collect documents as the project progresses, not to chase them at closeout when vendors have demobilized and responses slow to a crawl.
- Technical records: approved specifications, as-built drawings, installation manuals, wiring and gas connection diagrams, and configuration settings.
- Compliance records: CE or relevant regulatory certificates, IEC 60601 test reports, ISO 13485 references, calibration certificates for test equipment used during SAT.
- Acceptance records: signed FAT and SAT protocols with measured values, punch-list closure evidence, and the final acceptance certificate.
- Training records: the competency matrix, attendance with sign-off, and the manuals issued to each department.
- Commercial records: warranty terms, service-level agreements, spare-parts lists, and the support contact directory.
Store the data room in a durable, access-controlled format and hand over ownership to the biomedical department at project close. A common failure mode is a project team that disbands with the records still in a personal drive. The archive must outlive the project organization. For complex programs, integrating equipment documentation into the wider medical pendant and room-system records keeps the ceiling-mounted services traceable alongside the devices they support.
Project Closeout and Lessons Learned
Closeout is more than the final invoice. It is a structured retrospective that turns one project’s experience into the next project’s advantage. A proper lessons-learned session brings the owner, contractor, OEM, and biomedical team together while the experience is fresh, and it produces actionable findings, not a blame list. The output should feed directly into the standard procedures and checklists used on the next installation.
We structure every retrospective around four questions: what went well and should be standardized, what went wrong and why, what surprised us that the plan did not anticipate, and what we would change next time. The honest answers usually cluster around a few recurring themes: room handover arrived later than planned, a utility interface was under-specified, training was compressed because SAT overran, or a document was collected too late. Naming these patterns is how an organization matures its installation capability.
- Quantify the schedule variance. Compare planned versus actual dates for each milestone. The variance on the room-handover milestone is usually the root cause of downstream slips.
- Review the punch-list history. Count how many items were raised at SAT, how many were safety-critical, and how long closure took. A long tail of minor items signals weak pre-SAT self-checks by the installer.
- Assess training effectiveness. Track early support calls and misuse incidents in the first 90 days. A spike points to a training gap to fix in the next program.
- Update the playbook. Convert findings into revised checklists, interface-matrix templates, and SAT protocols so the improvement is institutional, not personal.
For hospitals and contractors running repeated programs, this feedback loop is the real competitive advantage. The equipment is largely commoditized; the installation capability is not. Organizations that systematically capture and reuse lessons deliver faster go-lives, cleaner acceptances, and lower lifetime maintenance costs. You can see how this disciplined approach plays out across real deployments in our project cases library.
Conclusion
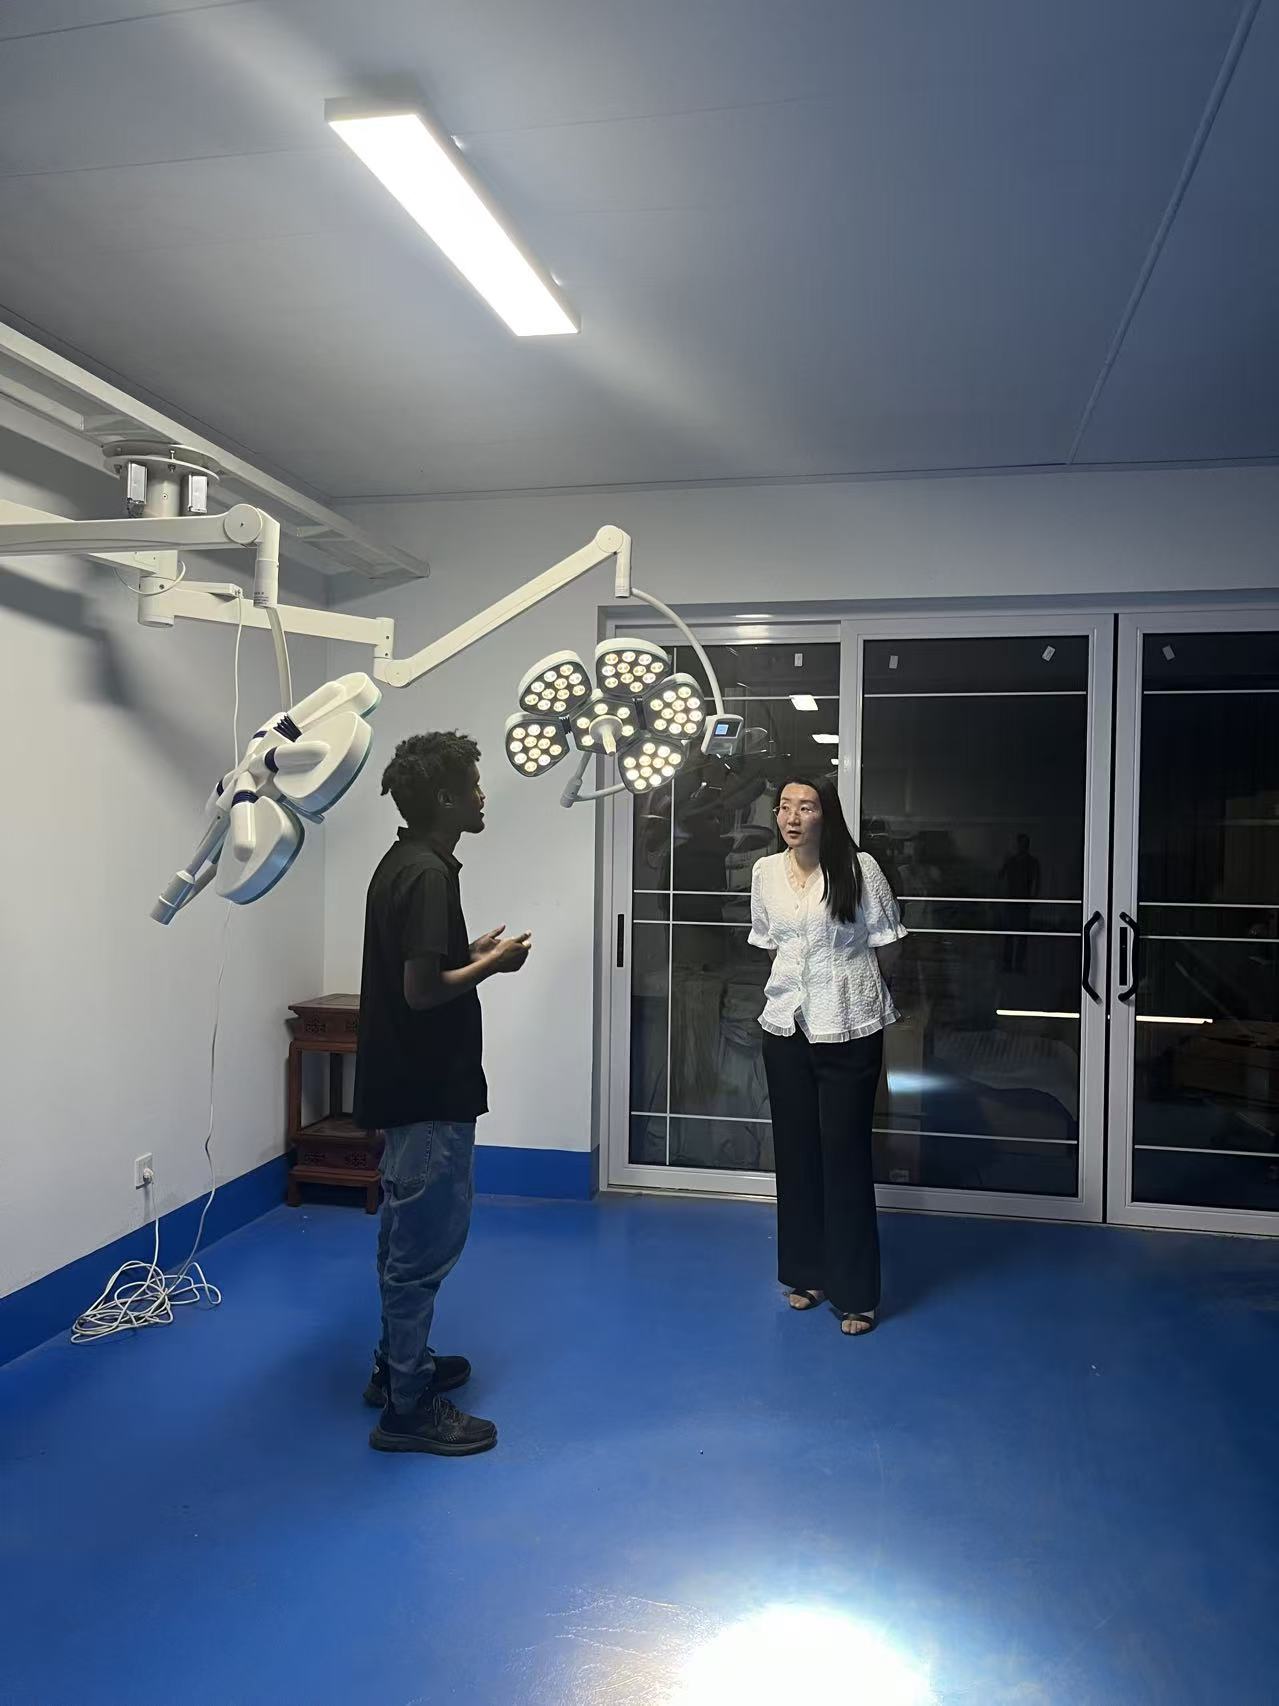
Hospital equipment installation management is fundamentally about owning the spaces between organizations and trades. The devices themselves are engineered and tested before they ship; what determines whether a hospital opens on time is the discipline around schedule, coordination, acceptance, training, and documentation. Anchor the schedule on room readiness, assign a single integration lead with a clear interface matrix, run a measured SAT against IEC 60601 and the IQ/OQ/PQ logic, train to demonstrated competency, and archive a complete data room before the project team disbands.
Treat each project as a learning system. The retrospective you run this quarter is the checklist that saves your next go-live. If you are planning an operating-room or whole-facility installation and want a partner that coordinates the equipment package as one accountable system rather than a pile of separate deliveries, talk to our project team about a turnkey installation and commissioning plan built around your timeline.
Frequently Asked Questions
What is the difference between FAT and SAT in a hospital equipment project?
FAT (Factory Acceptance Test) is performed at the manufacturer’s site before shipment to confirm the device was built to specification. SAT (Site Acceptance Test) is performed after installation in the actual hospital room to confirm the device works correctly with the real utilities, environment, and operators. FAT proves the device left the factory correctly; SAT proves it performs in your facility. Both should be documented with measured values and signed protocols.
Which standards govern medical equipment installation and acceptance?
Electrical safety verification during acceptance references the IEC 60601 series, particularly IEC 60601-1 for protective earth continuity, leakage current, and insulation. The supplier’s quality management system should align with ISO 13485 so documentation is traceable. The qualification structure commonly follows Installation Qualification (IQ), Operational Qualification (OQ), and Performance Qualification (PQ). Specific devices may have additional particular standards under the IEC 60601 family.
Who should lead coordination between the hospital, contractor, and equipment supplier?
A single integration manager should own the interface between parties. This role maintains the interface matrix, runs the weekly coordination meeting, controls site access, and resolves cross-vendor disputes quickly. Without one accountable lead, handoffs between the civil contractor, medical gas installer, OEM, and biomedical team fall through the gaps, which is the most common cause of delayed go-live.
How should operator training be structured before clinical handover?
Structure training in tiers: clinical super-users who operate the device daily, biomedical technicians who maintain it, and application specialists who train future staff. Make it competency-based, with each user demonstrating defined tasks under observation rather than simply attending a session. Record a training matrix mapping users to certified tasks, and provide operations and maintenance manuals in the local language. A short supervised hypercare period after handover helps surface early issues.
What documents should be archived at project closeout?
Archive a complete data room per device and per room: approved specifications and as-built drawings, installation and O&M manuals, compliance certificates and IEC 60601 test reports, signed FAT and SAT protocols with measured values, the training competency matrix, and commercial records such as warranty terms, service-level agreements, and spare-parts lists. Collect these during the project rather than at the end, and hand ownership to the biomedical department so the archive outlives the project team.
You May Also Like...

After-Hours Maintenance Strategy: Minimizing OR Downtime
Operating room downtime is expensive because an idle OR still burns staff, overhead and scheduled...

Operating Table Battery Replacement: Procedure and Intervals
Operating table battery replacement is the routine swap of the integrated backup battery that keeps...

Trolley Lock Cylinder Maintenance: Keyed and Push-Lock Types
Medical trolleys fail at the lock. Not the frame, not the casters, not the drawers...
