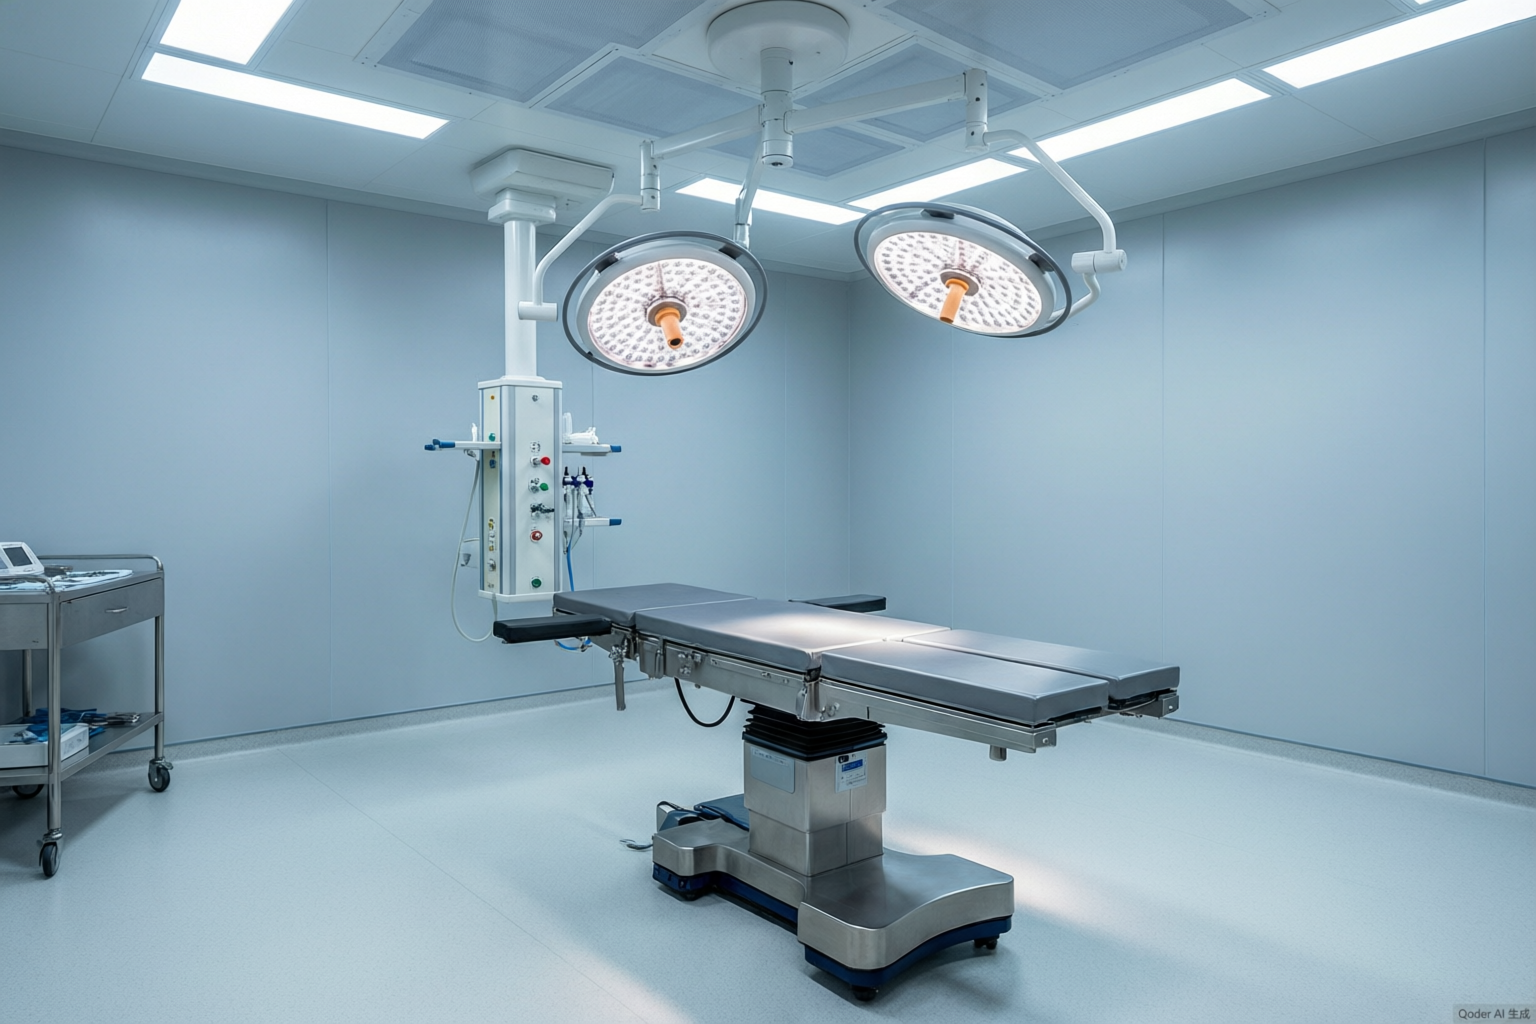

Two specialties sharing one table do not need two tables. They need two written baselines: one card per specialty, each describing the accessory set, the fixing positions and the section settings that the team has agreed to start from, plus a rule for what happens when the table changes hands between cases. The factory’s part is narrow and precise. It documents the mechanical envelope, meaning which accessories fit where, which combinations are permitted, what each combination can carry, and which section angles are available. The clinical position inside that envelope stays the hospital’s own protocol, because it belongs to the surgical team and to the positioning standards they follow.
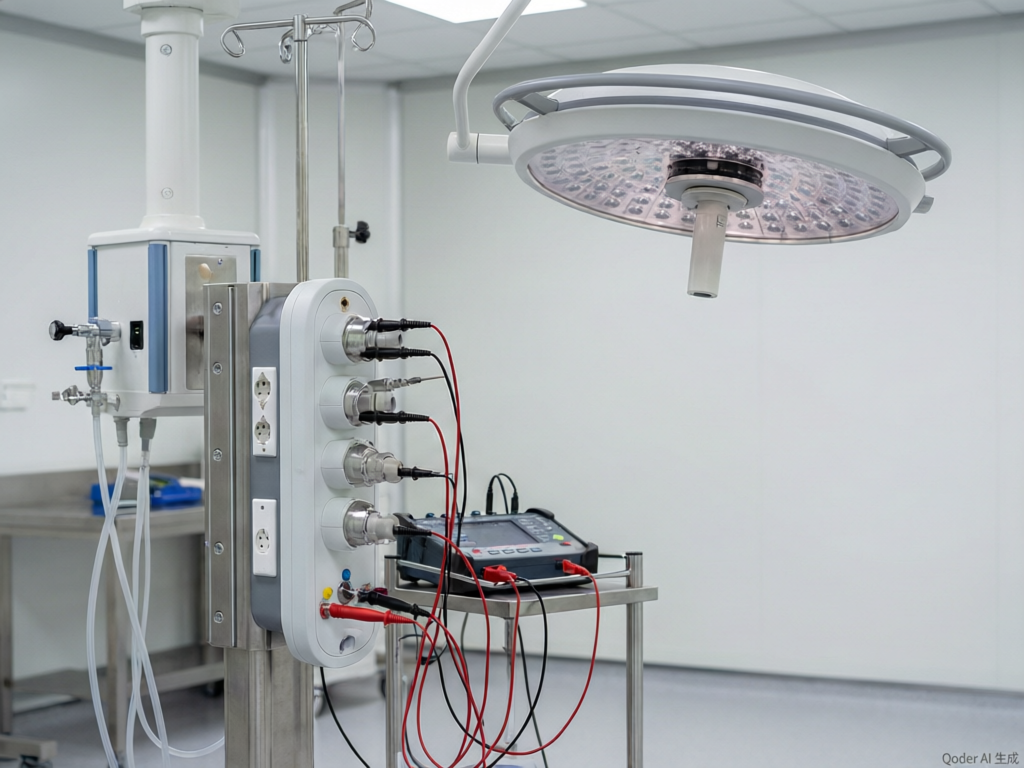
Why a Shared Table Needs Two Baselines
An orthopaedic case and a urology case make opposite demands on the same frame. Orthopaedic work wants the foot end open, the leg section removed or lowered, and access to the hip and perineum without a rail in the way. Urology wants the legs supported and abducted, the sacrum supported, and the table tilted for access. The accessories that serve one setup often occupy the fixing points the other needs. Without written baselines, each team rebuilds the table from memory, and the differences show up as variation between theatres rather than as a decision. Two cards make the difference visible, reviewable and teachable, and they make the changeover a defined sequence instead of an improvisation.
The Request That Starts the Process
The request to the factory is short, and it is not a request for a clinical protocol. Ask for four things in this order, because each one feeds the next.
- The accessory catalogue for the table model, with the fixing method and the load rating for each item.
- The permitted and prohibited accessory combinations, stated per configuration rather than as a single maximum.
- The section adjustments available with each combination, including which sections can be removed and what that does to the permitted load.
- A one-page setup sheet template the hospital can complete for each specialty, with fields the factory will review for fit.
Item four is the one buyers forget. Without a template, the hospital builds two cards that describe intent but not compatibility, and the factory has no way to check them.
What the Card Must Contain
A usable card carries five blocks. The accessory list, by factory part name and quantity. The fixing positions, described by rail and by position on the rail, so two people can rebuild the same setup without a photograph. The section configuration, meaning which sections are fitted, removed or lowered. The stored preset the setup uses, by profile name and version, so the same targets are recalled each time. And a do-not list, naming the combinations that are prohibited and the reason. A card with photographs but no positions, or positions but no part names, will drift within a month because nobody can reproduce it exactly.
What It Must Not Claim
The card must not read as clinical instruction. It describes how to build a mechanical setup, not how to position a patient, and the difference matters when an incident is reviewed. Padding, nerve protection, pressure distribution and the clinical reasoning behind an angle belong to the hospital’s positioning policy and to the standards the surgical team follows, such as the perioperative positioning guidance published by AORN’s guidelines resources. Keeping that separation also protects the factory from being asked to approve a clinical decision it has no basis to make.
The Line Between Mechanical Envelope and Clinical Position
Draw the line once and both documents get easier. On the factory side: which accessories exist, where they attach, which combinations are allowed, what each combination can carry, which angles and translations are available, how the fixings lock, and what inspection the user should perform before use. On the hospital side: which position is used for which procedure, how the patient is padded and protected, how the team confirms the position before the case, and who may change the standard. A factory document that crosses the line is usually trying to be helpful, and it creates a liability the hospital did not ask for. A hospital card that crosses the line in the other direction, by inventing an accessory combination the factory never rated, creates a mechanical risk that no amount of clinical justification covers.
The practical test is a question about the sentence. If a statement can be settled by a drawing, a load rating or a fit check, it belongs on the factory’s side. If it can only be settled by a clinical judgement about a patient, it belongs on the hospital’s. Our guide to les accessoires de table d'opération et le positionnement works through the accessory side of that split in more detail.
Building the Orthopaedic Card
The orthopaedic card is usually the shorter of the two, and its difficulty is access rather than equipment. Start from the factory’s permitted combinations for a table with the leg section removed or lowered, and note what that does to the rated load, because a configuration that is permitted is not automatically rated for every patient. Record the rail positions used by any support that stays on the table, and record the positions that must stay clear so the imaging equipment or the surgical approach is not obstructed. Then record the preset: the height, the tilt and the backrest angle the team has agreed as its starting point. Finally, write the do-not list, which for most orthopaedic setups means the urology leg supports and anything that occupies the foot-end fixing points.
Two details deserve a line of their own on the card. The first is the locking check: which clamps are tightened, in what order, and how the person setting up confirms each one. The second is the accessory count, because a missing clamp is discovered at the worst moment and a spare that does not match the rail is worse than no spare. The side rail and load locking checks are the mechanical half of this, and they belong on the card as a numbered step rather than as a note.
Building the Urology Card
The urology card is where the fixing positions matter most. Leg supports and stirrups attach at defined points, and the same support fitted one position along the rail changes the geometry of the setup. Record the position, the side, the height of the support and the angle of the leg section, using the factory’s own adjustment references rather than words like “raised”. Record the sacral support and how it is fixed, since it is often the item that conflicts with an orthopaedic rail clamp. Record the tilt and the height range the team uses, and note whether any of those settings are outside the permitted range for the accessory combination in use.
The do-not list on this card names the orthopaedic extension and any accessory that occupies the rail sections the leg supports need. It should also name the storage location for the leg supports, because a support that is stored in another theatre is a support that will be improvised. Where a positioning accessory uses washers or spacers at the fixing point, the card should state the arrangement explicitly, since that detail is where assemblies get rebuilt wrongly; the washer and spacer record is the reference to copy.
Changeover Between the Two Setups
The changeover is the operational test of both cards. It runs in a fixed order: confirm the case list, clear the table, release and remove the accessories in the reverse order of fitting, inspect the fixings, fit the incoming set, check each lock, recall the incoming preset, and confirm the setup against the incoming card before the patient enters. Two people should be able to do it with the cards in hand, and the sequence should be short enough that it happens on a normal turnover rather than only on a quiet day.
Give the changeover a written record line: date, from which setup to which, who performed it, whether any accessory was missing, and whether the preset matched the card. That line is what turns a good habit into evidence, and it is also how a missing clamp gets traced to a theatre rather than to a supplier. Where the table is also used for procedures that need the head section removed, the airway access check belongs in the same sequence, because the head end is the one part of the setup that changes for reasons unrelated to specialty; the head section and airway access checks are the ones to fold in.
Accessory Combinations and the Conflict Table
Write the conflicts down once, as a table shared by both specialties, and post it where the accessories are stored. It is faster to read than a paragraph and it settles arguments at the shelf.
| Accessory or setup | Fits with | Conflicts with | What the card says |
|---|---|---|---|
| Orthopaedic leg section removed or lowered | Foot-end access, imaging without a rail in the way | Urology leg supports and sacral support at the foot end | Confirm load rating for the configuration before the case |
| Urology leg supports and stirrups | Sacral support, tilt, height range for access | Orthopaedic extension and any clamp on the same rail section | Record rail position, side and support height |
| Sacral support | Leg supports, standard pad set | Rail clamps used by the orthopaedic setup | Check the fixing point against the permitted list |
| Imaging or C-arm access | Removable sections in the permitted configuration | Any accessory left on the imaging path | Clear the path on the card, not at the last minute |
| Stored accessory set | One defined storage point per specialty | Mixed storage across theatres | Count items in and out at every changeover |
Sign-Off, Training and Drift
Each card needs an owner and a date. The owner is a named person in the specialty, usually a senior nurse or the clinical lead, and the date is when the card was last reviewed against the accessory catalogue. The factory’s contribution is a fit check: a short written confirmation that the card’s combinations and fixing positions are within the permitted list, which takes the factory an hour and saves both sides a dispute later.
Training follows the card rather than a generic product course. New staff learn to build the setup from the card, and their competency record references the card version, so a card revision automatically flags the people who need a re-brief. Our guide to the training and competency record pack covers how to keep that record current. Drift is checked the same way as any other setting: once a quarter, build the setup on each table from the card alone, without the person who usually does it, and see whether the result matches. A card that cannot be reproduced by someone who has not seen the setup is a card that needs better positions, not better staff.
Closing Perspective
Two specialties, one table, two cards. The cards are cheap, the factory’s fit check is quick, and the conflict table takes an afternoon to agree. What they replace is the quiet variation that makes one theatre’s setup differ from another’s and turns every changeover into a small negotiation. Keep the boundary in view while writing them: the factory owns the mechanical envelope, the hospital owns the clinical position, and neither document should try to answer the other’s question. A table that can be rebuilt from a card is also a table that can be audited, taught and handed over, which is the same standard every other piece of equipment in the room is held to.
Vous pourriez aussi aimer...

Rehearsed, Not Discovered: The Emergency Conversion File
An emergency section starts with a call, and the table has to move from a...

Crates for Months: Storage Terms That Save the Warranty
The crates are going to sit on site through the wet season, and the quote...

Year Six Dimming: A Replacement Path You Can Audit
A sealed engine does not fail on a date, and the committee question is answerable...