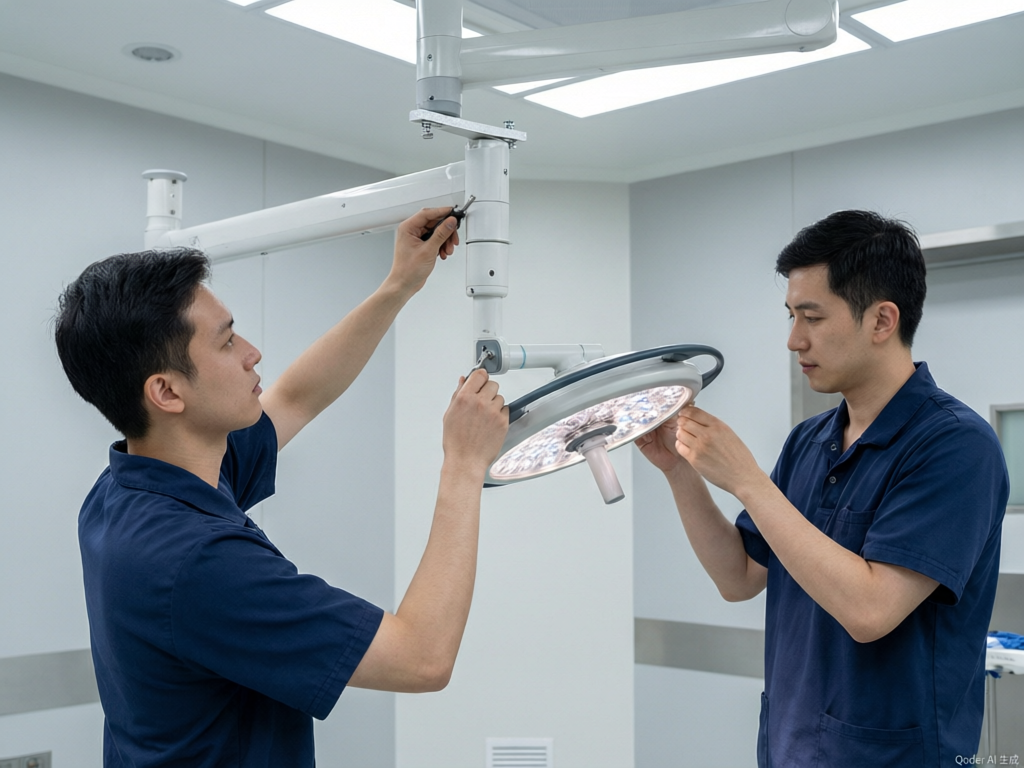

Every dealer showroom faces the same gap. Surgical lights and pendants are engineered to hang from a structural ceiling and feed from a medical gas pipeline, and your floor has neither. Improvising a ceiling hook or connecting a cylinder to look busy is how dealers get hurt, void coverage and sell configurations customers never receive. The honest demonstration setup is bought from the factory like any other item: a rated freestanding rig with papers, a simulated gas arrangement with labels that tell the truth, and a written line between what the demo shows and what the quotation includes. Ask for it before the container ships, because the rig, the outlet caps and the difference sheet are all cheaper from the factory than from a local fabricator. This article walks the dealer path from the first factory request to opening day, covering the demo package to request, the papers to file, the electrical work to inspect, the daily check to run, and the words your staff should say when a customer asks what is real.
Ask the Factory for a Demo Package, Not a Stand
The request is where honesty starts, because a generic floor stand answers a different question than the one your showroom poses. Write to the factory and ask for a demonstration package for the exact models you display: the freestanding support frame rated for the complete product with its arms, batteries, shelves and any monitors fitted, the assembly and lifting instructions written for repeated setup rather than a single installation, and the simulated gas arrangement they recommend for models with outlets. State plainly that the rig is for non-clinical showroom use with public visitors. A factory that answers this request with a one-page drawing and a shrug is telling you to improvise, and improvisation with a forty-kilogram light arm above a customer’s head is not a plan. The same order that brings your demo stock, packed under the loading discipline described in the mixed container loading plan, should carry the rig as a line item with its own crate and its own papers.
The Demo Rig File
Treat the rig like a device, because that is what it becomes the day it holds a surgical light above a visitor. The rig file is a folder, physical or digital, that stays with the showroom and answers every inspection question before it is asked. Two groups of papers form its core.
Load Papers Before the Rig Leaves the Works
The factory’s installation discipline for real ceilings transfers directly to your floor. You want the load declaration behind the rig in writing: maximum load for the frame, the overturning behavior with the arm at full reach, the base or ballast requirement, and the fastener checks with their intervals. This is the showroom cousin of the ceiling load declaration a hospital’s structural engineer signs, and a factory that produced that document for real installations can produce its frame equivalent without drama. File the assembly instructions with torque values, the inspection points, and the name of the person in your company who owns the annual check. When a customer asks whether the arm is safe to move, the answer cites the file, not a shrug and a warranty tone.
Simulated Gas That Cannot Be Connected
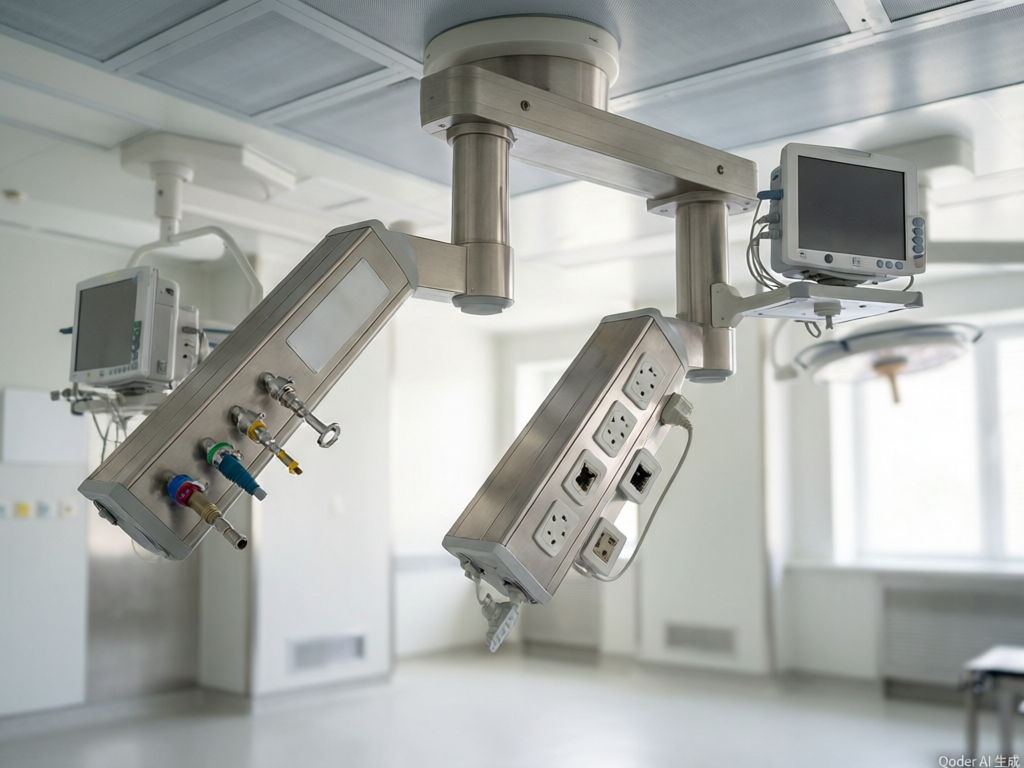
Models with gas outlets need the honest version of authenticity: dummy terminal units or blanking caps that physically cannot accept a probe, labelled so no visitor mistakes them for live service. Ask the factory to supply the caps with the rig and to state, on paper, that the demonstration configuration carries no oxygen, medical air, vacuum or any other gas, and that no cylinder or pump is to be connected to the display. Keep the real installation datasheet for gas compatibility in the same folder but a different divider, so the showroom hardware and the clinical specifications cannot be confused by a hurried visitor or a new sales hire. The line between the two is the whole point of this file, and it also protects your team from the visitor who arrived with a wrench and enthusiasm.
The Configuration Difference Sheet
This is the paper most showrooms never write and most disputes start from. Visitors buy what they see. If the demo unit carries accessories, options or fittings that the quotation’s configuration does not include, the gap between showroom and shipment must be written, signed and handed over with every offer. The factory can state the differences per model in one meeting; the dealer maintains the sheet thereafter. The table below is the working format.
| What the visitor sees | What it actually is | What the quotation must say |
|---|---|---|
| Light with four accessories fitted on the arm | Demo-only accessory set for visual effect | Accessories priced as options, itemised separately from the base unit |
| Pendant with outlet caps fitted | Dummy caps, no gas connection | Gas outlets delivered capped; gas pipeline works by others, stated scope |
| Battery power running the demo light | Charged battery on the demo cycle | Battery option included or excluded, with the commissioning test requirement |
| Pendant shelves mounted and loaded | Shelf configuration chosen for display | Shelf type, count and load rating as an ordered configuration line |
| Mobile pedestal under the demo rig | Freestanding showroom frame | Not part of the clinical offer; ceiling or rig installation quoted separately |
Three habits keep the sheet alive. Update it whenever the factory revises a model or an accessory family, hand a copy to every visitor who receives a quotation, and review it when the showroom refreshes its displays. Sales teams resist the sheet for a week and then defend it forever, because it ends the argument about what was promised under the bright lights.
Electrical Work That Survives an Inspection
The demo power circuit is workplace electrical installation, and it deserves an electrician rather than an extension lead. Have a local professional install a proper supply point where the rig stands, with the protection, earthing and isolation arrangement your jurisdiction requires, and keep the inspection report in the rig file. The occupational safety rules for such installations are public; in the United States the framework lives in OSHA’s electrical guidance, and most markets have an equivalent worth an hour of your electrician’s time. Ask the factory for the electrical requirements of each demo unit in writing: supply rating, connection type, and whether any unit may be operated outside a clinical installation at all. Some medical devices carry conditions on demonstration use. Ten minutes with that page prevents the showroom from becoming the reason an inspector writes you a letter, and the same discipline of documented power behavior applies later on site, as the room data sheets process shows for real theatres.
The Daily Pre-Opening Check
The rig holds weight over people, so it earns a two-minute check every morning before the doors open. The card below hangs on the frame; initials go in the log, not on the card.
- Base and ballast in position, no rocking when the frame is pushed at the top.
- Arm clutches and brakes hold at full reach; no drift when loaded as displayed.
- Fasteners and pins visually seated; no fresh gaps or shiny rub marks at joints.
- Cables routed and undamaged, supply point and isolator untouched since yesterday.
- Gas outlet caps present and labelled; no cylinder, hose or probe anywhere near the display.
- Difference sheet and demo labels in place and legible from the visitor side.
Anything that fails the check quarantines the display until it is fixed, and any impact event, however small, triggers the full fastener check before the unit is shown again. This is also the moment to note what the demonstration cannot show: infection control performance, patient-use behavior and the structural performance of a real ceiling are clinical matters, and the script below carries that boundary to the customer.
Training Whoever Runs the Demo
The person who moves the arms should know the machine, not just the sales line. Train at least two people per showroom on the assembly instructions, the movement controls, the transport lock and the emergency stop or isolation point, and record that training the way the site’s competency record pack recommends for clinical customers, because your own file benefits from the same rigor. Set the visitor rules in writing: staff operate the arms, visitors keep clear of the sweep path, and nothing hangs on the light head. Refresh the training whenever the rig changes or the factory revises a model, and keep the factory’s contact for rig questions in the same folder as the load papers. A showroom is a workplace first and a stage second, and the training file is what makes that order of priorities visible to everyone who walks in.
From Factory Request to Opening Day
The sequence below runs from the first email to the first customer, and each step produces one artifact that lives in the rig file or the showroom log.
- Request the demonstration package in writing, naming the models, the visitors and the non-clinical use, and asking for frame ratings, caps and the electrical page in the same letter.
- Book the rig into the factory order for your demo container, crated separately, so it ships with the stock and lands with the assembly instructions.
- Assemble per the factory instructions, with the named people trained in step one of your internal plan, and photograph the finished setup for the file.
- Install the demo power circuit with a licensed electrician and file the inspection report beside the electrical requirements page.
- Fit the simulated gas hardware and labels, then walk the showroom once looking for anything a visitor could mistake for live service, and cap or label it.
- Write the configuration difference sheet with the factory’s export manager, sign both copies, and bind handing it out to every quotation.
- Run the daily check for a week before opening, so the first real customers meet a rig whose habits your team already knows.
What Your Team Says When a Customer Asks
Honesty survives on scripted sentences, because improvised answers drift. Give the team three. About the rig: the frame is rated by the factory for this display, and the load papers are in this file if your engineer wants them. About the gas: every outlet here is capped and labelled, the display carries no medical gas, and the real installation requirements are on this datasheet from the factory. About the configuration: this sheet lists exactly what the demo shows that the quotation does not include, and anything you order will match the sheet, not the staging. A customer who hears those three answers trusts the fourth one, the one about delivery dates and prices, because the showroom has demonstrated that its words match its hardware. That trust is the entire commercial point of the exercise, and it compounds with every visitor who repeats the story.
Three Papers That Keep the Showroom Honest
The honest demonstration rests on three documents and one habit. The rig file proves the frame and its power are engineered, the configuration difference sheet proves what visitors see maps onto what buyers receive, and the daily check log proves the rig still deserves the trust those papers earned. None of them exists unless the first factory request asks for the demonstration package by name, which is why this article started there. Dealers who order the rig as deliberately as they order the stock gain a showroom that sells on truth, passes inspections without drama, and never has to explain why the delivered theatre looks different from the one on the floor. Ask for the papers while the container is still a quotation, and the rest of this page becomes routine instead of repair.
You May Also Like...

One Day, Three Promises: a Territory Budget
A territory budget audit is a one-day test of three written promises, not a tour...

Crate Envelope vs. a Working Hospital Route
A crate envelope is the volume a packed unit sweeps while turning, tilting and rolling,...

The As-Built Sheet a Theatre Committee Signs
An as-built sheet is the one page per theatre that records what was installed and...