



Executive Summary
Operating table height adjustment not working? Follow our field-tested sequence to diagnose and fix hydraulic and electric lift failures — fluid, seals, valves, actuators, controls — plus PM tips and repair-vs-replace thresholds.
A table that will not go up or down is the fastest way to shut down an operating room. When the surgical team is scrubbed, the patient is in the corridor, and the operating table refuses to respond to height commands, everything stops. Over the years I have been called into hospitals where staff had rescheduled entire operating lists over a fault that turned out to be a tripped thermal fuse, a spongy hydraulic pedal, or a hand control with a broken ribbon cable. The lesson is always the same: most operating table height adjustment problems are diagnosable in under an hour if you follow a logical sequence instead of guessing.
This guide walks through exactly that sequence for the two lift systems you will actually meet in the field: hydraulic (foot-pump or electro-hydraulic) and fully electric (linear actuator) tables. It is written for biomedical engineers, theatre technicians, and maintenance contractors who need the operating table height adjustment not working problem solved today — and who also need to know when a repair crosses the line into a safety risk that requires the table to be taken out of service. Height positioning is not a convenience feature. Under IEC 60601-2-46:2023, the particular standard for the basic safety and essential performance of operating tables, the ability to achieve and hold a commanded position is part of essential performance. A table that drifts down under load is not “still usable” — it is non-compliant and unsafe.
When electric commands fail, the manual override becomes the primary control: see our operating table manual override guide.
Whether you are troubleshooting a 15-year-old hydraulic workhorse or a new electro-mechanical column table, the diagnostic logic below is the same one we teach our own service partners. Follow it in order, and you will fix most height failures with basic tools and a spare seal kit rather than a four-figure service call.
Step 1: Make the Table Safe Before You Troubleshoot
Before any diagnosis, apply the same discipline you would to any powered medical device. Move the patient off the table or to a safe, supported surface. If the tabletop is occupied and the column is slowly sinking, treat it as an emergency: use the manual override or emergency release (nearly every hydraulic table has a mechanical descent valve; most electric tables have a manual crank or battery-backed lowering function) to bring the top down to transfer height, lock the brakes, and only then start fault-finding.
Disconnect mains power if you will open any covers on an electric table, and depressurize the hydraulic circuit before cracking a fitting. Hydraulic oil under pressure can inject through skin — a genuine injury mechanism, not a theoretical one. Chock the tabletop if you must work underneath a raised section.
Field rule I give every new technician: never put any part of your body between the tabletop and the base unless the top is mechanically supported. A failed seal or a dead actuator can let a loaded top descend without warning.
Step 2: Read the Symptom Before You Touch Anything
The single biggest time-waster in table repair is replacing parts based on the complaint “it won’t go up.” That complaint covers at least six distinct failure modes, each pointing at a different subsystem. Spend ten minutes characterizing the symptom and you will usually halve your repair time. Here is the symptom-to-cause map we use internally:
| Observed Symptom | Most Likely Subsystem | First Check |
|---|---|---|
| No response at all (electric table) | Power supply, control box, hand control | Mains indicator LED, fuse, control cable continuity |
| Motor runs but column does not move | Actuator mechanics or clutch | Listen for actuator hum vs. free-spinning motor; check coupling |
| Rises slowly, or rises only when unloaded | Hydraulic: low fluid, worn pump, internal leakage. Electric: weak battery, actuator wear | Fluid level; test on battery vs. mains; relief valve setting |
| Rises normally but drifts down under load | Cylinder seal, check valve, or descent valve leakage | Timed drift test at rated load; isolate descent valve |
| Goes up but will not come down | Descent/return valve, linkage, down-limit switch | Operate manual descent valve; check limit switch actuation |
| Jerky, noisy, or uneven movement | Air in hydraulic circuit, dry column guides, worn gears | Bleed procedure; inspect guide columns for scoring and dry grease |
Two quick tests belong in every first pass. The drift test: raise the table to mid-stroke, place a representative load (or a staff member sitting still), and time how far the top descends over ten minutes with all controls released. Any measurable sink beyond a couple of millimetres means internal leakage. The no-load test: repeat the full stroke with the top empty. A table that fails only under load is telling you about pump wear or pressure relief, not electronics.
Step 3: Fixing Hydraulic Height Failures
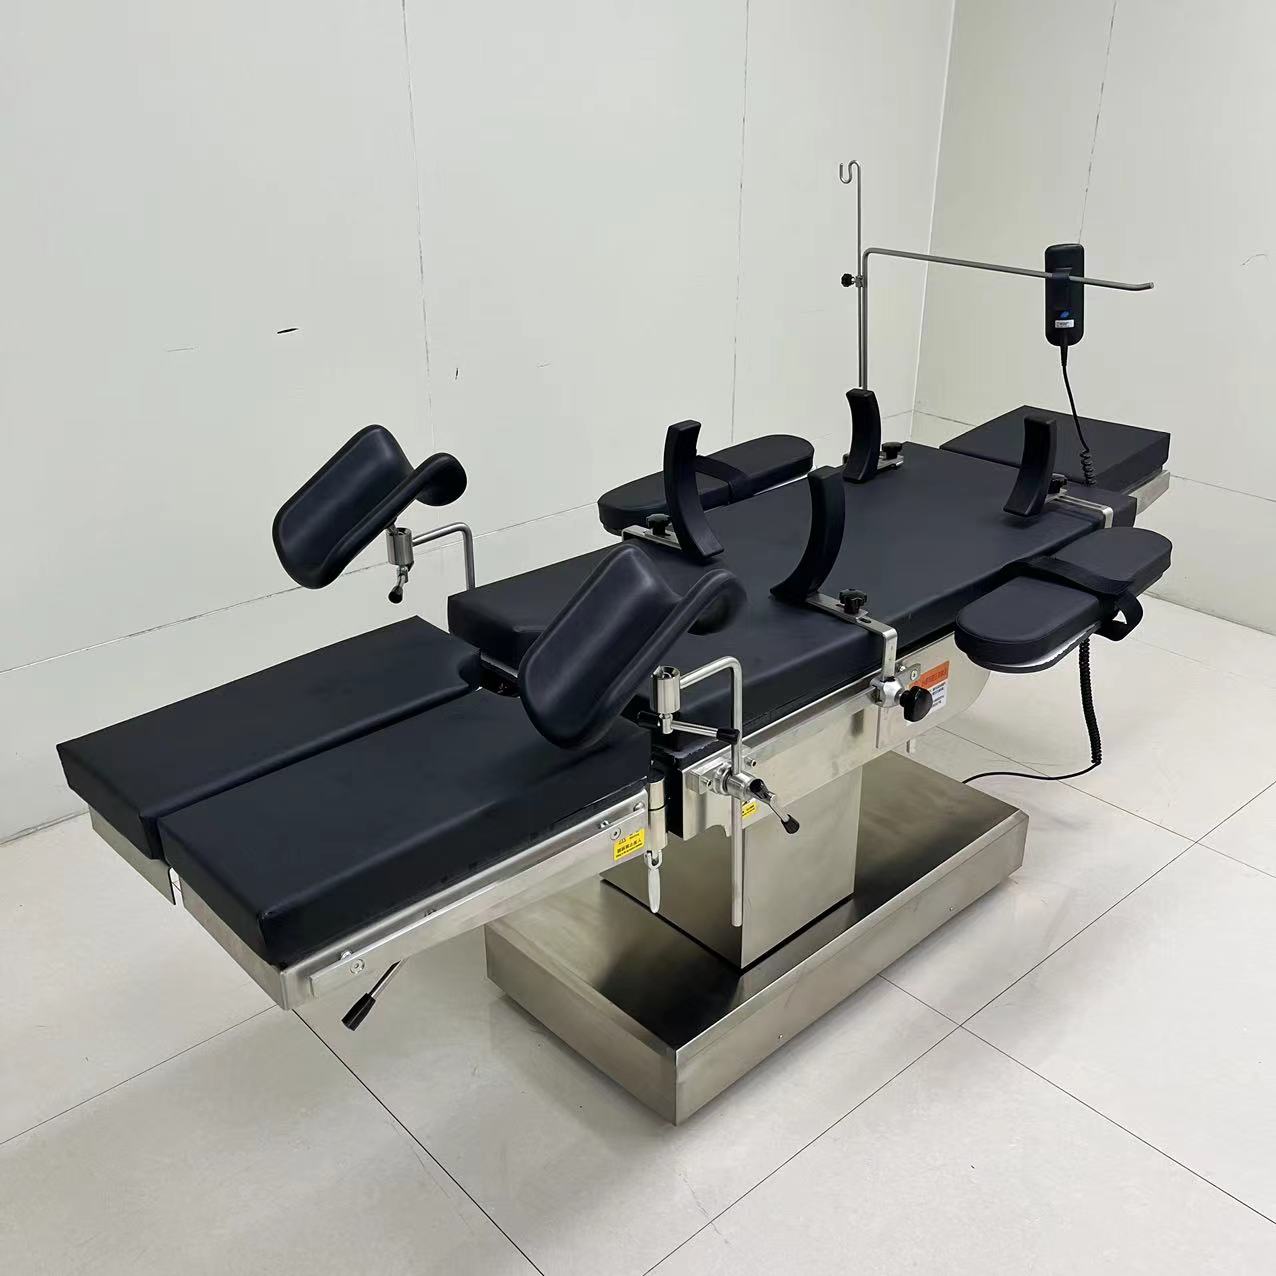
Hydraulic tables — both foot-pump models and electro-hydraulic designs where a motor drives the pump — fail in a predictable order. In our repair logs across distributor service centres, fluid-related issues dominate, followed by seals, then valves. Work this list top to bottom.
Check the fluid level and condition first
Low fluid is the most common cause of slow or incomplete rise, and it is the one fault you can fix in five minutes. Most reservoirs have a sight glass or dipstick accessible under a base cover. Top up only with the hydraulic oil grade specified by the manufacturer — mixing viscosity grades changes descent speed and can aerate the circuit. If the oil is milky, you have water contamination; if it is dark and smells burnt, the pump has been cavitating. Either way, drain and replace rather than topping up.
Bleed air out of the circuit
Spongy pedal feel, jerky ascent, and a table that “bounces” after stopping all point to entrained air. Air usually enters after a hose replacement, a low-fluid event, or a seal leak on the suction side. The bleed procedure varies by model, but the principle is universal: cycle the column through its full stroke several times under no load, crack the bleed point at the highest fitting if one is provided, and finish by holding the table at full rise for a minute to let residual bubbles migrate to the reservoir.
Hunt the leak properly
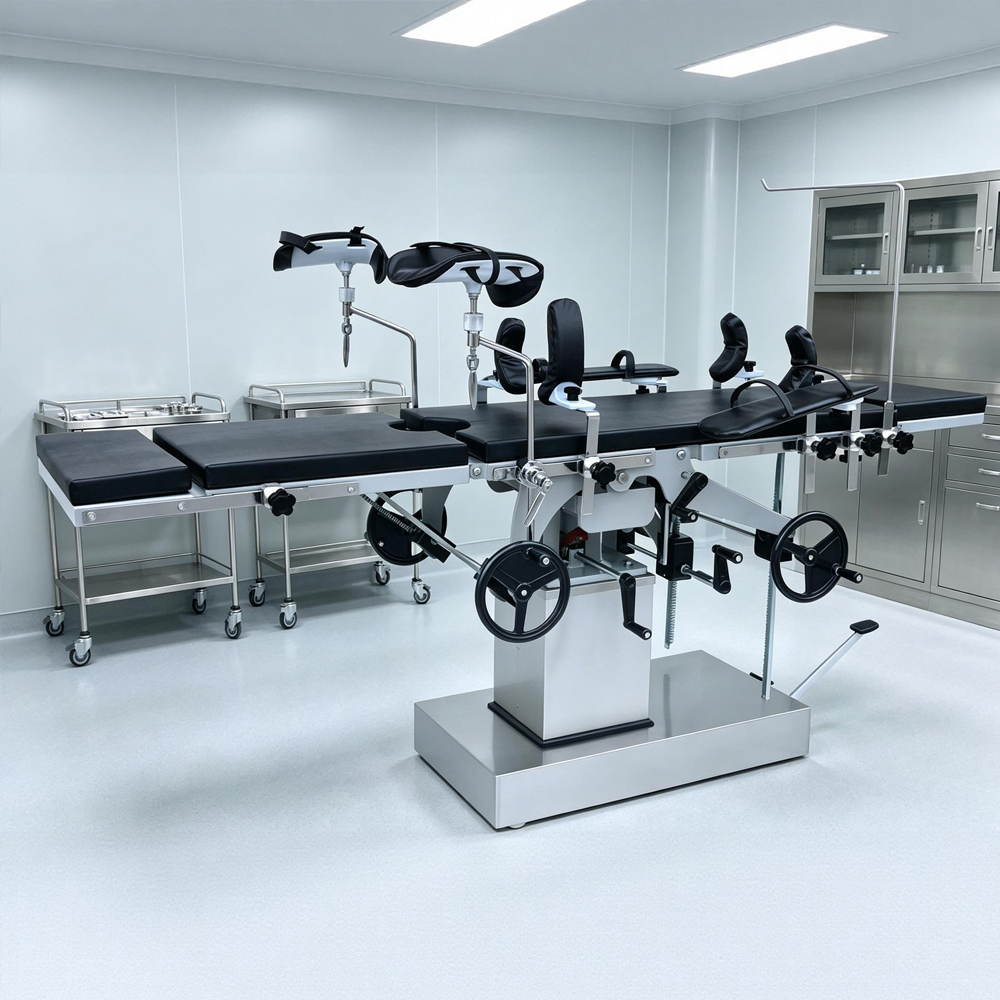
A crack in the hydraulic pump body or the main lift cylinder produces rapid, obvious fluid loss — a puddle under the base. Slow seepage from rod seals, hose ferrules, or valve bodies is subtler: wipe every fitting dry, dust the area with talc or lay absorbent paper beneath, and operate the table through several loaded cycles. The talc shows the exact weep point. Do not try to “fix” a leaking fitting by over-tightening it — you will crack the seat or strip the thread and convert a seal replacement into a valve block replacement. Cylinder rod seals and pump shaft seals are wear items; on a heavily used theatre table, plan on a seal kit every few years as routine maintenance, not as a failure.
Test the relief and check valves
If the table rises fully when empty but stalls under a patient, suspect the pressure relief valve opening too early — either from wear or from someone “adjusting” it in the past. The correct diagnosis needs a pressure gauge teed into the lift line; compare the cracking pressure against the service manual value. Check valves that no longer seat cleanly let the column sink slowly even with the descent valve fully closed. Replacement is almost always the right call: these are inexpensive cartridge or poppet valves, and a reseated used valve rarely holds.
Warning: never raise the relief valve setting to “get more lift” out of a tired hydraulic system. You are trading a slow table for an overloaded structure, a burst hose, and a column that exceeds its tested safe working load. That is a liability no service report can defend.
Step 4: Fixing Electric Height Failures
Electric tables move the height function to one or two linear actuators driven through a control box, commanded by a hand pendant, foot switch, or column keypad. The failure tree is different — fewer fluids, more connectors. If you want the background on how the two architectures compare in duty cycle and maintenance burden, our electric vs. hydraulic operating table comparison covers the design trade-offs in detail.
Rule out power and the control chain
Start at the wall. Confirm mains power, then the table’s own fuse or breaker, then the control box status LED. A surprising share of “dead table” calls end here: a damaged mains lead pinched under a floor lock, a tripped inrush breaker, or an emergency stop left engaged. Next, reseat every connector between the hand control, the control box, and the actuator. Hand pendants live brutal lives — dropped, wrapped, soaked in prep solution — and the coiled cable and its strain relief are the single most replaced part on electric tables. If the column keypad works but the pendant does not, you have found your fault; most pendants can be swapped in minutes with no calibration.
Battery and backup behaviour
Tables with battery backup will often refuse full function on a deeply discharged pack — some designs limit lift speed or lock out height-up entirely to preserve descent capability, which is the safety-critical direction. A table that misbehaves off-mains but works perfectly when plugged in almost always needs a battery set, not an actuator. Batteries are consumables: expect to replace them on a two-to-four-year cycle depending on usage and charging discipline.
The actuator itself
A linear actuator announces its death in stages: first slower travel under load, then audible gear noise or a buzzing motor that cannot start the screw, then thermal cutout trips that clear after a rest. Measure current draw against the nameplate if you can; a draw well above rating with sluggish movement means mechanical wear inside the actuator (worn nut, dry screw, failing bearings), not a control fault. Do not open a sealed actuator in the field — the screw and nut are matched, grease-filled assemblies. Replace the unit, and send the old one back for rebuild if the manufacturer offers it. One caution specific to actuator replacement: confirm the stroke length and the feedback (potentiometer or Hall sensor) type match the control box. A mismatched feedback signal produces a table that runs to the end stop and faults out, or that loses position memory.

Limit switches, sensors, and software
If the table stops at a consistent wrong position, or refuses one direction while the other works, suspect the limit switches or the position feedback. Collision-detection and anti-trap sensors — required features under the modern editions of IEC 60601-2-46 — can also inhibit movement when they detect (or falsely detect) an obstruction. Clean the sensor windows, check wiring at every flex point, and run the manufacturer’s calibration or reset procedure after any actuator, sensor, or control box replacement. Skipping calibration is the most common reason a “successful” repair comes back as a callback within a week.

Step 5: Repair, Rebuild, or Replace?
Not every height failure deserves a repair. Use these thresholds, which mirror what we apply in our own service assessments:
- Repair immediately — fluid top-up, bleeding, connector reseats, pendant replacement, fuse, battery set. Low cost, same-day, no structural risk.
- Repair with genuine or OEM-equivalent parts — seal kits, descent and check valves, actuators, control boxes. Economical if the table is within its design life and parts are available.
- Remove from service — cracked cylinder or pump body, scored lift column, bent column from overload, corrosion inside the base casting, or drift that persists after seal and valve replacement. These are structural; a patch is not a repair.
- Replace the table — when the lift system failure is the third major repair in two years, when spare parts are discontinued, or when the table no longer meets current safety expectations for your market (for example, MDR 2017/745 conformity for EU placements, or current IEC 60601-2-46 editions in tender specifications).
The parts question is where many repairs quietly fail. Generic hydraulic seals sourced by dimension rather than specification often use the wrong durometer or lip profile, and they fail again within months. For tables under any service agreement or tender warranty, keep the repair trail clean: genuine parts, recorded batch numbers, and a signed functional test after reassembly. If your supplier cannot provide lift components, seal kits, and control electronics with traceable stock, that is a procurement risk in itself — our spare parts service exists precisely because hospitals told us they were scrapping repairable tables for want of a seal kit or a pendant.
Step 6: Preventive Maintenance That Keeps the Lift Working
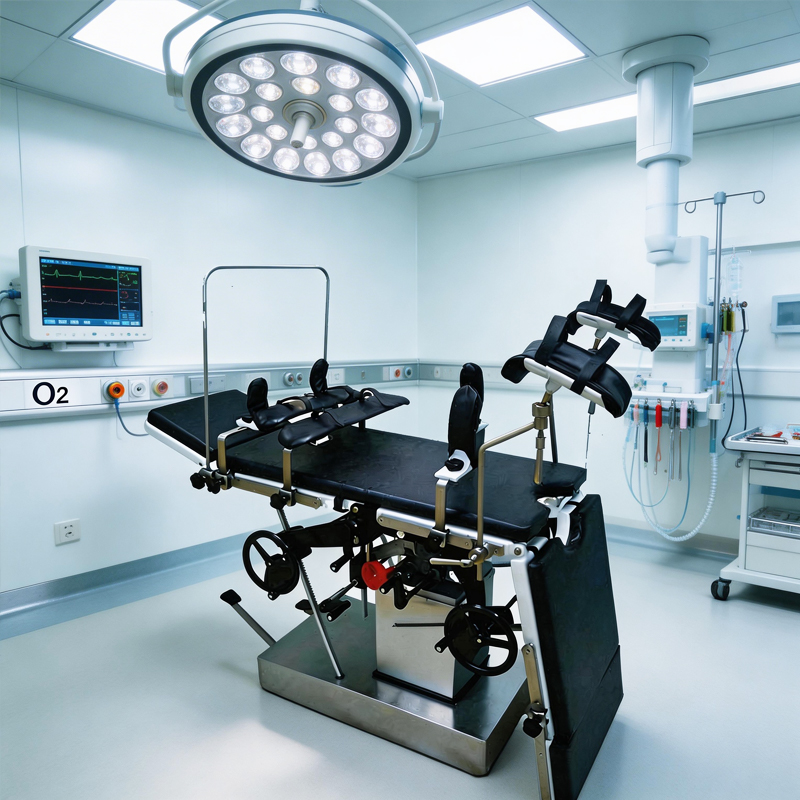
Every failure described above is cheaper to prevent than to repair. A workable annual PM routine for the height system takes under two hours per table:
- Full-stroke function test, loaded and unloaded, with a timed drift check recorded in the service log.
- Hydraulic fluid level and condition; top-up or replace on condition, not just on calendar.
- Visual leak survey at the cylinder rod, pump, hose ferrules, and valve block.
- Guide column cleaning and re-lubrication with the specified grease — dry guides overload actuators and pumps alike.
- Battery capacity check on electric tables; replace proactively rather than after a mid-case failure.
- Cable, connector, and pendant inspection; limit switch and anti-trap sensor verification; calibration check after any component change.
- Fastener torque check on base and column fixings — vibration loosens them, and a rocking base masquerades as a lift fault.
Hospitals running manufacturers’ PM schedules under an ISO 13485-certified quality system consistently report fewer emergency lift failures — not because the tables are different, but because seals, batteries, and fluids are replaced on condition before they strand a theatre list. If you are building a PM program from scratch, your table supplier should be able to provide model-specific checklists and the service manual values (relief pressures, drift limits, torque specs) you need. We share ours freely with customers and distributors, because a table that stays in service is the only real proof of quality.
Conclusion
An operating table height adjustment not working is rarely a mystery — it is a symptom with a short list of causes, and a logical sequence finds it fast. Characterize the symptom first, split the fault between hydraulic and electrical domains, and respect the line between wear-part repairs and structural failures. Above all, treat height positioning as essential performance, not convenience: a table that cannot hold its commanded height under load has no place in a theatre, whatever it costs to keep it there. If your lift fault points to discontinued parts or end-of-life equipment, or you need genuine spares for a repair in progress, contact our service team with the model and serial number — we can usually tell you within a day whether the part is on the shelf.
Frequently Asked Questions
Why does my operating table go up but slowly drift back down?
Downward drift under load almost always means internal leakage: worn cylinder piston seals, a check valve that no longer seats, or a descent valve passing fluid. Run a timed drift test to quantify it, then isolate the descent valve first — it is the cheapest component in the chain. Persistent drift after seal and valve replacement points to a scored cylinder bore, which is a replace-the-component (and sometimes replace-the-table) situation.
The motor runs but the table does not move. What is wrong?
On an electric table, a running motor with no movement means the drive is disconnected or stripped: a failed coupling, a sheared pin, or a worn screw-and-nut inside the actuator. On an electro-hydraulic table, it means the pump is not producing flow — check fluid level and suction-side air leaks first, then the pump itself. Either way, stop cycling the control; a motor running against no load or a stalled load overheats quickly.
Can I use any hydraulic oil to top up an operating table?
No. Use the grade and viscosity specified in the service manual. The descent valve is calibrated for a specific oil behaviour, and the wrong viscosity changes descent speed, promotes aeration, and accelerates seal wear. If the existing oil is contaminated — milky, dark, or burnt-smelling — drain and replace the full charge rather than diluting it with fresh oil.
Is it safe to keep using a table whose height only fails occasionally?
Intermittent faults are worse than dead ones, because they fail mid-procedure. Under IEC 60601-2-46, achieving and holding commanded positions is essential performance, and an intermittent lift fault means the table no longer reliably delivers it. Take the table out of elective use until the fault is found and fixed; intermittent electrical faults in particular tend to be failing connectors or a dying actuator that will not heal itself.
How often should the hydraulic seals on an operating table be replaced?
There is no universal interval — it depends on case volume, load profile, and fluid condition. As a practical rule, inspect seals at every annual PM and plan replacement every few years on busy theatre tables, or immediately whenever the drift test fails or external seepage appears. Seals are inexpensive wear parts; the expensive event is the unplanned theatre downtime when they let go mid-list.
You May Also Like...

After-Hours Maintenance Strategy: Minimizing OR Downtime
Operating room downtime is expensive because an idle OR still burns staff, overhead and scheduled...

Operating Table Battery Replacement: Procedure and Intervals
Operating table battery replacement is the routine swap of the integrated backup battery that keeps...

Trolley Lock Cylinder Maintenance: Keyed and Push-Lock Types
Medical trolleys fail at the lock. Not the frame, not the casters, not the drawers...
