


Executive Summary
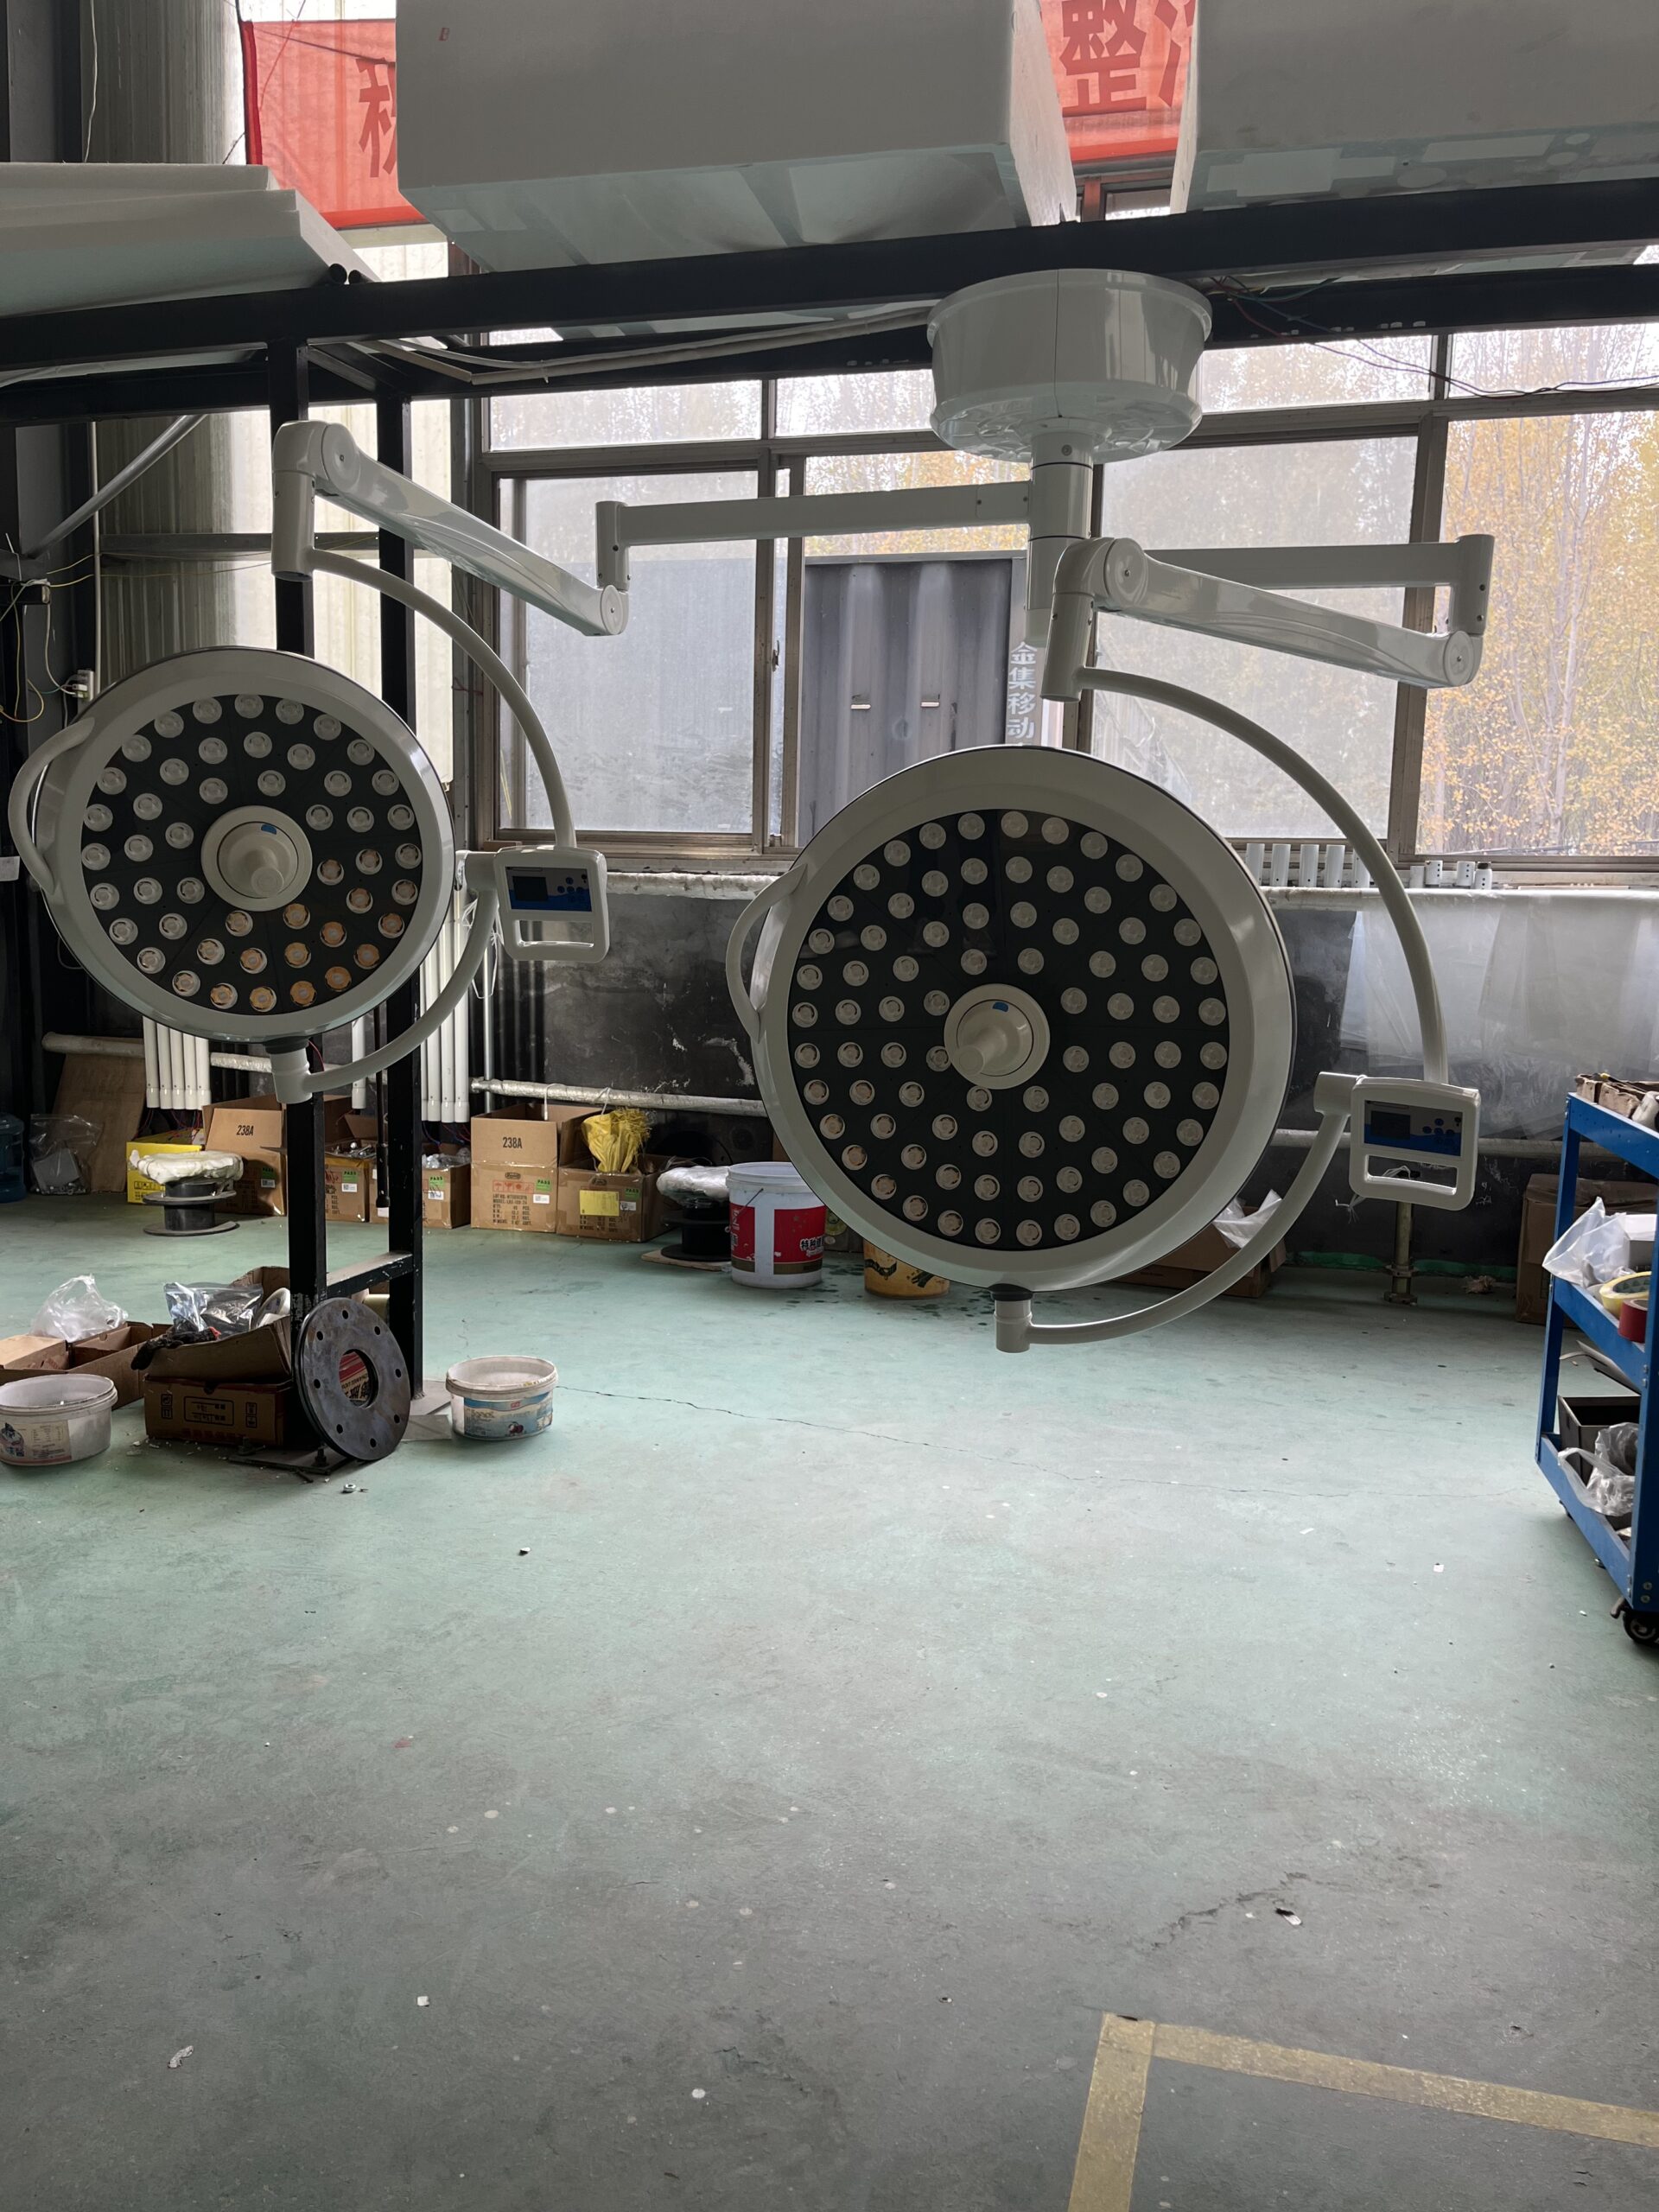
Learn when and how to perform a surgical light LED module replacement: diagnostic thresholds, OEM part sourcing, step-by-step swap procedure, and post-repair IEC 60601-2-41 verification.
A surgical light that slowly loses 20% of its output rarely triggers an alarm. The OR team just nudges the intensity dial a little higher every month, and by the time anyone measures illumination with a lux meter, the light head no longer meets the central illuminance values it was commissioned at. In our factory service records, gradual lumen depreciation — not sudden burnout — is the single most common reason hospitals eventually schedule a surgical light LED module replacement. Unlike the halogen era, where a bulb either worked or didn’t, LEDs degrade slowly, unevenly, and often invisibly until a case is already underway.
The good news: on a well-designed light, replacing the LED module is a planned, 60-to-90-minute maintenance task — not a capital purchase. The bad news: on a poorly designed light, the “module” is a glued-in assembly that forces you to replace the whole light head at several times the cost. Over the past decade, our engineering and service teams have supported thousands of LED surgical lights across more than 40 countries, and we have replaced modules in the field, in distributor workshops, and on our own production line. This guide distills that experience into a practical decision framework: when a module genuinely needs replacement, how to verify it, and how to do the swap safely without voiding your IEC 60601-2-41 compliance.
If you manage biomedical engineering for a hospital group, or you are a distributor building an after-sales service capability, this is the playbook we hand to our own partners.
Why LED Modules Degrade (and Why “50,000 Hours” Is Not a Lifetime Guarantee)
Marketing brochures love the number 50,000 hours. That figure is real, but it is widely misunderstood. In the LED industry, lifetime is typically expressed as L70 — the number of operating hours after which light output has fallen to 70% of its initial value. The U.S. Department of Energy’s Hospital Energy Alliance, in its technical guidance on LED surgical task lighting, emphasized exactly this point: LED products do not fail catastrophically like halogen or HID lamps; they fade along a depreciation curve, and the replacement decision is therefore a performance judgment, not a breakage event.
Three mechanisms drive that curve in a surgical light head:
- Junction temperature. Every 10 °C rise at the LED junction accelerates lumen depreciation and color shift. Dust-clogged heat sinks, dried thermal interface material, or a failing micro-fan inside the light head silently cook the module.
- Drive current stress. A drifting constant-current driver pushes some LED strings harder than others, producing the classic “one petal dimmer than the rest” symptom.
- Environmental and cleaning chemistry. Repeated exposure to aggressive quaternary-ammonium or peroxide-based disinfectants can craze the secondary optics over the LED array, scattering light and cutting effective illuminance even when the emitters themselves are healthy.
In practice, we see three populations of lights in the field: modules replaced early (under 20,000 hours) almost always because of thermal abuse or a defective driver, not the LEDs; modules replaced on schedule around 40,000–60,000 hours; and a long tail of lights that run far past their rated life because the hospital maintains airflow, cleaning discipline, and annual lux verification. Module replacement is therefore as much a maintenance-culture story as a hardware story — a point we quantify in our article on surgical light maintenance and total cost of ownership.

Step 1 — Confirm the Module Is Actually the Problem
Before ordering any parts, separate module failure from its three most common impersonators. A wrong diagnosis here is expensive: a replacement LED module typically costs 8–15% of a new light head, while the service call and OR downtime cost far more than the part.
Measure, don’t eyeball
Use a calibrated lux meter at one meter distance, light field focused to its standard pattern. Compare the reading against the light’s commissioning value or the specification sheet (for example, 160,000 lux central illuminance for a 700-class head). A reading at 80–85% of spec with a clean optic usually indicates normal aging; below 70% means the light is no longer delivering its IEC 60601-2-41 essential performance and should be pulled from surgical service until corrected.
Rule out the usual suspects
- Dirty or crazed optics. Remove the sterilizable handle and front lens; clean per the manufacturer’s protocol and re-measure. We have seen “dead modules” recover 15% output after a proper optical cleaning.
- Driver board faults. Flicker, stepwise dimming, or one segment cutting out at high intensity points to the constant-current driver, not the emitters. Swapping a driver is a 20-minute job and a fraction of the module cost.
- Color shift without lumen loss. If the light looks yellow-green but the lux reading is near spec, you are seeing phosphor degradation or color-mixing drift — that genuinely is a module-level issue. We covered the diagnostic side in depth in our guide to color rendering degradation.
Field rule from our service team: never order an LED module on the strength of a nurse’s complaint alone. One lux measurement and one photograph of the lit field pattern resolve 70% of cases before a single screw is turned.
Step 2 — Know the Trigger Thresholds: When Replacement Is the Right Call
Hospitals often ask us for a single hard number. There isn’t one — but there is a decision matrix we use internally and share with distributors. It combines measured performance, visual symptoms, and economics.
| Symptom / Measurement | Likely Root Cause | Recommended Action |
|---|---|---|
| Central illuminance 70–85% of spec, uniform field | Normal L70-type lumen depreciation | Schedule module replacement at next planned PM window |
| Central illuminance below 70% of spec | End-of-life emitters or severe optical degradation | Replace module before next surgical list; remove from service until done |
| One segment/petal visibly dimmer or off | Failed LED string or driver channel | Test driver output first; replace module only if string is open |
| Color temperature drift (>500 K from rated, e.g., 4,350 K light reading warm) | Phosphor aging / color-mix channel failure | Replace module; verify CRI (Ra ≥ 95 class) after swap |
| Intermittent flicker at all intensities | Driver, connector, or slip-ring contact | Not a module issue — service driver and contacts |
| Module replaced under 2 years ago, symptoms recurring | Thermal management failure (heat sink, fan, paste) | Full thermal overhaul with module replacement, or escalate to factory |
Two economic triggers sit on top of the clinical ones. First, the 50% rule: if the combined quote for module plus driver plus labor approaches half the price of a new light head on a light older than eight years, quote both options to the hospital — the upgrade path often wins once warranty is factored in. Second, the obsolescence trigger: if the OEM no longer stocks your module revision, that is a supply-chain signal, and it is exactly the situation our spare parts service exists to solve — we maintain module stock for discontinued light head revisions and cross-reference compatible replacements.
Step 3 — Source the Correct Replacement Module
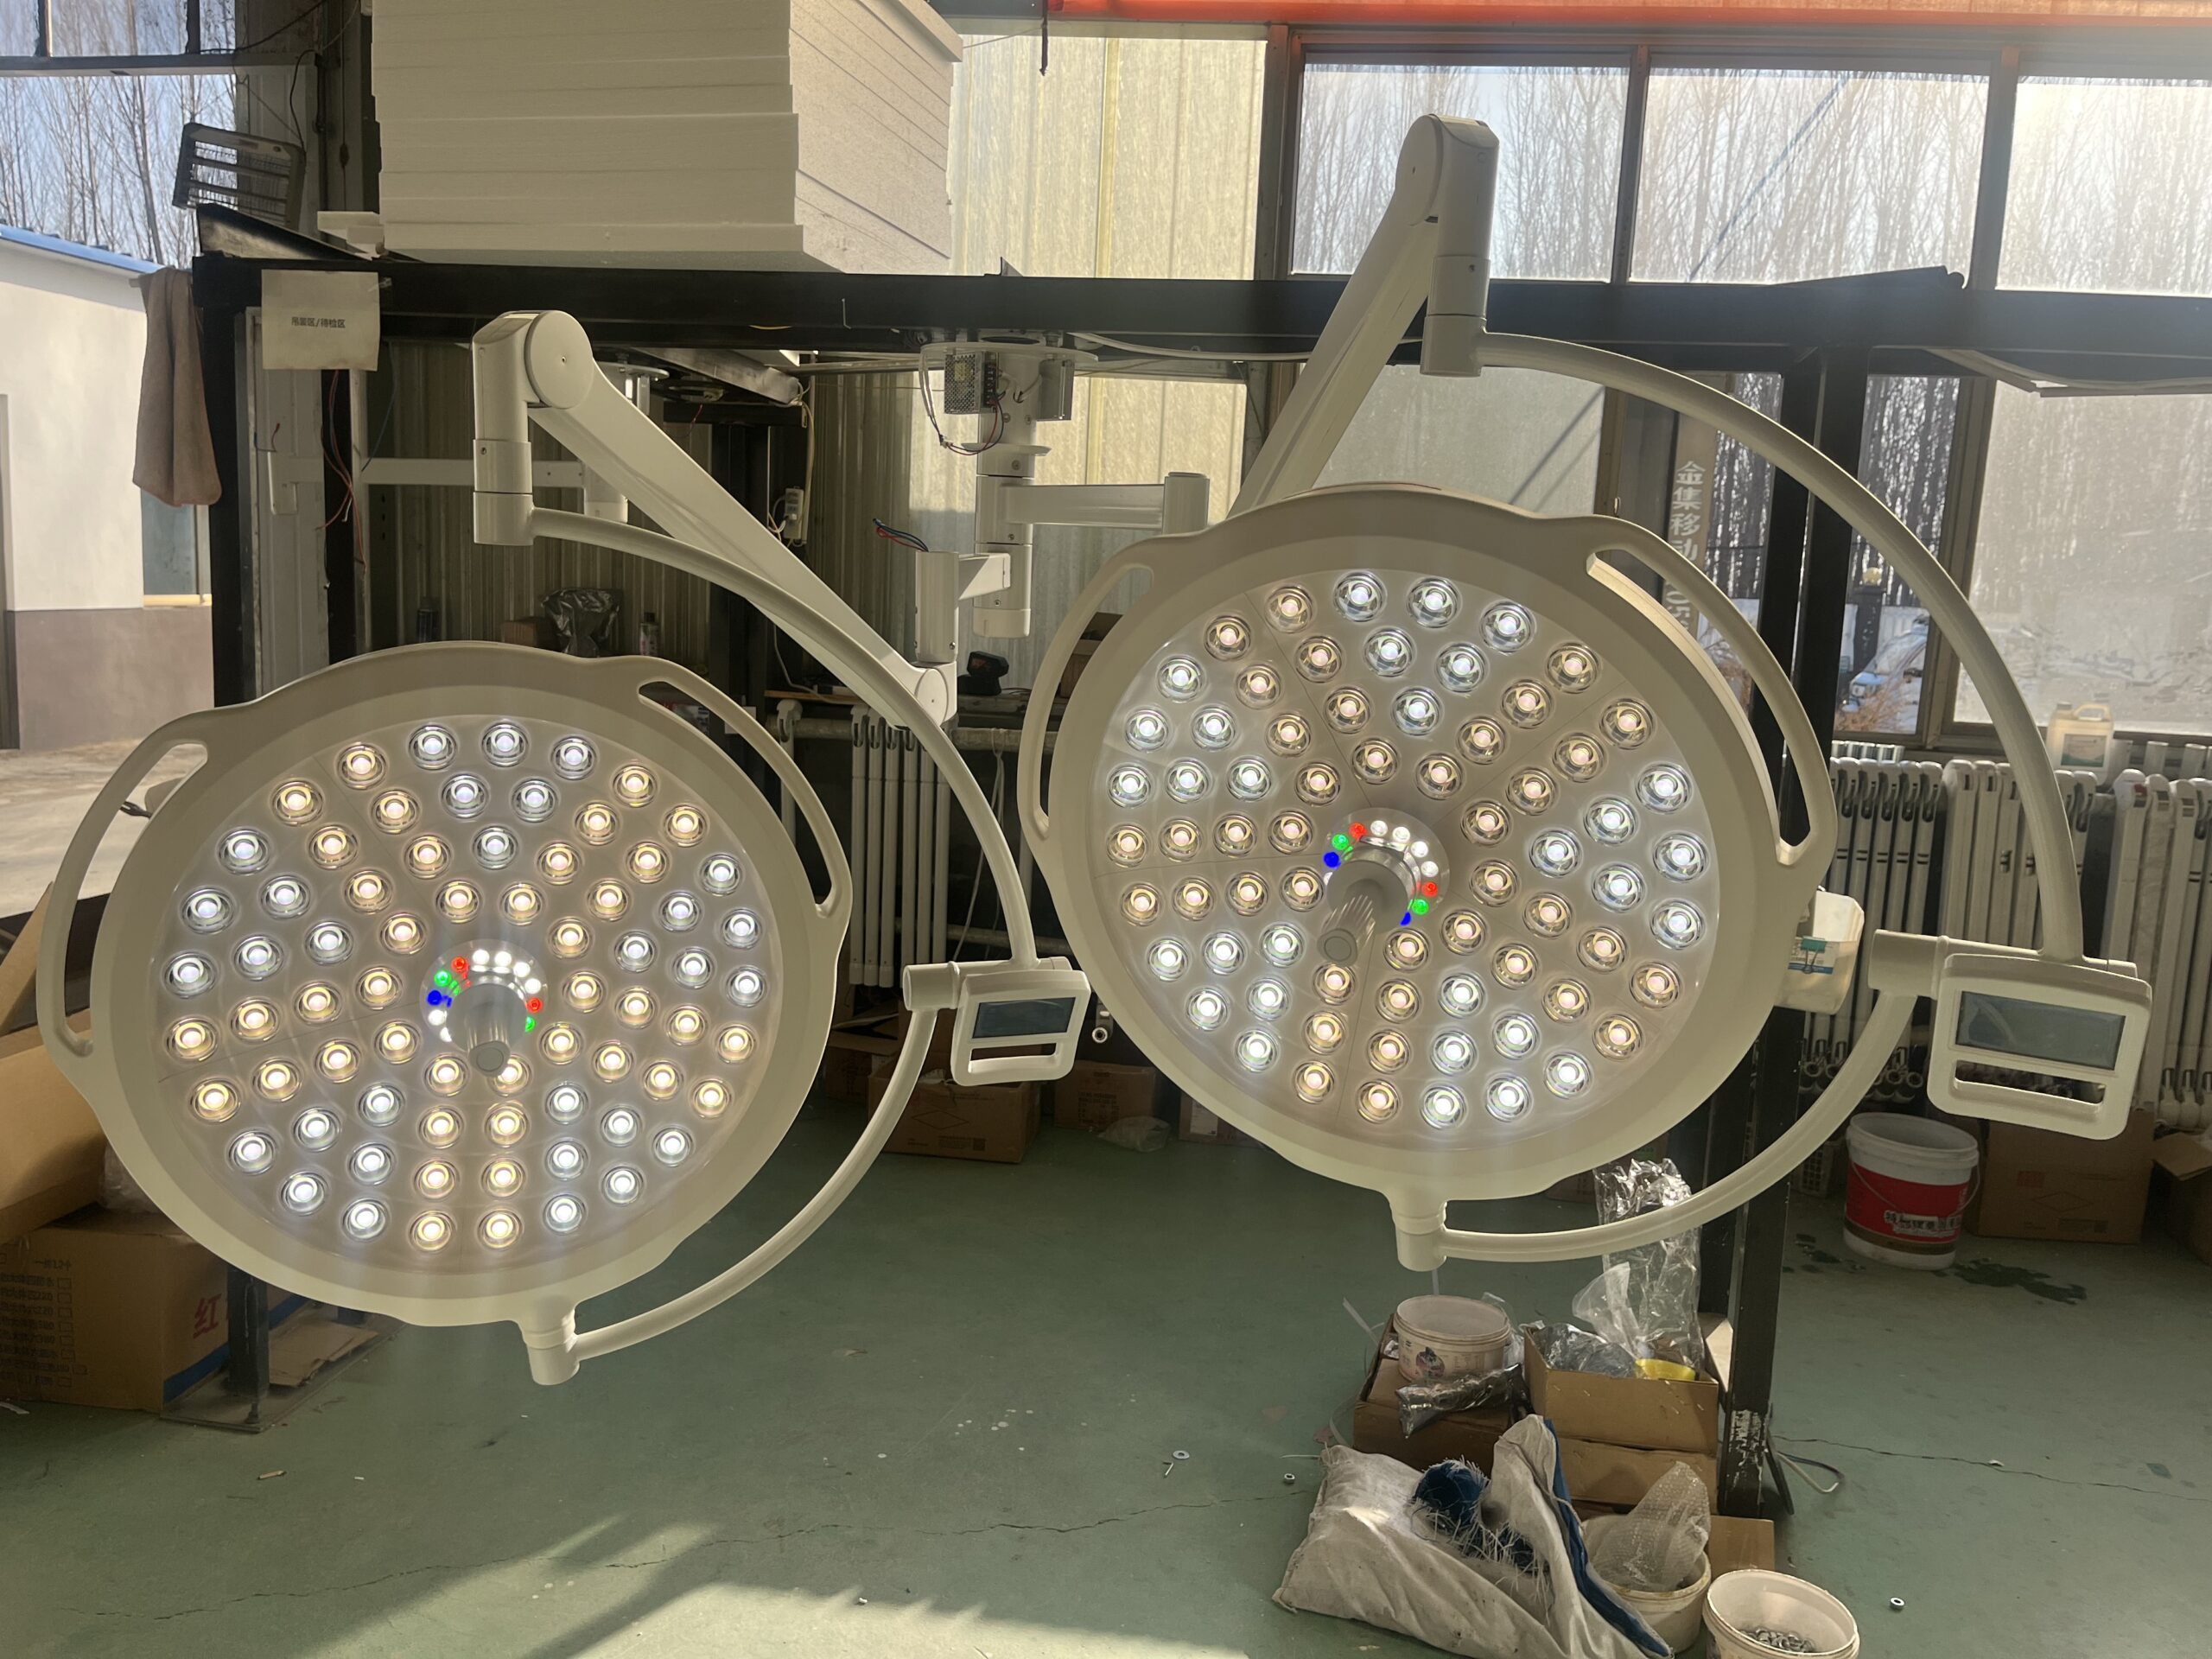
This step causes more failed repairs than the swap itself. LED modules are not commodity parts. Two modules that look identical on a bench can differ in binning, forward voltage, connector pinout, and thermal pad geometry. Installing the wrong revision produces color mismatch between petals, driver overcurrent faults, or a light that passes visual inspection but fails its next lux verification.
Before ordering, capture four identifiers from the light:
- Light head model and serial number (on the yoke or housing label).
- Module revision code — printed on the module PCB or its barcode label; revisions change when LED bin suppliers change.
- Driver firmware/board version — some module revisions require a matching driver calibration profile.
- Manufacture date — modules for lights built across a generational boundary (for example pre-2019 vs. post-2019 designs) are frequently not cross-compatible.
Order OEM or OEM-certified modules. Third-party “compatible” boards circulate widely on marketplaces; in our testing they typically meet initial brightness but show accelerated depreciation and color drift within 12–18 months because the emitters are from wider bins and the thermal interface is underspecified. For a medical device governed by IEC 60601-2-41 and, in the EU, MDR 2017/745, a non-certified light-source component also creates a documentation problem: the light no longer matches its technical file configuration, which matters in audits and incident investigations.
A $90 saving on a grey-market module becomes a $4,000 problem the first time an accreditation surveyor asks for the device configuration record and the installed part doesn’t match the file.
Step 4 — The Replacement Procedure, Done Right
Exact fastener layouts vary by model, but the sequence below is the one our factory service engineers follow and the one we teach distributor technicians. Budget 60–90 minutes for a ceiling-mounted head, including verification.
Preparation and safety
- Take the OR offline and lock out the light’s supply circuit — not just the wall control. Verify zero energy at the head.
- ESD discipline matters: LED arrays and driver boards are static-sensitive. Wrist strap, grounded mat, no synthetic fleece jackets over the open head.
- Photograph cable routing and connector orientation before disconnecting anything. Phone photos have saved more reassembly time than any service manual.
- Support the light head per the spring-arm instructions — on some suspension systems, removing head mass changes arm balance; secure the arm before opening the head.
Disassembly and swap
Remove the sterilizable handle, front lens/diffuser ring, and the inner bezel to expose the module carrier. Disconnect the module harness at its locking connector — never pull on the wires. Release the module from its heat sink (typically four to six captive screws). Inspect the heat sink surface: if the thermal paste is cracked, pumped-out, or contaminated, clean both surfaces with isopropyl alcohol and apply the manufacturer-specified thermal interface material at the specified thickness. This is the step most third-party technicians skip, and it is the reason “new” modules die early. Seat the new module, torque screws in a diagonal pattern to spec (over-torquing warps the PCB and cracks solder joints), reconnect the harness until the lock clicks, and reassemble the optical stack in reverse order.
Post-replacement verification — the step that makes it a medical repair
A module swap is not complete when the light turns on. Verify and record:
- Central illuminance at one meter against the specification value.
- Field uniformity and focus range across the adjustment span.
- Color temperature and CRI spot-check if your facility has a meter; at minimum, confirm no visible color mismatch between petals.
- Dimming curve — smooth, flicker-free response across the full intensity range at the wall control and the handle.
- Documentation — update the device history record with part number, serial, date, technician, and measured values. Under ISO 13485-aligned service processes and MDR post-market expectations, this record is part of the device’s technical documentation trail.

Step 5 — Extend the Life of the New Module
A replacement module starts a new depreciation clock, and the hospital’s habits determine how fast it runs. The four highest-leverage practices we see across our installed base:
- Keep the thermal path clean. Vacuum or gently blow out heat sink fins during every preventive maintenance visit; verify any module micro-fans spin freely. Thermal management is the single biggest life extender.
- Clean optics with approved agents only. Follow the disinfectant compatibility list in the service manual; avoid spraying liquid directly into the head. Aggressive chemistry craze on the lens mimics module failure and wastes money.
- Run annual lux verification. A five-minute measurement per light builds the depreciation trend that lets you schedule replacement in a planned PM window instead of mid-schedule.
- Avoid 100% intensity as a default. Many procedures run comfortably at 70–80% intensity; lower drive current measurably slows lumen depreciation and phosphor aging.
For multi-OR facilities, we recommend treating modules like any other critical spare: one module per light head model on the shelf, reorder on use. A stocked module converts an emergency “OR dark” event into a scheduled 90-minute fix. Distributors supporting several hospitals can pool this stock model-by-model through a structured parts program rather than holding full light heads.

Module Replacement vs. New Light Head: The Economics
Finally, the question every procurement team asks: repair or replace? Our rule of thumb, built from service data across hundreds of lights:
Replace the module when the light is under eight years old, the suspension arm and electronics are healthy, and the module is a current revision with stock availability. A module swap typically restores full specified performance at 10–20% of the cost of a new light head, with no ceiling work, no re-balancing of the arm, and no retraining of staff.
Quote a new light head when the light is past its design life with compounding issues (arm droop, housing stress cracks, driver obsolescence), when the module revision is discontinued with no certified cross-reference, or when the hospital wants capabilities the old platform cannot deliver — camera integration, endoscopy mode, or deeper cavity illumination. In those cases, a modern LED surgical light with a current-generation module design resets the maintenance clock and usually cuts energy draw substantially — the DOE’s hospital guidance noted LED systems can reduce connected lighting load by 50% or more versus halogen-era equipment.
Conclusion
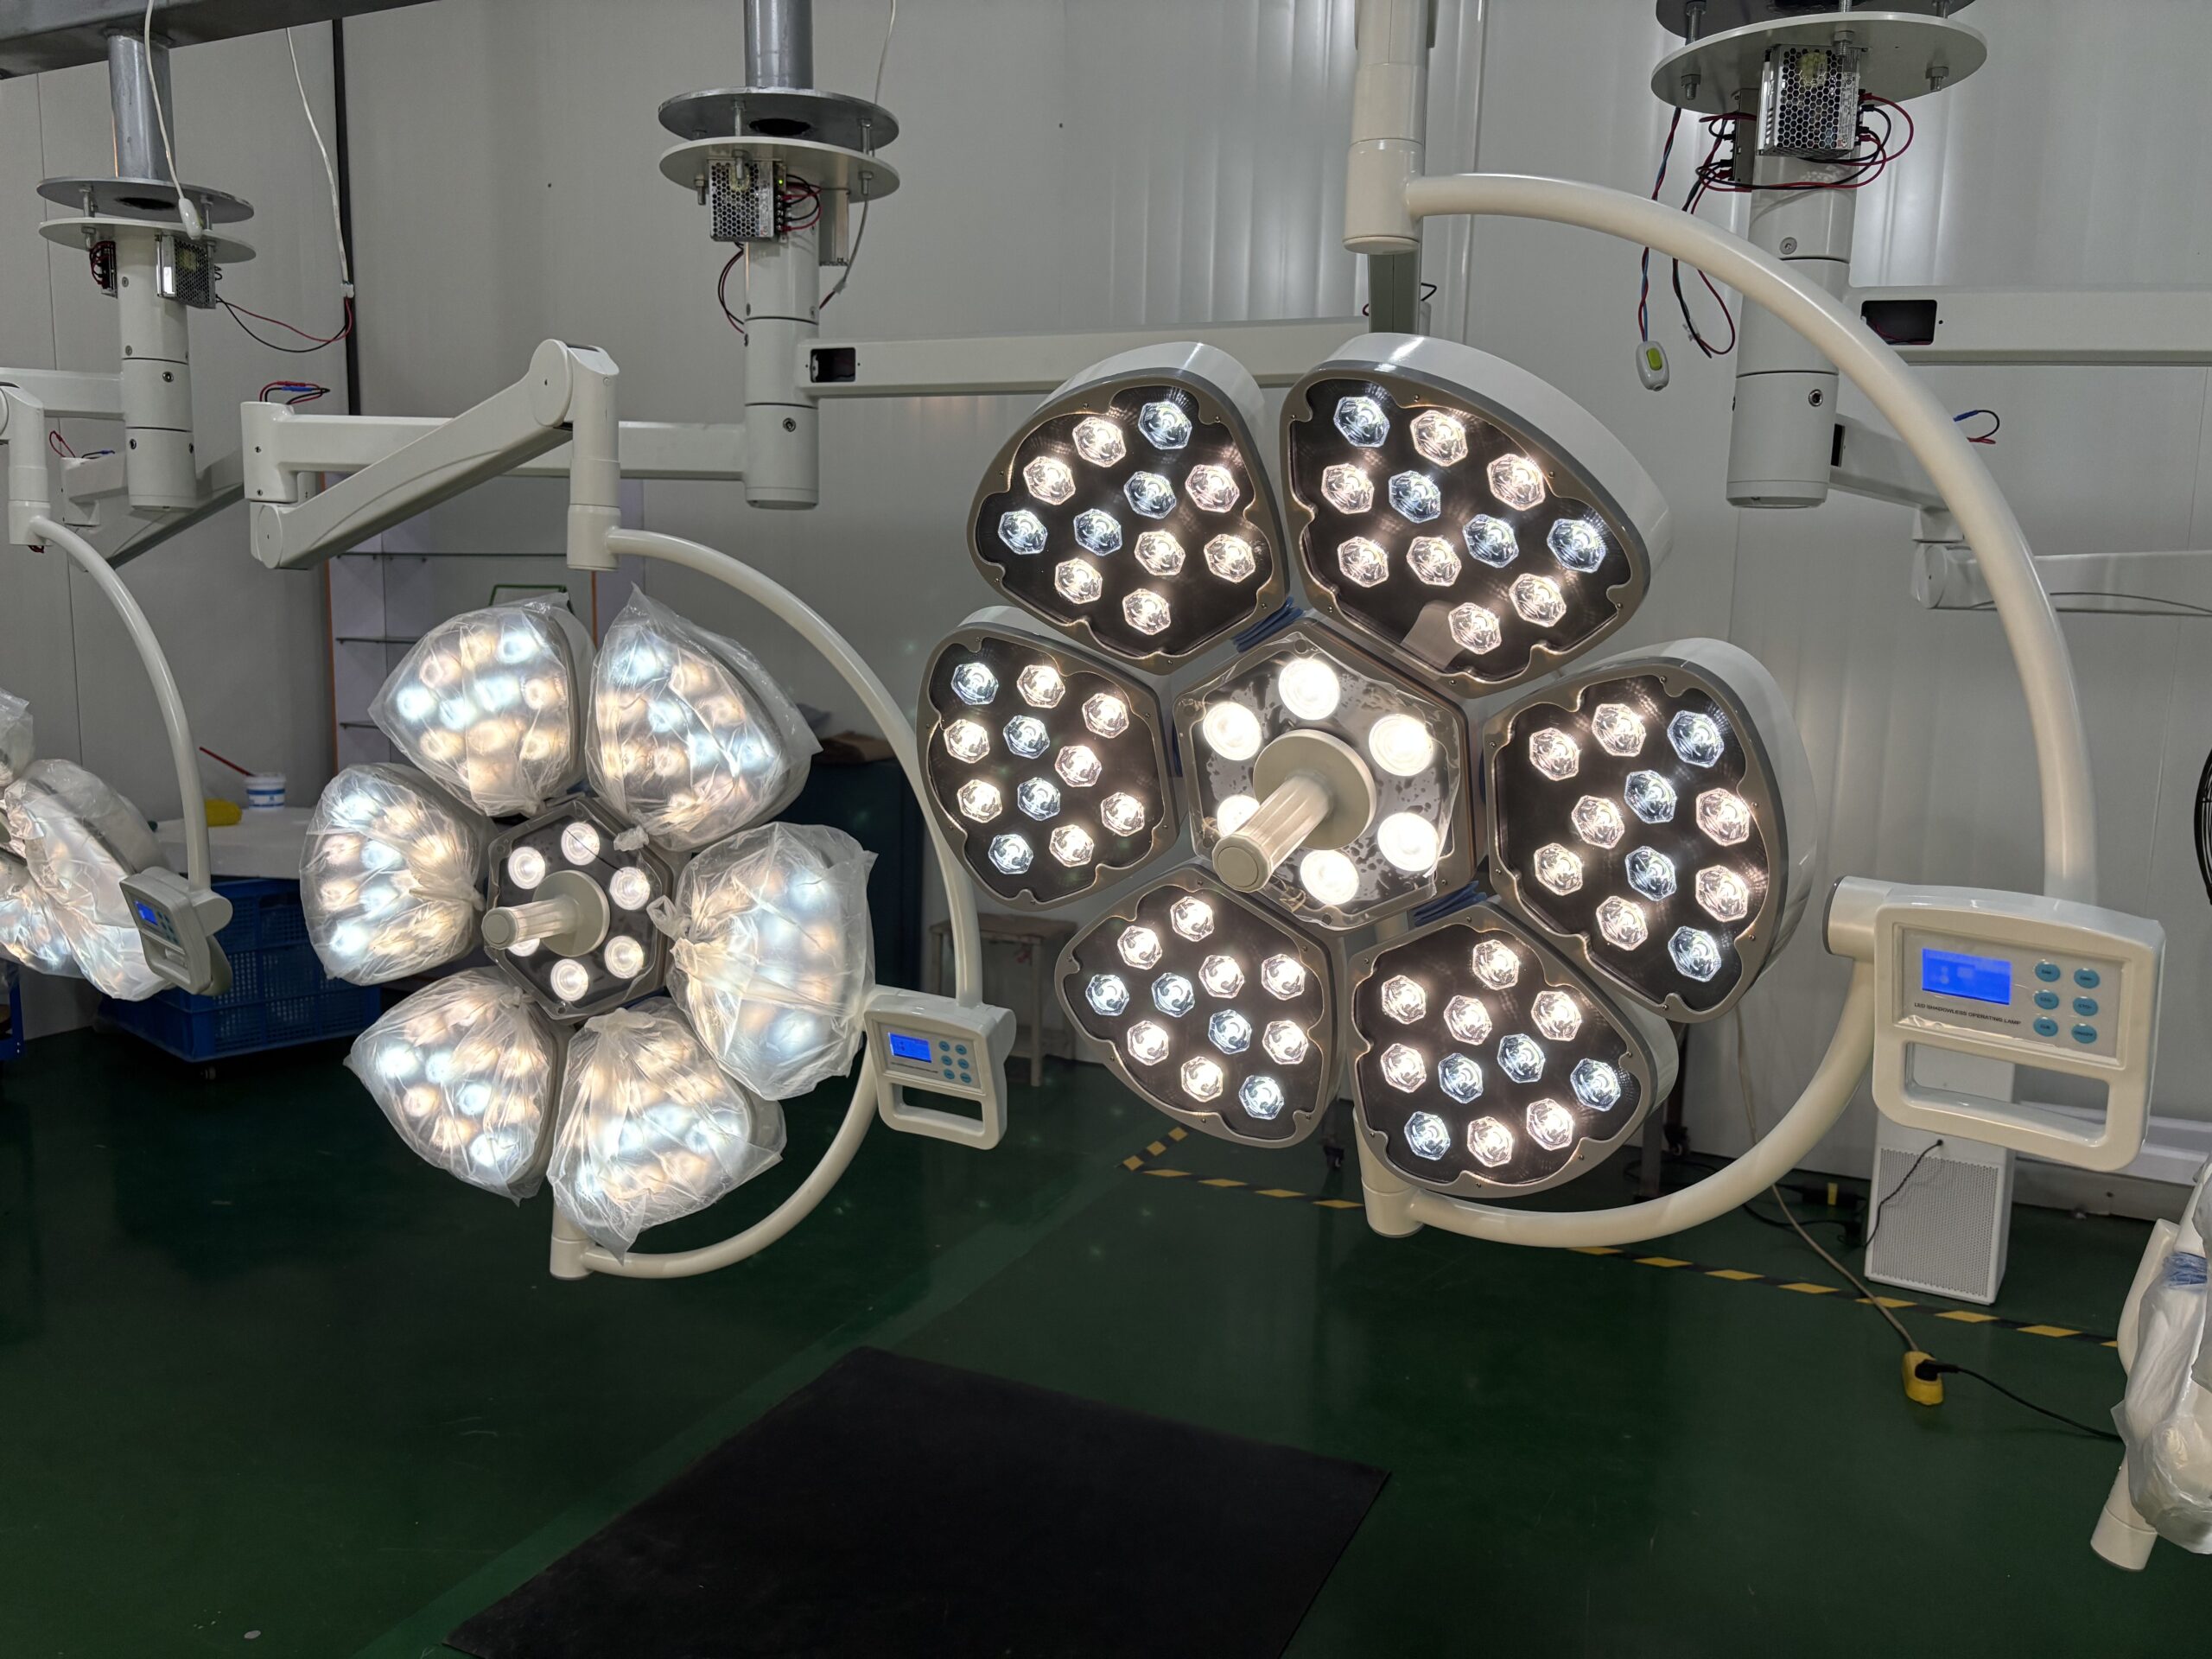
Surgical light LED module replacement sits in a sweet spot of hospital maintenance: infrequent enough to be unfamiliar, simple enough to be done in-house or by a local partner, and consequential enough to deserve a disciplined process. The framework is straightforward — measure illumination against specification, rule out optics and drivers, source the correct OEM module revision, follow ESD and thermal-paste discipline during the swap, and verify with a lux meter before the OR goes back into service. Done this way, a module replacement restores full IEC 60601-2-41 essential performance for a fraction of the cost of new equipment and keeps the depreciation clock visible through annual verification.
If you need help identifying the correct module for your light head model and serial, or you want to set up a standing spare-parts arrangement for a hospital network, our service team responds with revision-matched part numbers and stock status — reach us through the contact page or your regional distributor.
Frequently Asked Questions
How long does a surgical light LED module actually last?
Rated lifetime is typically 40,000–60,000 hours to L70 (70% of initial output), but real-world life depends heavily on thermal management and usage intensity. In clean, well-maintained ORs we routinely see modules exceed their rating; in heads with clogged heat sinks or continuous 100% intensity use, meaningful depreciation can appear far earlier. Annual lux measurement, not the hour counter, is the reliable trigger.
Can we replace just the failed LED string instead of the whole module?
We do not recommend emitter-level repair. Individual LEDs are binned for forward voltage and color; hand-soldering a replacement emitter breaks bin matching, risks thermal damage to adjacent emitters, and voids the light’s certified configuration. Module-level replacement is the smallest service unit that preserves photometric performance and documentation integrity.
Does replacing the module ourselves void the warranty or certification?
Using a genuine OEM module and following the service manual generally keeps both intact — module replacement is a designed service operation on modular lights. What creates problems is installing non-certified third-party boards or skipping post-repair verification; under IEC 60601-2-41 and MDR 2017/745 expectations, the installed configuration should match the device’s technical documentation, and post-service measurements should be recorded.
How much does a surgical light LED module replacement cost?
As a planning figure, the module itself typically runs 8–15% of the price of a new light head, plus 60–90 minutes of labor. The larger hidden cost is OR downtime, which is why we recommend stocking one module per light head model and scheduling swaps inside existing preventive maintenance windows.
Our light’s module revision is discontinued. What are our options?
Three, in order of preference: an OEM certified cross-reference module (same photometrics, updated revision), a factory refurbishment of the existing module or light head, or a planned upgrade to a current light head. A specialized spare-parts program can usually identify which option applies from your model and serial number — this is one of the most common requests our parts desk handles.
You May Also Like...

After-Hours Maintenance Strategy: Minimizing OR Downtime
Operating room downtime is expensive because an idle OR still burns staff, overhead and scheduled...

Operating Table Battery Replacement: Procedure and Intervals
Operating table battery replacement is the routine swap of the integrated backup battery that keeps...

Trolley Lock Cylinder Maintenance: Keyed and Push-Lock Types
Medical trolleys fail at the lock. Not the frame, not the casters, not the drawers...
