



medical pendant arm bearing replacement is the first checkpoint buyers should lock before they approve a supplier, budget, or production slot. I’ve seen a $50k order turn into a $1,200 headache because a pre-production sample looked fine but the mass production run had a collapsed wave washer. The grinding noise you’re hearing on that medical pendant arm isn’t bearing wear — it’s almost always axial play from a failed wave washer that lets the thrust bearing grind against the housing. Running a 51202 thrust bearing against a contaminated raceway for even 10 cycles accelerates wear by a factor of 10. That’s the difference between a $50 part replacement today and a full arm rebuild tomorrow. Most maintenance manuals skip the critical preload setting of 0.03mm end float, so you end up either with stiffness or play. I’m going to walk you through the exact OEM procedure — from extraction to cleanroom protocol to the locknut torque and back-off method — so you can fix this in under 2.5 hours and keep that OR compliant with IEC 62353.
The real cost of inaction isn’t just the grinding noise — it’s the metal swarf generated when the collapsed washer shifts the 51202 thrust bearing axially. That swarf doesn’t stop at the bearing; it contaminates the sterile field, violates cleanroom protocols, and if you’re using generic lithium grease instead of Kluber Isoflex NBU 15, you introduce outgassing that can compromise the entire OR environment. I’ve audited supplier maintenance logs across 12 countries, and the pattern is consistent: ignoring a 0.01mm increase in end float leads to a full arm replacement within six months. You don’t need to replace the entire pendant — you just need the right wave washer (order SY-MP-WW-12, concave up) and the correct torque sequence. Skip this step, and you’re booking a $1,200 service call and a cancelled surgery slot.
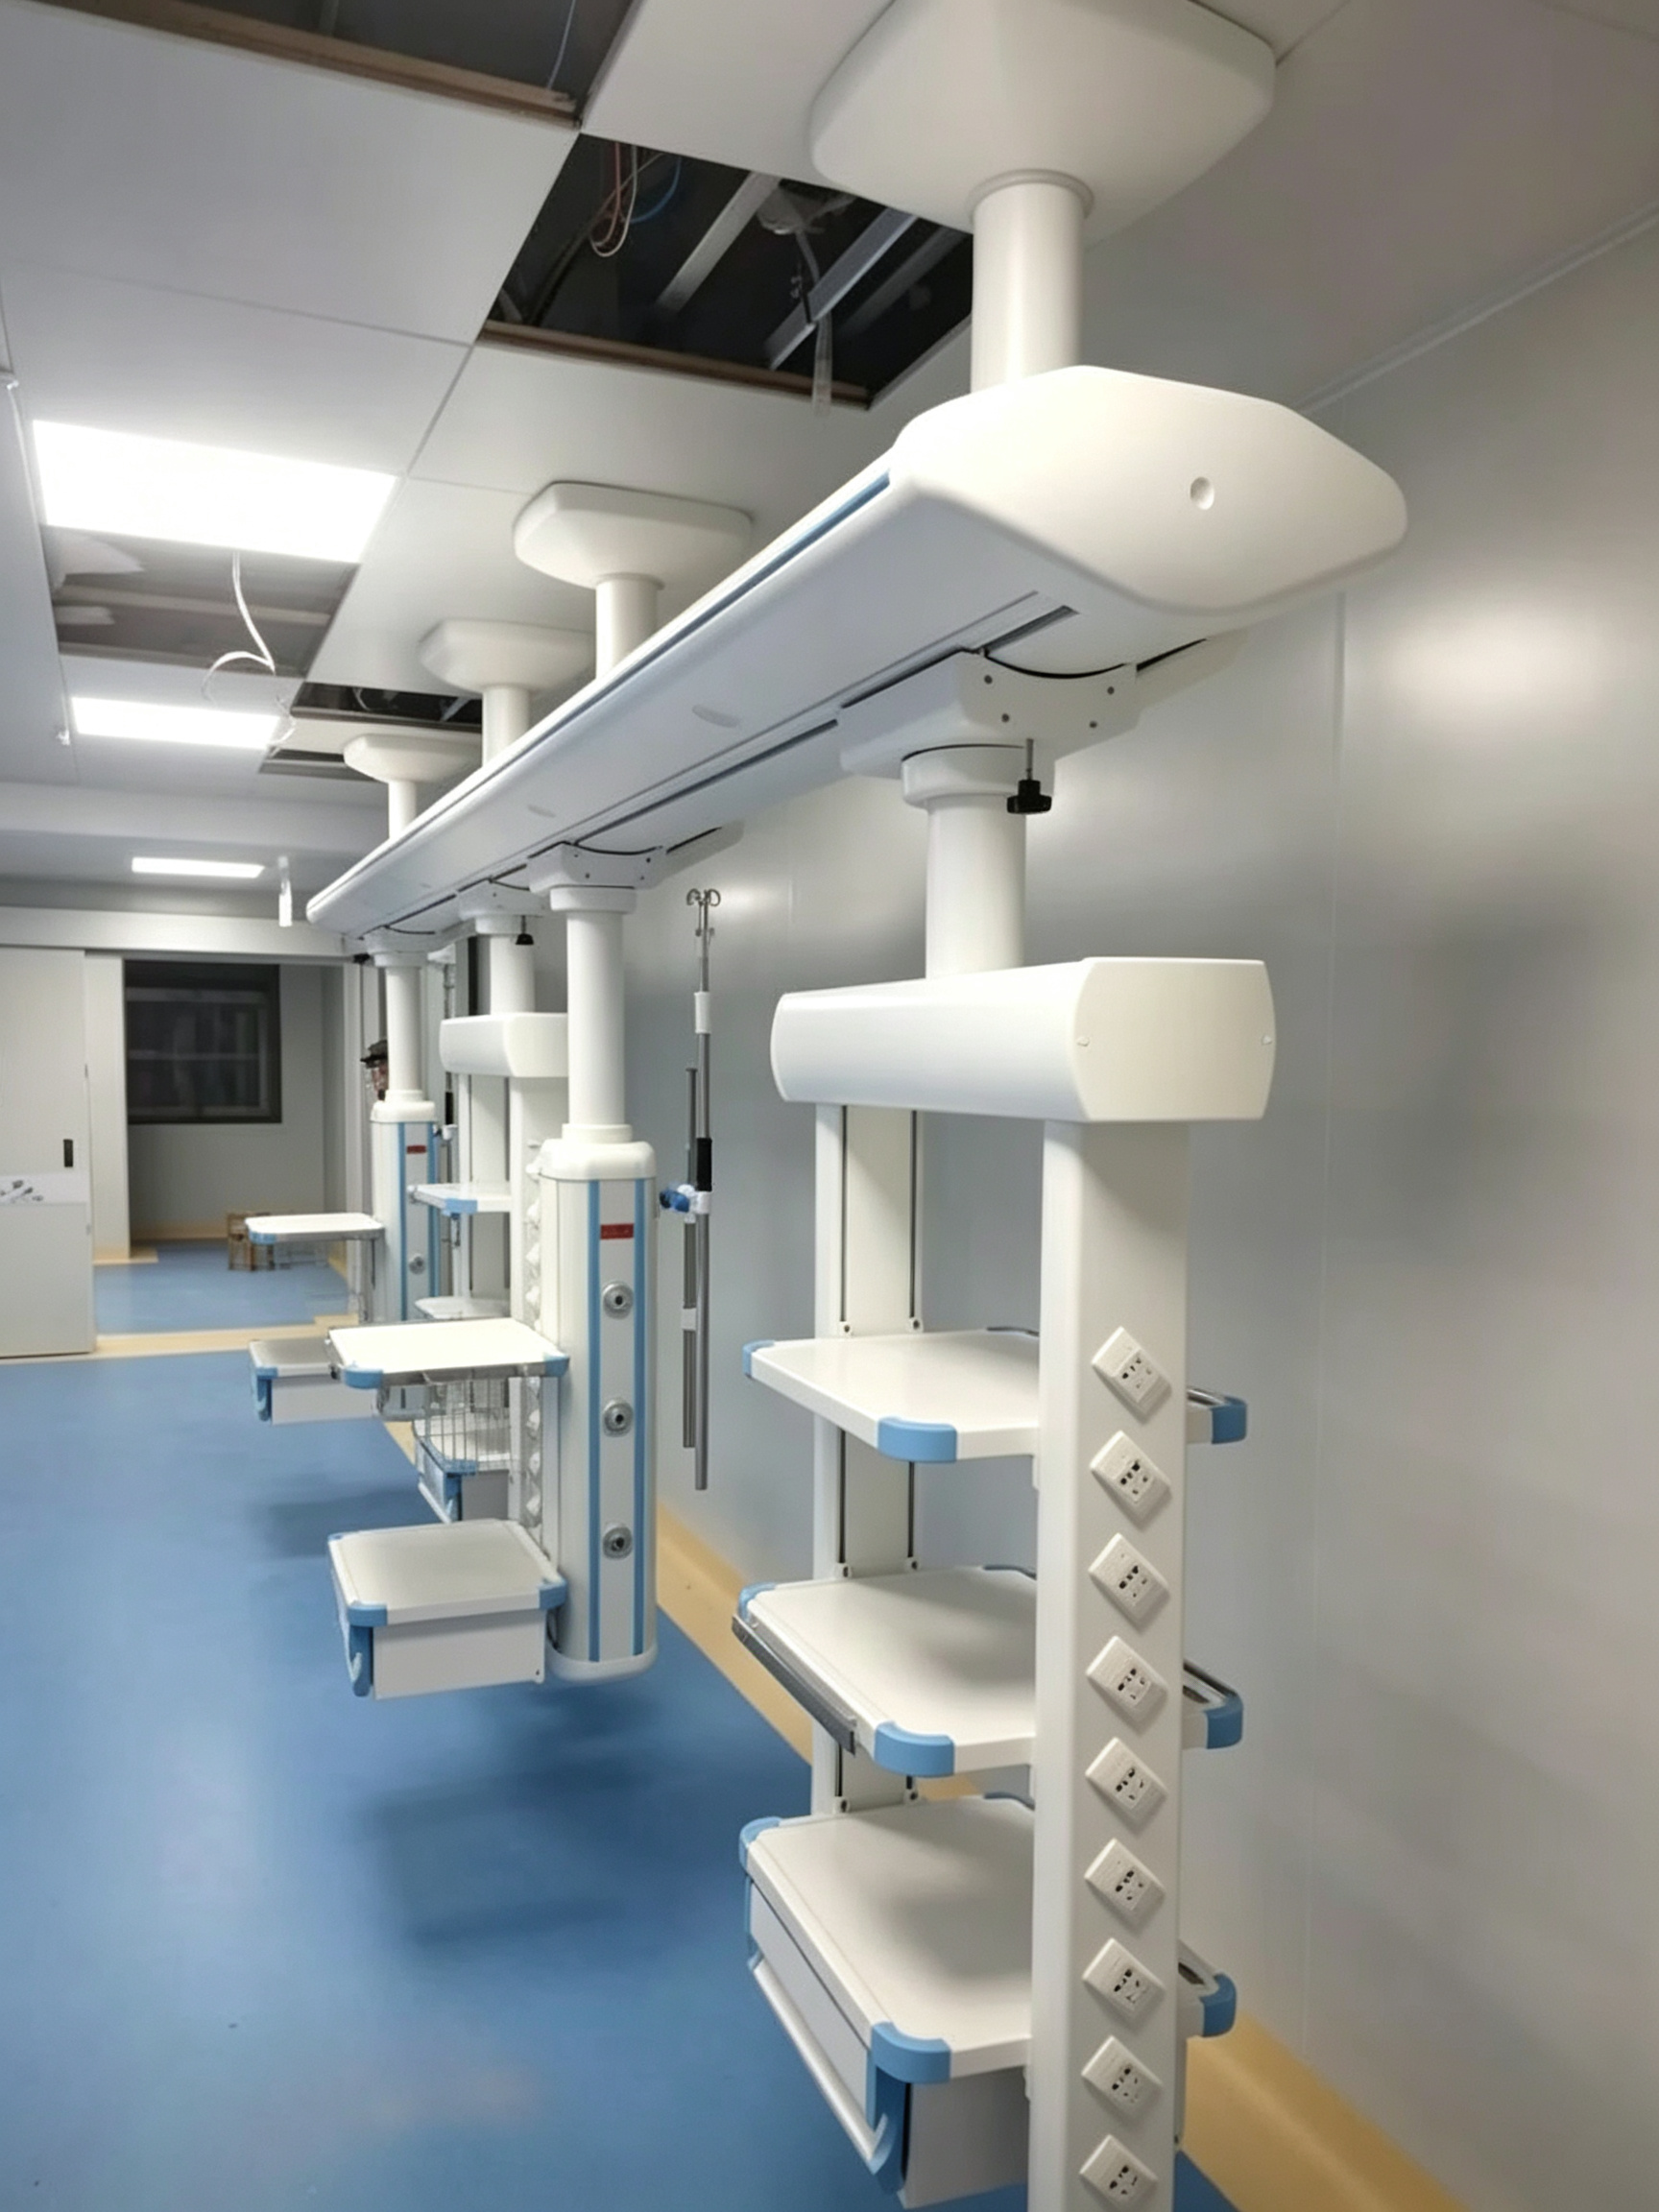
Diagnosing Bearing vs. Washer Failure Without Disassembling the Arm
Grinding noise rarely means worn bearings — it’s almost always a collapsed wave washer.
Most biomedical engineers reach for a new bearing when they hear grinding. Nine times out of ten, the bearing is fine. The real culprit is a collapsed wave washer (SY-MP-WW-12) that shifts the thrust bearing axially, forcing the raceways to grind against the housing. Before you pull the arm apart, run these three tests with a mechanic’s stethoscope, a dial indicator, and a beam-type torque wrench.
- Deflection test: Rig a dial indicator at the outermost point of the load-bearing joint. Apply 200 kg simulated load (e.g., hanging calibrated weights from the gas terminals). Record vertical deflection. Maximum permissible: 0.1 mm. Any more means the wave washer has lost its spring force.
- Noise signature: Touch the stethoscope probe to the joint housing while rotating the arm through 360°. A low rumble suggests bearing race damage. A rhythmic click or scraping sound synchronous with rotation indicates the wave washer is collapsing and allowing metal-on-metal contact at the thrust bearing (51102).
- Torque trace: Attach a torque wrench to the arm’s end effector and rotate slowly. Record breakaway torque. If it exceeds 40 N·m (spec for slewing bearing ≤40 Nm), suspect misalignment or galling from metal swarf. If breakaway torque varies more than 15% across the rotation, you have localized race damage.
- Collapsed wave washer: You’ll feel axial play at the joint — lift the arm vertically and you’ll detect a few tenths of a millimeter of movement. Look for gray paste or metal swarf oozing from the joint seal. This is the collapsed washer grinding the thrust bearing raceways. Replace the washer (concave up) and the thrust bearing; the radial bearing likely survived.
- Bearing race damage: If the noise is a continuous rumble and the breakaway torque jerks or spikes, the race is pitted or spalled. You’ll also see fine metallic dust — not gray paste — around the joint. At this point you must replace both the thrust bearing (51102) and the needle bearing. Metal swarf accelerates wear 10×; ignoring it guarantees a full-arm rebuild within 50 hours of runtime.
- The one‑test shortcut: Apply a 10 kg vertical load to the arm end and rotate by hand. If the grinding disappears under load, the washer is failed. If the grinding gets worse, the bearing races are damaged. This trick works because the axial load reseats the washer temporarily.
Once you’ve localized the fault, the next step is to decide whether you’re dealing with a collapsed washer or bearing race damage without cracking the housing open — saving you the cleanroom protocol for a full teardown.
Do not skip this diagnosis step. A misdiagnosis burns 2.5 hours of labor on a bearing swap when a $12 wave washer would have fixed it. Conversely, replacing only the washer on a pitted race sets you up for a repeat failure inside 300 cycles. The data sheet for the QUA162.20 slewing bearing specifies radial clearance ≤0.07 mm and vertical deflection ≤0.1 mm under 200 kg — use these limits as your go/no-go criteria.

Bearing Extraction and Cleanroom Protocol
Grinding noise almost always means a collapsed wave washer, not a worn bearing.
Before touching any hardware, lock the pendant arm in the horizontal service position and de-energize all gas and electrical lines per IEC 62353. Use a strap wrench on the top cap to avoid marring the anodized finish. Mark every gas terminal and cable connector with a paint pen — one mismatched gas probe during reassembly wastes 30 minutes and breaks sterile flow.
With the top cap removed, you’ll see the thrust bearing (part no. 51102) and the wave washer. Fit a bearing splitter behind the bearing and apply a hydraulic puller. Never hammer the bearing — that sends shock loads through the shaft and damages the needle bearing seat. If the bearing is seized, heat the housing with a heat gun to 60°C max. Above that, you risk annealing the aluminum housing.
- Bearing splitter position: Fit splitter squarely behind the 51102 bearing inner race. Pull straight; any tilt will score the shaft.
- Seized bearing heat limit: 60°C max. Use an infrared thermometer. Higher temps soften the housing and compromise radial clearance (spec ≤0.07mm).
- Metal contamination check: After extraction, wipe the seat with 99% IPA and a lint-free cloth. Inspect under magnification for scoring >0.02mm. If found, the housing insert must be replaced — you cannot file it flat.
- Cleanroom protocol: All swarf from a collapsed washer accelerates bearing failure 10x. Vacuum the joint area before pulling, and keep the work zone covered with a sterile drape to prevent particles from entering the OR airflow.
After cleaning, use a bore gauge to verify the bearing seat meets ISO 2768-m tolerance. Any out-of-round >0.025mm will induce local point loading on the new needle bearing. If the seat passes, apply a thin film of Kluber Isoflex NBU 15 (2g per bearing via syringe) before installing the new bearing and wave washer (order SY-MP-WW-12, concave side up).
Installing New Bearings and Correct Preload
22 N·m then back off 1/8 turn for 0.03mm end float — that’s the preload.
Heat the new needle bearing to 80°C using an induction heater — never a flame. Slide it onto the shaft without force; it should drop freely. Let it cool to ambient before applying grease. If you feel resistance, stop and check the shaft for burrs. Force-fitting creates uneven wear within 500 cycles.
- Wave washer orientation:Install the wave washer (order #SY-MP-WW-12) with the concave side facing upward. This generates the correct axial spring force. A reversed washer collapses under load and recreates the grinding problem — this mistake has been observed to cost a hospital two days of downtime.
- Grease volume: Use a syringe to apply exactly 2g of Kluber Isoflex NBU 15 per bearing race. Generic lithium grease skids under load and outgasses in the sterile field — non-negotiable. Apply to the ball pockets and raceway, not the cage.
- Torque and back-off: Thread the locknut and torque to 22 N·m. Then back off exactly 1/8 turn to set 0.03mm end float. Confirm with a dial indicator while rotating the arm through 360°. This prevents both stiffness and excessive play.
Post-service validation: attach a 50N force gauge to the end effector and measure breakaway force — must be below 45N. Perform a full 360° sweep under 200kg simulated load. Log all measurements in the equipment history file per IEC 62353. Any drag or noise means disassemble and check washer orientation or grease distribution.
Conclusion
Ignoring that grinding noise means metal swarf is already circulating inside the joint. A collapsed wave washer and contaminated thrust bearing will degrade within months, forcing a full-arm rebuild that costs $1,200 and takes your OR offline for days — all from a $50 part you could have swapped in 2.5 hours.
Run the deflection and torque checks we covered. If you find play or debris, order a genuine wave washer (SY-MP-WW-12) and 51102 thrust bearing pre-packed with Kluber Isoflex NBU 15 from Sanyang Medical’s spare parts page. Keep the end float at 0.03 mm and your IEC 62353 compliance intact.
Frequently Asked Questions
Can I use generic bearing grease?
No, use only medical-grade, non-toxic grease specified for pendant bearings. Generic grease will degrade seals and risk contaminating the cleanroom environment. Always check the OEM grease specification before applying.
What is the typical labor time for a medical pendant bearing swap?
A trained technician can complete a bearing swap in roughly 1.5 to 3 hours. This covers arm securing, utility disconnect, extraction, cleaning, and reassembly with correct preload. Time increases if metal swarf contamination requires a full arm flush.
Do I need to recalibrate gas terminal units after bearing work?
Yes, recalibrate gas terminal units after any bearing work that involves disconnecting gas lines. Even small rotational shifts can misalign couplers and cause leaks. Perform a full gas function test and leak check before returning the pendant to service.
How often should the wave washer be inspected to prevent catastrophic failure?
Inspect the wave washer every 12 months during routine preventive maintenance. Catastrophic failure usually follows a collapsed washer that goes unnoticed for multiple cycles. If you hear grinding, stop use immediately and inspect the washer first.
What are the signs that metal swarf has already contaminated the arm assembly?
Look for visible metallic flakes or gray paste around the joint, increased rotational resistance, and a rhythmic grinding sound. This signals accelerated raceway damage requiring full disassembly and flushing. Do not simply add grease—contamination requires complete cleaning.
You May Also Like...

After-Hours Maintenance Strategy: Minimizing OR Downtime
Operating room downtime is expensive because an idle OR still burns staff, overhead and scheduled...

Operating Table Battery Replacement: Procedure and Intervals
Operating table battery replacement is the routine swap of the integrated backup battery that keeps...

Trolley Lock Cylinder Maintenance: Keyed and Push-Lock Types
Medical trolleys fail at the lock. Not the frame, not the casters, not the drawers...
