



Executive Summary
Medical pendant brake drift repair explained: how to test for static drift and release lag, diagnose contaminated pads, worn springs, and low air pressure, and fix or replace the brake module safely.
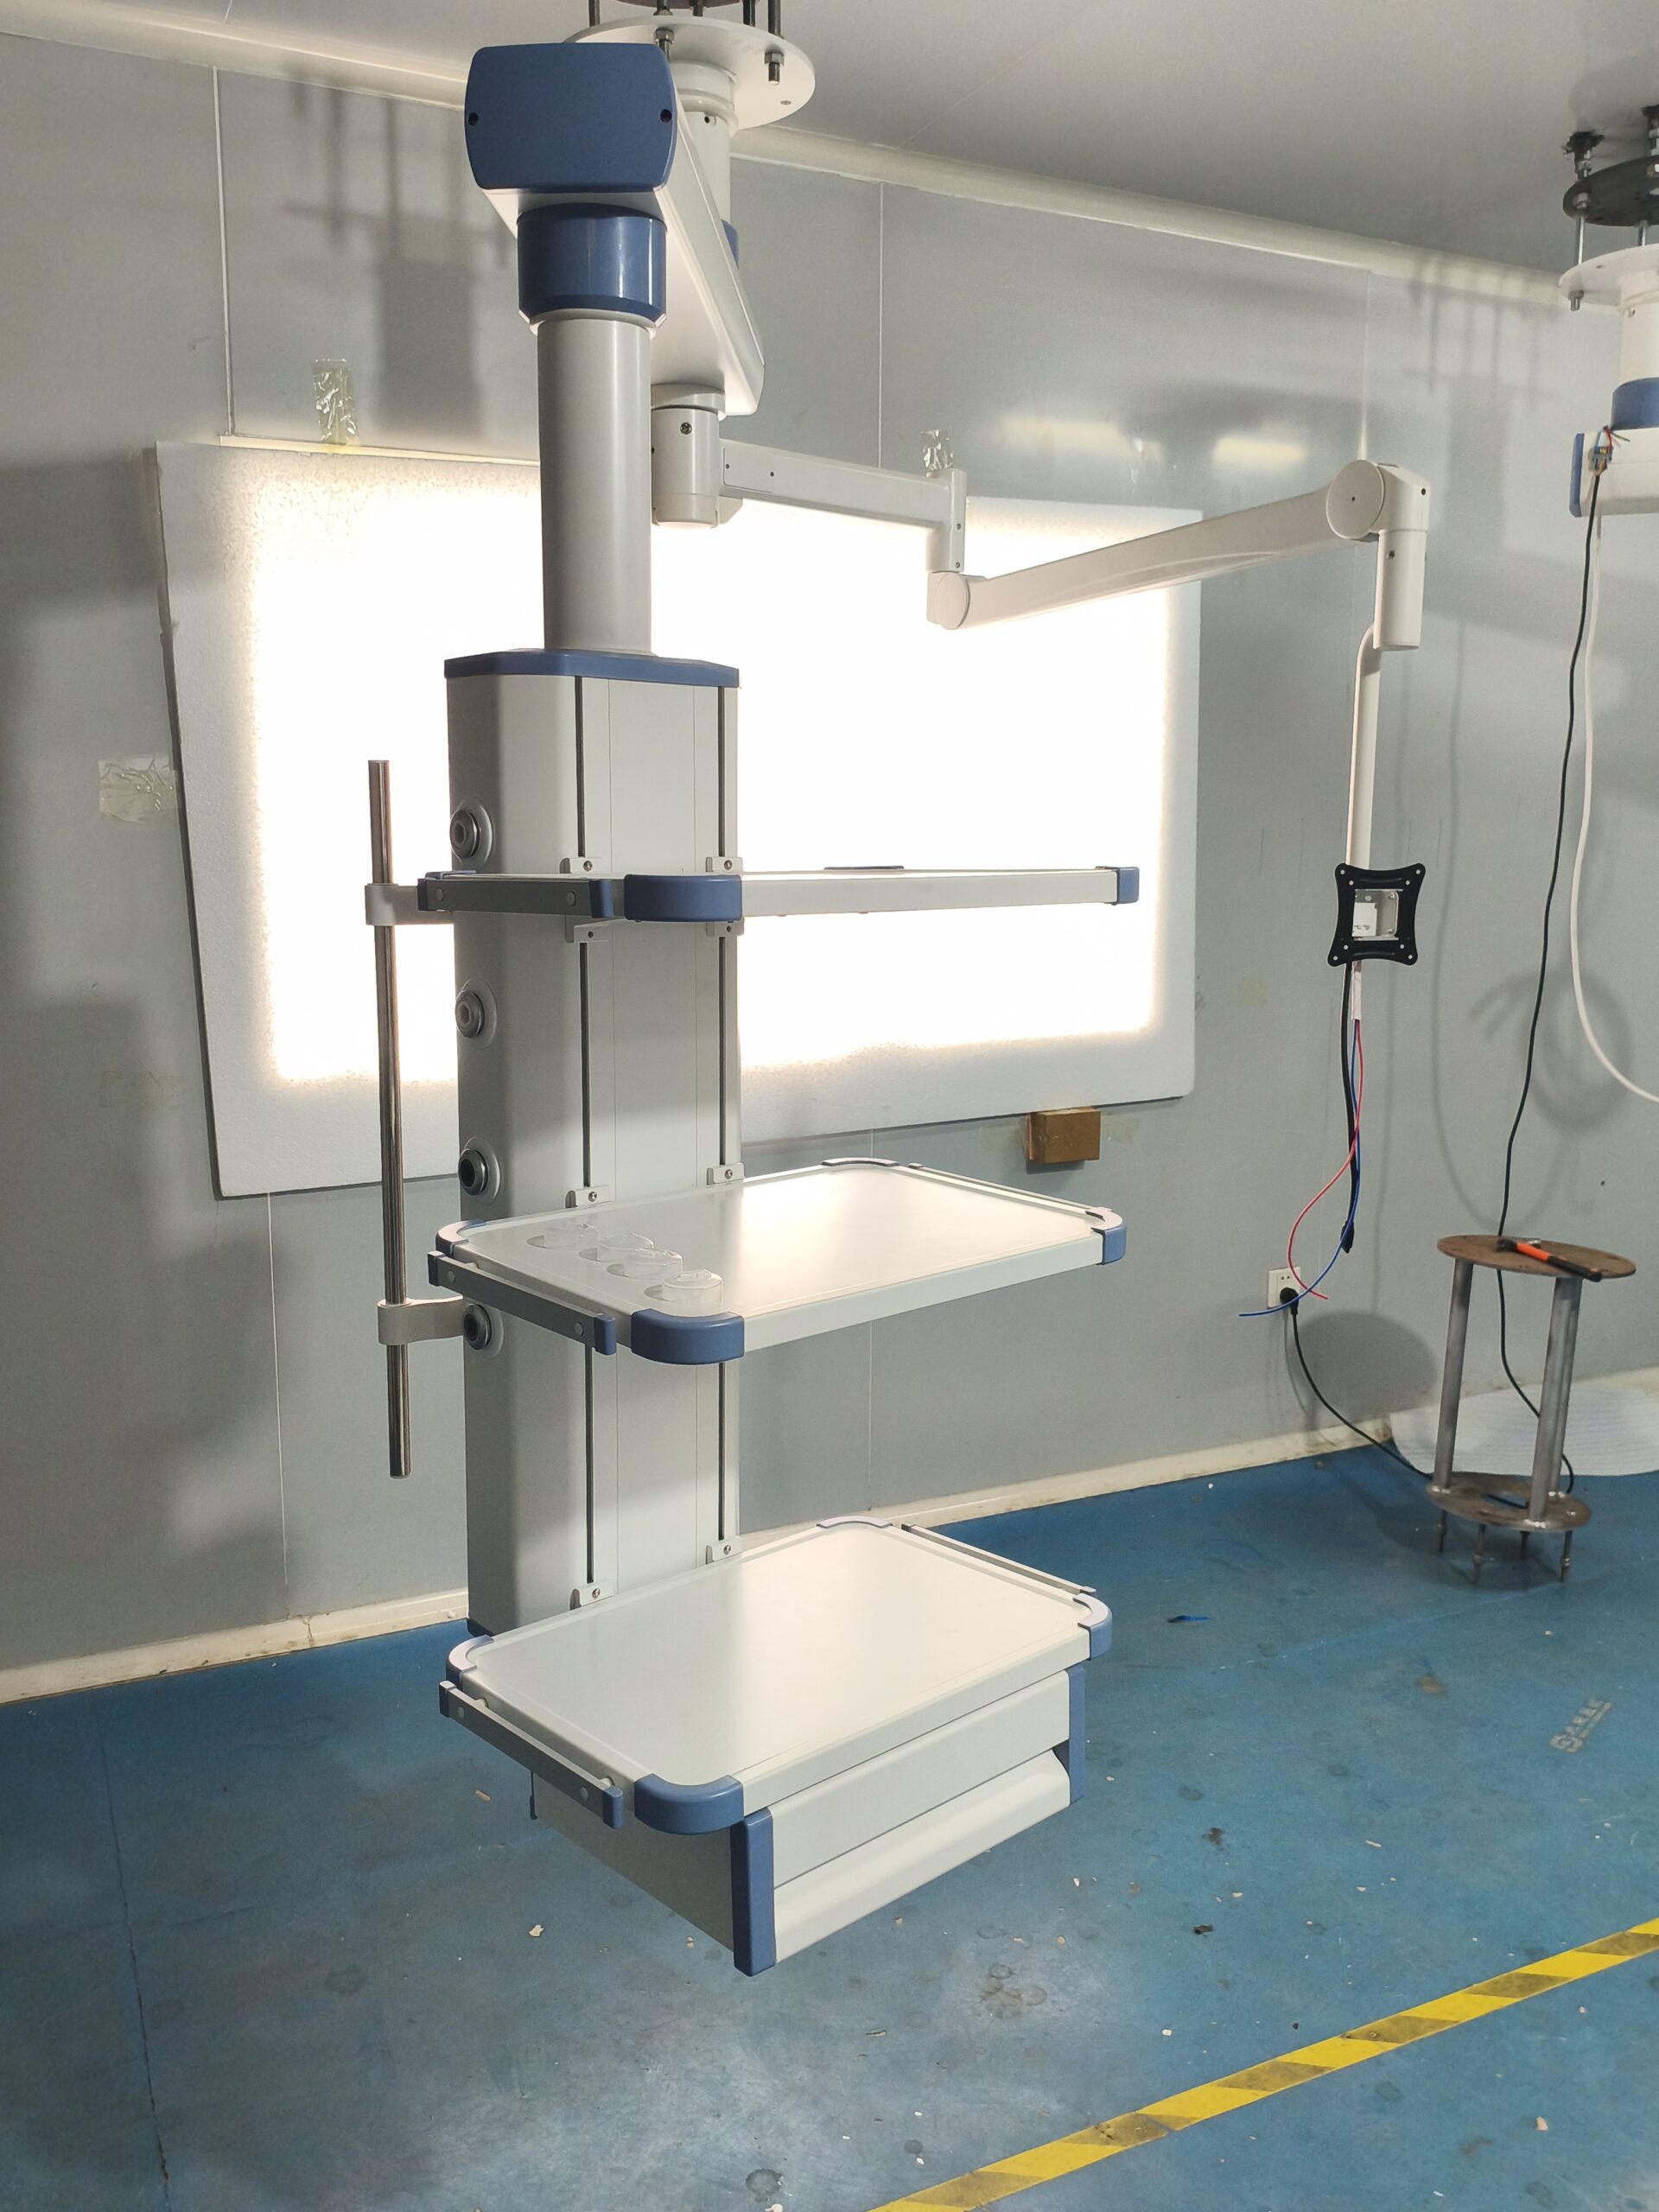
You rotate the pendant console into position over the patient, release the handle, and the arm keeps moving — five degrees, ten degrees, sometimes a slow creep that only stops when it bumps into the anesthesia machine. That is brake drift, and in a busy OR it is more than an annoyance. A drifting pendant arm can pull on gas hoses and monitor cables, nudge a suspended monitor out of the surgeon’s sightline, and in the worst case swing a loaded console into a staff member. We get calls about medical pendant brake drift repair more often than almost any other pendant complaint, and the pattern is always the same: it starts as a “small creep” nobody logs, and six months later the arm won’t hold position at all.
The good news is that brake drift is one of the most diagnosable faults on a ceiling supply unit. In our service work on medical pendant systems across hundreds of OR and ICU installations, roughly eight out of ten drift cases trace back to a short list of causes — worn friction surfaces, contaminated brake discs, fatigued springs or low pneumatic pressure, and incorrect brake gap after a previous repair. Most of these can be confirmed with basic tools and corrected without taking the pendant out of service for more than a few hours. This guide walks through how the brake system actually works, how to test it properly, and when a repair crosses the line into “replace the brake module.”
One warning before you start: a pendant brake is a load-holding safety device. The console above the patient typically carries monitors, infusion pumps, and sometimes a ventilator — easily 60 to 150 kg of equipment plus the arm’s own weight. Treat any brake work with the same discipline you would apply to a fall-arrest anchor. If you are not confident, stop and call your service partner.
How Pendant Brakes Work — and Why They Drift
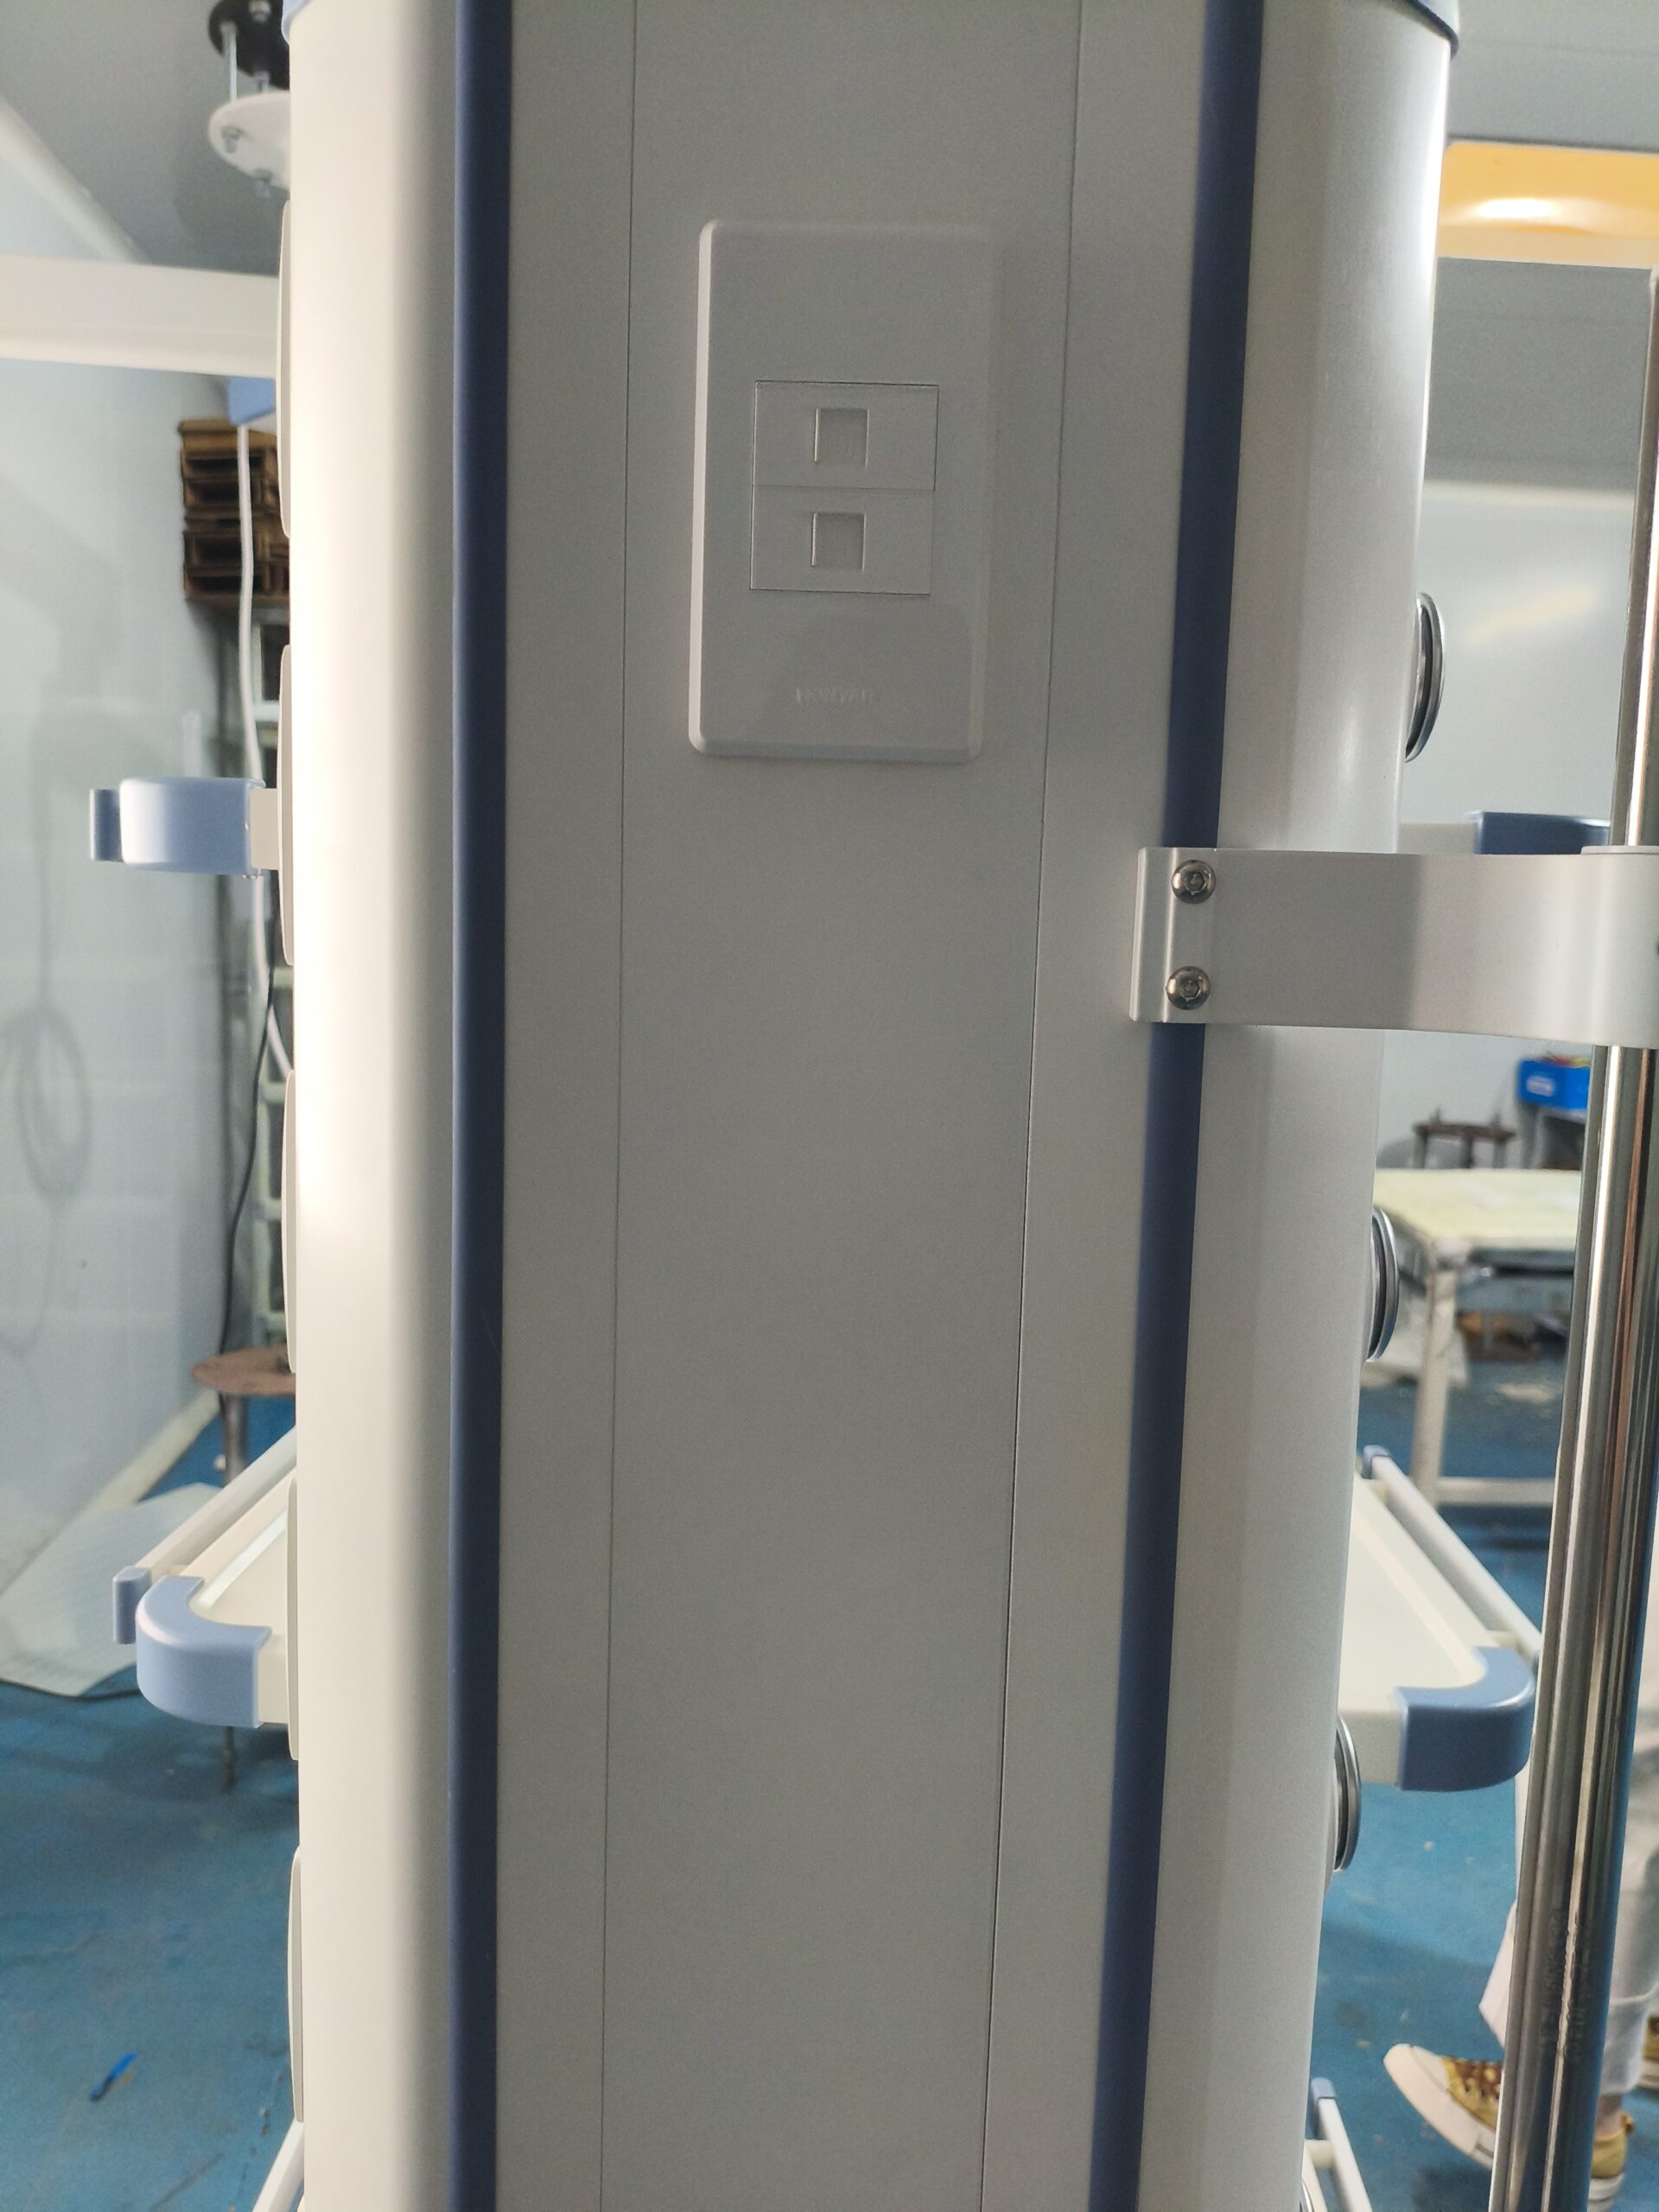
Most ceiling-mounted pendants use one of three brake designs at each rotation joint: a friction brake (a spring-loaded pad or band pressing against a machined disc), a pneumatic brake (compressed air clamps a piston against the disc, and releasing air pressure releases the joint), or an electromagnetic brake (a spring-applied, electrically released unit — often marketed as an “e-brake” — that engages by default and releases when you press the handle button). All three share the same failure physics: holding torque depends on friction force multiplied by clamping force and the effective radius of the braking surface. Anything that reduces friction (grease, polish glazing, wear) or reduces clamping force (weak springs, low air pressure, voltage drop at the coil) reduces holding torque, and the arm begins to drift.
“Drift” itself comes in two flavors that technicians often confuse. Static drift means the arm moves under load with the brake fully engaged — the brake is slipping. Release-lag drift means the brake releases properly when you press the handle but re-engages late or incompletely when you let go, so the arm creeps before it locks. Static drift points at the friction interface; release-lag drift points at the actuation side — sticking pistons, kinked air lines, swollen seals, or a failing brake-release switch. Write down which one you are seeing before you open anything, because the repair paths are completely different.
Step 1: Confirm and Quantify the Drift
Before you blame the brake, confirm the symptom under controlled conditions. Load the console with its normal working equipment — not empty, because an unloaded arm may drift from simple imbalance. Mark the arm’s position with masking tape on the column and a reference line on the ceiling or wall. Engage the brake, then observe for 10 minutes. Measure any angular movement. As a field rule of thumb, more than about 2–3 degrees of creep per minute under normal load is a defect that will worsen; a properly functioning brake should show no visible movement over 10 minutes.
Then do a pull test. With the brake engaged, apply a firm, smooth horizontal force at the end of the arm — comparable to a person leaning on the console, not a bodyweight yank. The arm should not move. If it rotates smoothly under hand pressure, you have confirmed static drift. If it holds during the pull test but still creeps slowly over minutes, suspect a slow leak in a pneumatic system or partial spring engagement — the brake is seating, just not with full force.
- Normal load test: console fully equipped, brake engaged, 10-minute observation with position marks.
- Pull test: firm hand pressure at arm tip, brake engaged, no rotation allowed.
- Cycle test: release and re-engage 20 times; watch for inconsistent engagement or audible delay.
- Temperature note: test at normal room temperature — cold grease in a rarely used arm can mimic drift, and an overheated friction surface can fade temporarily.
Field tip: log the measured drift rate in the maintenance record even when you fix it on the spot. A joint that drifts 3°/min this quarter and 5°/min next quarter is telling you the friction surface is wearing out — that trend is your early warning to order the brake module before it fails mid-surgery.
Step 2: Diagnose the Root Cause
With the drift quantified, work through the cause list in order of probability. In our experience the distribution is roughly: contaminated friction surfaces first, worn pads/discs second, pneumatic supply problems third, and mechanical mis-set brake gaps fourth.
Contaminated friction surfaces
This is the number one cause, and it is usually self-inflicted. Lubricant migrating from a bearing race above the brake, silicone spray used during cleaning, or aerosol disinfectant carried into the joint — any of these drops the friction coefficient dramatically. The giveaway is a thin, glossy film on the disc or a distinctive burnt-oil smell near the joint. General friction-brake engineering literature on wear and damage characteristics shows the same pattern across industries: even a thin contamination layer can cut effective friction by half or more, and glazing from light slipping makes it permanent if you don’t clean it properly.
Worn pads, discs, and springs
Friction pads wear just like brake pads anywhere else. On a heavily used ICU pendant that gets repositioned dozens of times per shift, pad life can be three to five years; on a rarely moved endoscopy pendant it can exceed ten. Check pad thickness against the manufacturer’s minimum — most designs specify replacement well before the backing plate can contact the disc. Also inspect the disc surface for scoring, heat discoloration (blue or straw-colored patches), and uneven wear, which usually means the caliper or pad carrier is sticking on one side.
Pneumatic supply problems
On air-braked pendants, low or unstable supply pressure is a classic hidden cause. The hospital’s medical air plant is built to the medical gas pipeline standards (ISO 7396-1 / HTM 02-01 territory), but the pendant’s internal tubing, fittings, and solenoid valves are not part of that certified pipeline — they age, kink, and leak. Put a gauge on the brake circuit if the design allows, or listen for the hiss of a leaking fitting while the brake is engaged. Swollen seals from oil carryover in older compressors also cause the release-lag drift described earlier.
Mis-set brake gap after previous service
If the drift started right after someone else worked on the arm — a bearing replacement, a cable service, a console swap — suspect the reassembly. Many friction brakes have a defined air gap or preload setting, and a joint reassembled with the gap doubled will still “feel” engaged but hold only a fraction of its rated torque. This is exactly why we tell technicians to re-verify brake holding torque after any joint work, including jobs that seem unrelated, like a pendant arm bearing replacement — the bearing preload and the brake gap often share the same stack of shims.

Step 3: Clean or Replace the Friction Components
For contamination-only cases, a careful clean often restores full holding torque. De-energize the pendant, unload the console (remove monitors and equipment or support them independently), and open the joint cover per the service manual. Clean the disc with a residue-free solvent — isopropyl alcohol is the safe default; avoid chlorinated brake cleaners on phenolic or resin-bonded pads, which can absorb the solvent and degrade. Inspect the pads: if they are glossy, deglaze them lightly with fine abrasive (400–600 grit) on a flat surface; if they are oil-soaked, replace them — absorbed oil wicks back out under heat and the drift returns within weeks.
Replace, don’t clean, when you see any of the following:
- Pad thickness at or below the manufacturer’s wear limit, or uneven wear across the pad face.
- Disc scoring deeper than you can catch with a fingernail, or visible heat discoloration.
- Cracked, chipped, or delaminating friction material.
- Springs that measure short on free length or show set after years of compression.
- Any oil-soaked pad — no exceptions.
Use genuine or manufacturer-approved parts. Brake pads and discs are not generic consumables — the friction material, bonding, and thermal behavior are matched to the joint’s torque requirement. This is where a reliable spare parts service pays for itself: a brake module or pad kit shipped with the correct part number, instead of a “close enough” substitute sourced locally that reintroduces drift three months later.
Step 4: Reassemble, Set the Gap, and Re-test
Reassembly is where most DIY repairs go wrong. Follow the service manual’s torque sequence for the joint fasteners, set the brake air gap or spring preload to the specified value with feeler gauges or the shim kit — never “by feel” — and then verify with the same tests from Step 1: 10-minute static observation, pull test, and 20 release/engage cycles. Document the results. Under a quality-managed maintenance regime (ISO 13485 on the manufacturer’s side, and your own hospital equipment management program), that record is your evidence that the load-holding function was restored and verified.
| Symptom | Most Likely Cause | First Check | Typical Fix |
|---|---|---|---|
| Slow creep with brake engaged | Contaminated friction surface | Glossy film or oil smell at disc | Clean disc; deglaze or replace pads |
| Arm rotates under hand pull | Worn pads / fatigued springs | Pad thickness vs. wear limit | Replace pad kit and springs |
| Delayed engagement after release | Sticking piston / swollen seals | Cycle test; listen for air leaks | Rebuild or replace brake actuator |
| Drift worse when air plant loaded | Low pneumatic supply pressure | Gauge on brake circuit | Fix supply leak; replace kinked line |
| Drift started after recent service | Mis-set brake gap / preload | Feeler gauge check vs. spec | Re-set gap with shim kit; re-test |
| No drift, but arm sags vertically | Not a brake fault — spring/bearing issue | Height-hold test, bearing play | Adjust gas spring; check bearings |
Step 5: Know When to Replace the Whole Brake Module
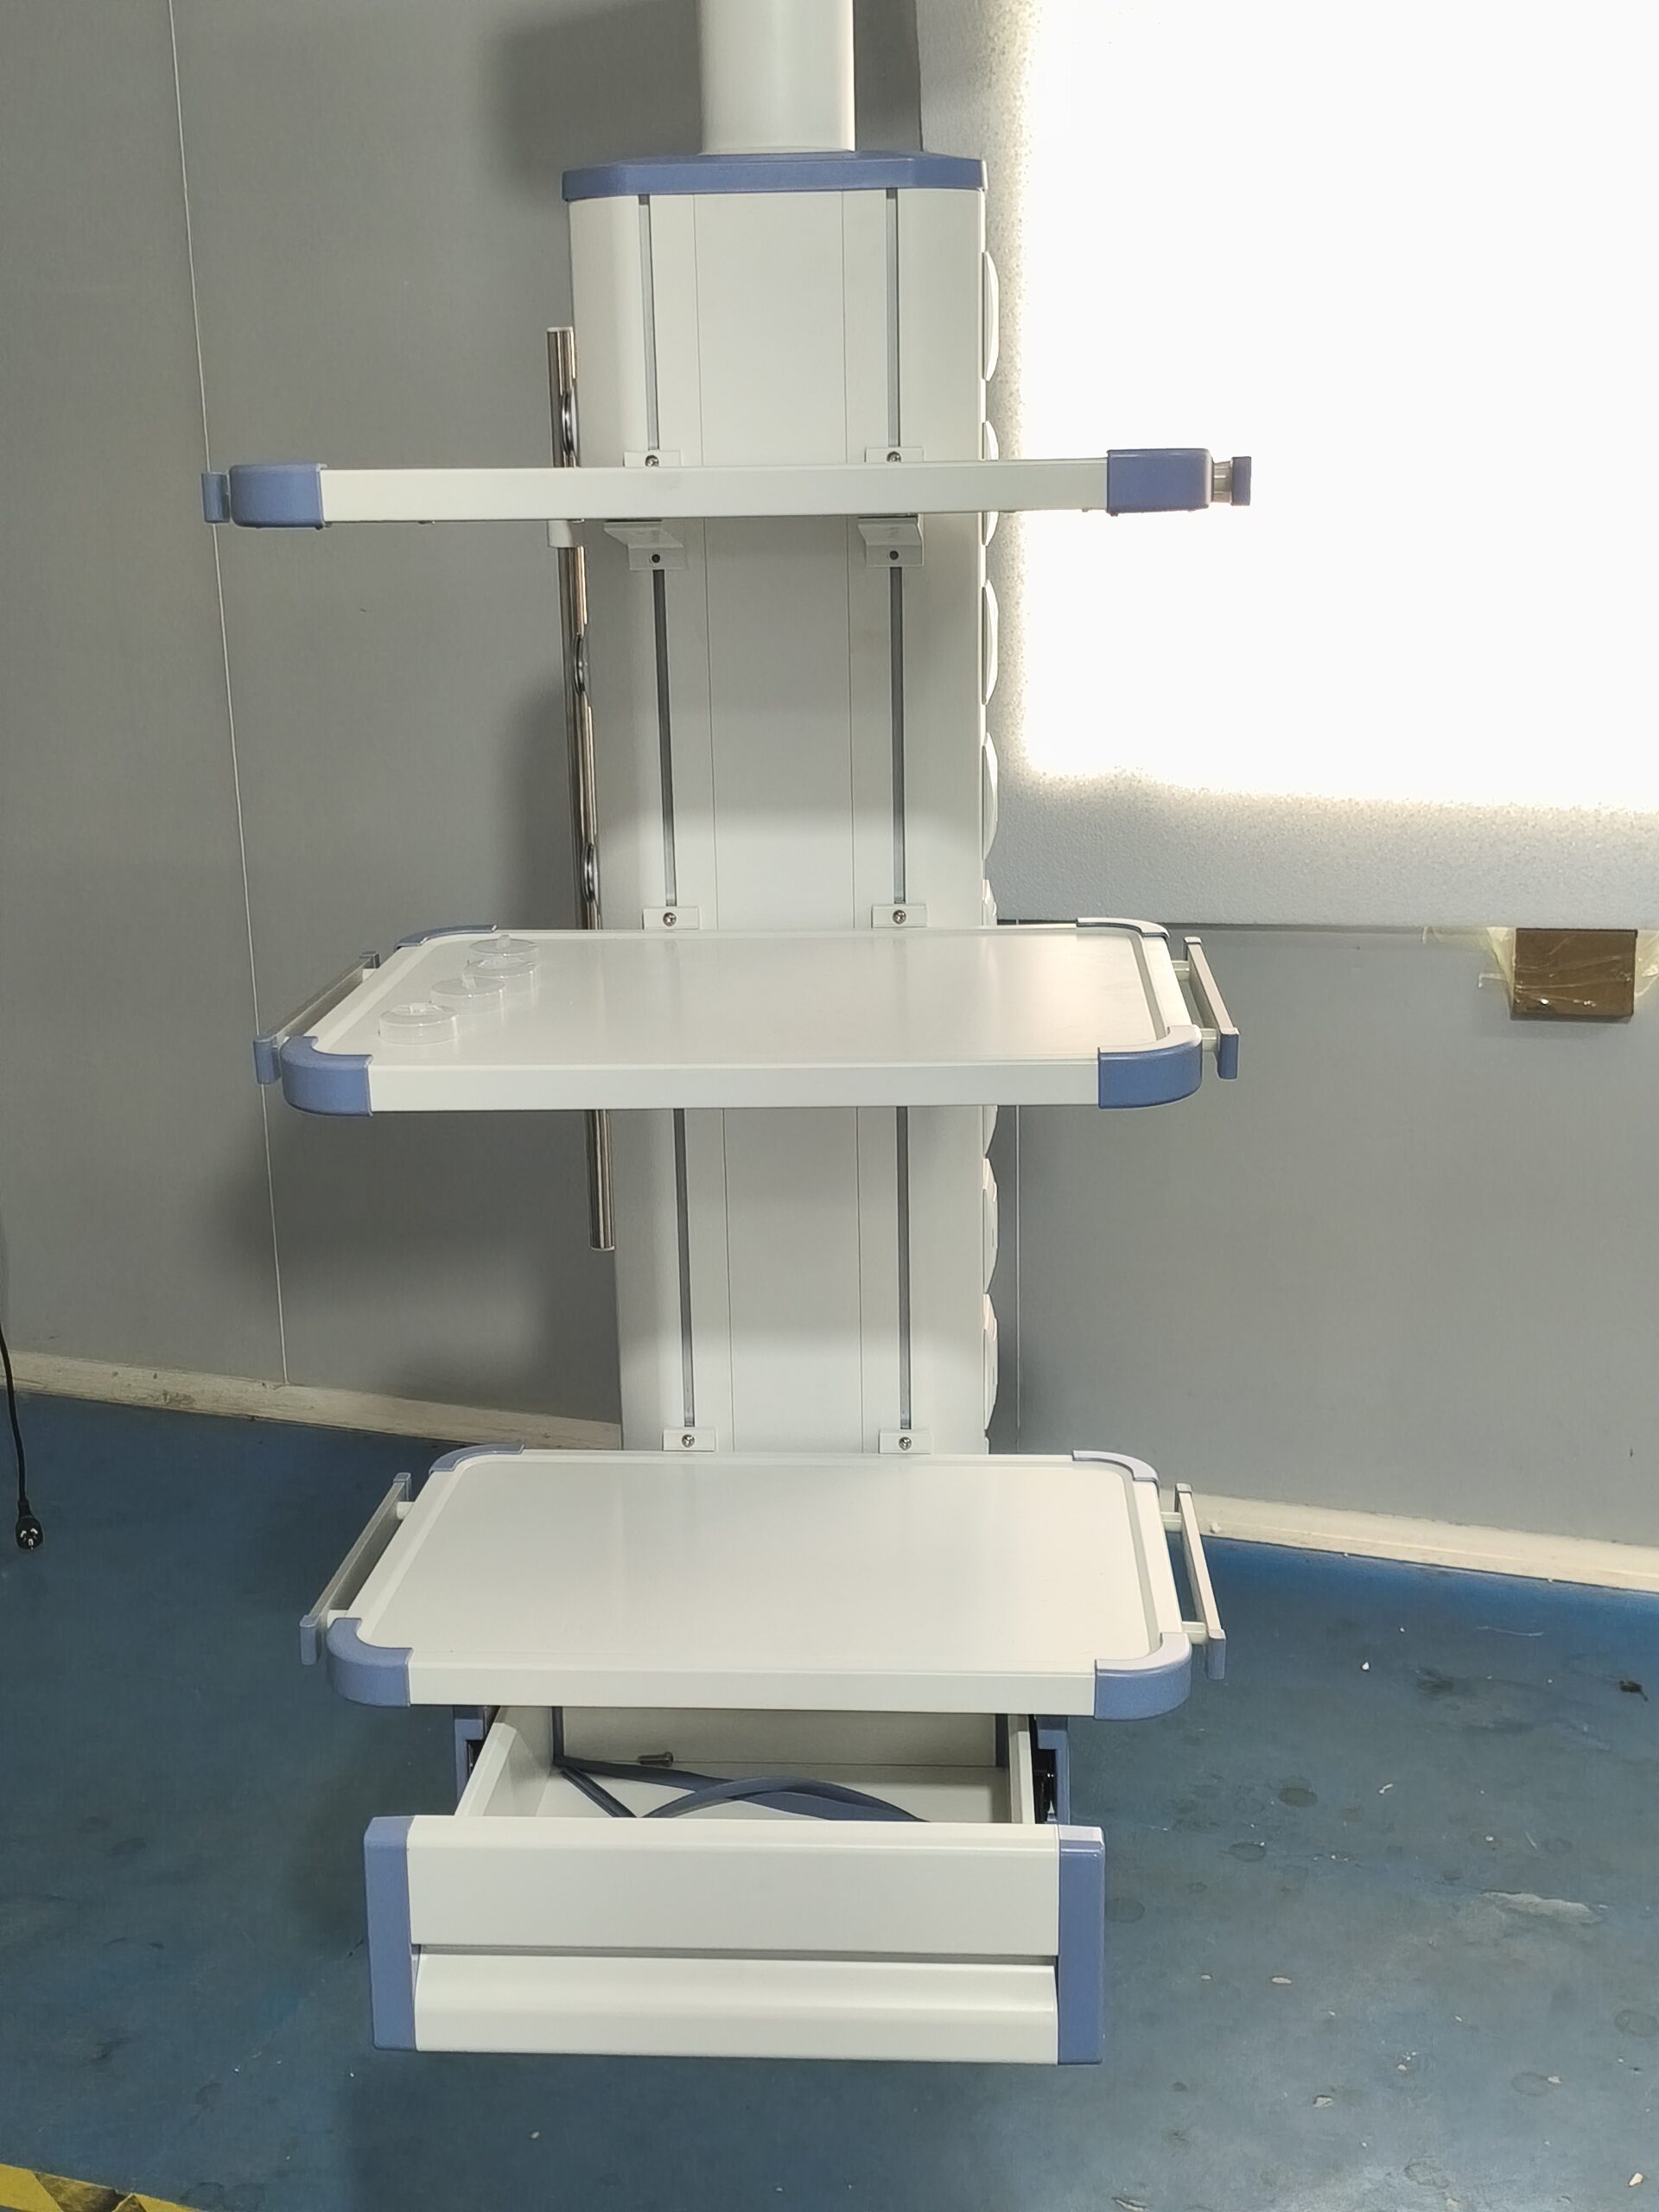
There is a point where piecemeal repair stops making sense. Replace the complete brake module when: the disc is heat-damaged or cracked (a thermally overloaded disc can develop cracks that propagate), the actuator housing is corroded or the piston bore is scored, the joint has drifted more than twice in 18 months despite correct repairs, or the pendant is past its mid-life and the module cost is small compared to the labor of a third teardown. On electromagnetic brakes, coil resistance out of spec or visible corrosion on the armature plate means module replacement — these are sealed, spring-applied units and are not designed to be field-rebuilt.
Safety warning: never “tighten up” a drifting brake by over-preloading the springs beyond the specified gap setting. You are trading holding torque for release reliability — the joint may hold today and refuse to release during an emergency repositioning tomorrow. If the specified setting can’t hold the load, the friction components are done. Replace them.
Also be honest about scope. A pendant brake sits inside a medical electrical system, and work on it falls under the same safety mindset as IEC 60601-series compliance: after repair, the equipment must be verified before clinical use. Many hospitals fold brake holding checks into their annual pendant preventive maintenance inspection alongside gas outlet leak tests and electrical safety checks — that is the right habit. If your team doesn’t have the service manual, the shim kit, or the time, a manufacturer-backed service visit is cheaper than a dropped monitor.
Preventing Brake Drift: A Maintenance Checklist
Most drift cases we see were preventable with habits, not hardware. Build these into your pendant PM routine:
- Quarterly: 10-minute static drift check on every rotation joint, with position marks. Log the result.
- Quarterly: release/engage cycle test; note any delay, noise, or inconsistency.
- Annually: open joint covers, inspect pads and discs for contamination, glazing, and wear; check pneumatic fittings for leaks on air-braked units.
- After any joint service: re-verify brake gap and holding torque — no exceptions, including “unrelated” work in the same joint.
- Housekeeping: ban silicone sprays and aerosol lubricants near pendant joints; route bearing grease away from brake surfaces during relubrication.
- Spares: keep one pad kit and one brake module on the shelf per pendant fleet model, sourced through your manufacturer’s parts channel.
Conclusion
Medical pendant brake drift repair is rarely mysterious. Quantify the drift first, separate static slip from release lag, then work the cause list: contamination, wear, air supply, and setup. Clean what is cleanable, replace what is worn or oil-soaked, set the gap to spec — not to feel — and always re-verify holding performance before the pendant goes back over a patient. The hospitals that almost never call us about drift are the ones running quarterly static checks and keeping a genuine pad kit in stock. The repair itself takes an afternoon; the discipline is what keeps it repaired.
Frequently Asked Questions
Is a slowly drifting pendant arm safe to keep using?
No. Drift is progressive — the slipping that causes it also polishes and glazes the friction surfaces, accelerating wear. Beyond the equipment risk, a console that moves on its own can tug medical gas hoses and power cables. Take the pendant out of service or restrict its use until the brake is repaired and verified.
Can I fix brake drift by tightening the brake adjustment?
Only if the gap is actually mis-set — for example after a previous repair. If pads are worn, contaminated, or springs are fatigued, over-tightening beyond spec will buy days at best and can make the brake fail to release cleanly. Diagnose first, adjust second.
How often should pendant brakes be inspected?
A practical baseline: a quarterly functional drift check (10-minute static observation plus cycle test) and an annual internal inspection of pads, discs, and pneumatic fittings. High-use ICU pendants justify the tighter end of that range. Always re-verify after any work inside the joint.
What is the difference between pneumatic and electromagnetic pendant brakes for maintenance?
Pneumatic brakes depend on hospital air quality and plumbing — leaks, low pressure, and swollen seals are the common faults. Electromagnetic (spring-applied, electrically released) brakes have no air circuit, so they avoid those failure modes, but their coils and armature plates are sealed components: when they wear out, you replace the module rather than rebuild it.
Do I need genuine parts for a brake repair?
Yes. The friction material, pad bonding, and spring rates are matched to the joint’s holding-torque requirement. Substitute pads with the wrong friction coefficient either slip (drift returns) or grab (the joint becomes hard to position). Order by the pendant’s model and serial number through the manufacturer’s spare parts channel.
You May Also Like...

After-Hours Maintenance Strategy: Minimizing OR Downtime
Operating room downtime is expensive because an idle OR still burns staff, overhead and scheduled...

Operating Table Battery Replacement: Procedure and Intervals
Operating table battery replacement is the routine swap of the integrated backup battery that keeps...

Trolley Lock Cylinder Maintenance: Keyed and Push-Lock Types
Medical trolleys fail at the lock. Not the frame, not the casters, not the drawers...
